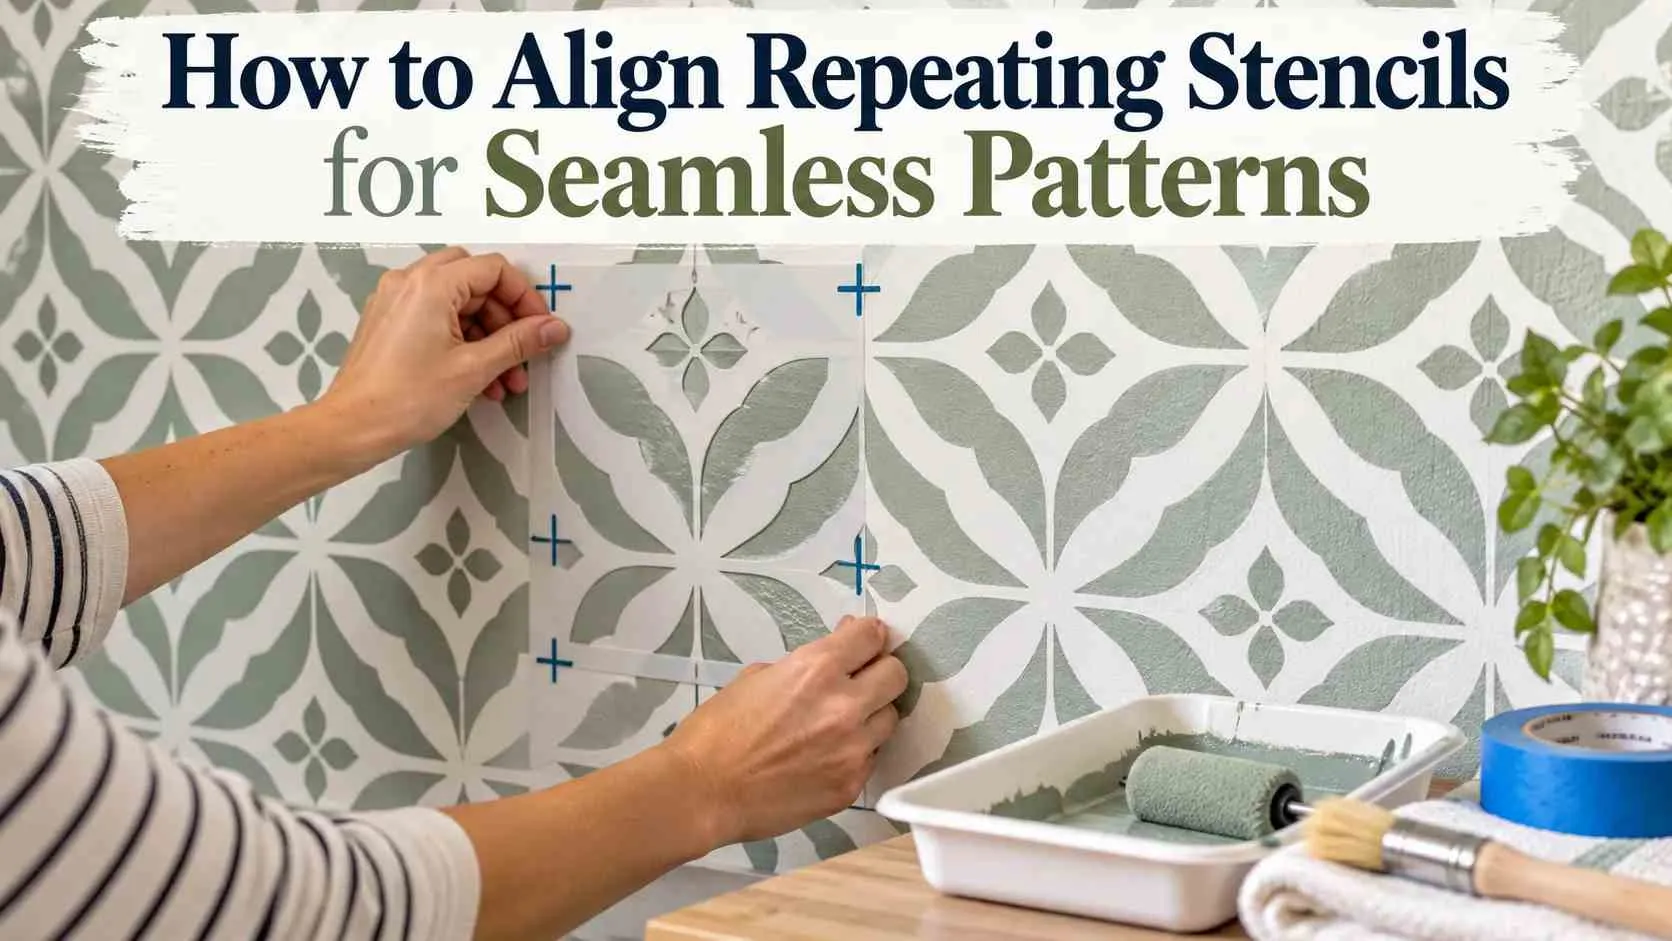
A clean repeating finish is usually decided before much color reaches the project. Good position control, careful repeat spacing, and an occasional periodic check keep small mistakes from developing into obvious alignment drift across a long decorative run. Treat the job as a measured layout rather than a series of isolated impressions.
The most dependable approach combines a systematic workflow with restraint. Watch for paint bleed, keep the template stable, and correct small errors before moving farther across the project. If you are creating the artwork yourself, the Stencil Maker can help prepare a simpler design before physical placement begins.
What Is a Repeating or Allover Stencil?
Think of this type of template as a modular decorative system rather than a single image. Its usefulness comes from controlled repeat spacing, reliable position verification, and a clearly planned surface layout that allows neighboring impressions to appear intentional instead of looking like separate blocks.
That becomes especially useful on decorative projects where a fixed sheet must cover much more area than its own dimensions. A good systematic workflow and consistent sequence let the motif expand while small errors remain manageable. This is why layout discipline matters as much as the artwork itself.
What Are Registration Marks?
Accurate placement does not need to depend on visual guessing. A reference line, measured grid, or temporary tape marks can give the applicator repeatable checkpoints, particularly when several neighboring impressions must stay balanced over a broad area.
For more demanding work, position control matters more than speed. Before committing color, compare the template against the earlier motif and perform a quick periodic check. This reduces alignment drift and makes later seam correction far less noticeable.
Tools and Materials You’ll Need
A useful setup begins with what the project actually demands rather than buying every accessory available. For layout work, registration points, a reference line, and a simple measured grid can be more valuable than extra equipment when precision is the main concern.
Also plan around cleanup and correction. Keep materials nearby for seam correction, protect against wet paint, and decide how you will handle corners or tight spaces before beginning. For digital preparation, see the Best Free Stencil Maker Guide.
Prepare and Plan the Surface
Preparation should remove surprises before decoration starts. Inspect the working area for paint residue, uneven sections, or anything that could affect firm stencil contact. A smooth base also makes later position verification easier because the template is less likely to shift unpredictably.
For painted interiors, proper cleaning and drying are important before application; Sherwin-Williams surface-preparation guidance also emphasizes working from a clean, sound, dry base. Plan your consistent sequence at this stage so obstacles do not force awkward changes halfway through the project.
Position and Level the First Stencil
Instead of relying on instinct, establish two or more independent checkpoints before applying color. A measured grid, registration points, or temporary tape marks can reveal a slight tilt that may not be obvious while you are standing close to the project.
Once the opening placement feels correct, step back and inspect the overall surface layout. A few seconds spent checking for pattern drift can prevent many later adjustments. This is especially helpful when the design includes strong geometric or architectural elements.
Paint the First Repeat
The first painted impression is useful as a test, not merely the start of decoration. Observe whether the template maintains firm stencil contact and whether the surrounding areas stay free from smearing while color is transferred.
If the result shows uneven edges, correct the application method before continuing. Problems discovered here are easier to fix than after multiple repeats are already visible. A small adjustment now can prevent later seam correction and preserve a cleaner overall finish.
Allow the Painted Area to Dry Before Repositioning
Moving too quickly can turn a precise layout into a cleanup job. Before lifting or placing material near a completed area, inspect it for paint bleed, paint residue, or other signs that contact could disturb the finish.
Drying behavior changes with coating type, thickness, humidity, and room conditions, so avoid treating one waiting period as universal. The safer approach is to protect alignment precision while allowing enough stability that later position matching does not damage the previous work.
How to Align the Second Stencil
The second placement is where the overall system begins proving itself. Instead of watching only one edge, compare several placement guides and inspect the nearby painted motif from a normal viewing distance before securing anything.
If the relationship looks uncertain, use a temporary reference system rather than forcing the placement. A careful visual match now reduces the need for repeat correction later and helps prevent an error from traveling through the rest of the layout.
How to Repeat the Pattern Horizontally
Side-to-side expansion is easier when every move follows the same reference method. Use a reference line or temporary pencil guide marks to prevent the motif from slowly climbing or dropping as the work moves across the area.
Every few placements, inspect the project from farther away. This catches pattern drift that may be difficult to notice at arm’s length. If necessary, make a modest alignment correction rather than carrying a small deviation across the entire project.
How to Repeat the Pattern Vertically
Moving upward or downward introduces its own visual challenge because gravity, edges, and nearby architectural features can make slight deviations easier to see. Use position verification and a stable reference system before committing each new impression.
Long sections benefit from a periodic check against nearby architectural lines. If an error appears, correct it gradually rather than making one dramatic shift. That approach keeps position accuracy consistent and avoids an obvious jump between neighboring areas.
Continue the Pattern Without Losing Alignment
Once several impressions are complete, resist the temptation to work faster simply because the process feels familiar. Recheck registration points, inspect straightness, and confirm the design still relates properly to surrounding architectural features.
Long projects also benefit from occasional cleaning. Dried paint or paint buildup can change how the template lies against the project and gradually reduce registration accuracy. Regular inspection keeps the later sections looking as controlled as the earliest ones.
Types of Registration Marks
Different projects benefit from different alignment methods. Some layouts rely on reference points, others on a measured grid, while straightforward geometric work may be easier to control using a reference line placed outside the decorative area.
The best system is the one you can read quickly without confusing it with the artwork itself. For layered designs, registration points combined with position verification provide a dependable method for returning each sheet to the intended location.
How to Align a Stencil Without Standard Registration Marks
When built-in guides are unavailable, create your own temporary reference system. A reference line, tape marks, or clearly identified pattern edges can provide enough information to judge where the next impression belongs.
The key is consistency. Establish checkpoints before applying color and keep using the same method instead of changing tactics halfway through. A steady systematic workflow reduces cumulative discrepancies and makes manual placement far more predictable.
How to Handle Corners, Ceiling Lines and Edges
Boundary areas rarely accommodate an entire template comfortably, so they should be treated as finishing zones rather than ordinary placements. Complete the easier central areas first while maintaining pattern accuracy, then return to boundaries with a clearer picture of what portion is actually needed.
Near architectural transitions, protect the completed work and use careful position verification before applying color. If a partial motif looks slightly irregular, small seam correction is usually less noticeable than forcing an unsuitable placement into the remaining space.
Alignment for Tile Stencils vs Wall Stencils
The biggest practical difference is often the underlying geometry. Tile projects provide fixed physical boundaries that can support position accuracy, while open decorative fields may need an independent measured grid or another dependable reference.
Before starting either format, examine how the artwork behaves at its pattern edges and check whether neighboring sections create a natural seamless connection. Planning that relationship early reduces later alignment troubleshooting.
Multi-Layer / Overlay Stencil Alignment
Layered artwork rewards accuracy because even a small shift becomes obvious when one color sits beside another. Establish stable registration points on the first pass and preserve those references until every required application is finished.
Digital preparation also matters. Clean vectors and sensible layer separation make physical placement easier later. If you are building a cut-ready design, the Illustrator Stencil Design Guide explains how cleaner paths and structured artwork can simplify production.
Cleaning the Stencil During Large Projects
Cleaning should happen before residue begins changing the physical behavior of the template. Once dried material affects an edge, even careful position verification may not compensate for the altered contact with the project.
Inspect the design periodically, especially around fine openings and detailed areas. Removing buildup before it becomes heavy helps maintain edge quality and prevents unexpected paint bleeding when the template is placed again.
How to Design Your Own Repeating Stencil
Begin by deciding how neighboring sections will relate physically, not just how one tile looks on screen. Build enough registration points into the artwork to support real-world placement, then preview several copies together to expose spacing problems early.
For machine-cut projects, clean digital geometry matters just as much. The Vector Conversion for Laser Cutting Guide explains why continuous paths and properly prepared vectors are easier to manufacture accurately.
Troubleshooting Visible Seams and Misalignment
A visible join does not always mean the entire layout needs restarting. First examine repeat spacing, then compare nearby areas for position accuracy and check whether a localized paint problem is exaggerating the transition.
Correct the smallest cause first. Minor alignment correction, careful seam correction, or a restrained touch-up can often restore visual continuity. The Stencil Mistakes and Fixes Guide is useful when the problem involves application rather than layout alone.
Frequently Asked Questions
How Do I Get a Stencil Pattern to Repeat Correctly?
Start with a stable plan rather than depending on each placement independently. A measured grid, dependable placement guides, and deliberate position control make the entire process easier to evaluate while you work.
Check the project after several impressions instead of waiting until the end. If you notice cumulative discrepancies, make a small adjustment early. The goal is not mathematical perfection at every moment, but a visually steady decorative field.
What If the Registration Marks Don’t Line Up Perfectly?
Do not force the template simply to make one checkpoint agree. Compare nearby pattern edges, examine the broader surface layout, and determine whether the issue began earlier in the project.
A slight difference can often be distributed across several later placements rather than corrected abruptly. Use position verification each time, then inspect the design from normal viewing distance before deciding whether further adjustment is necessary.
Should I Start a Repeating Stencil in the Center or at the Edge?
The best starting area depends on what viewers will notice most. A symmetrical feature area may benefit from planning around a reference line, while an uninterrupted working area can make a systematic workflow easier to maintain.
Before choosing, map doors, trim, fixtures, and other interruptions. The location that creates fewer awkward partial motifs usually gives better control, particularly when pattern accuracy matters more than finishing one side quickly.
Do I Have to Rotate the Stencil?
Not every decorative layout behaves the same way, so inspect the artwork before assuming each placement should face identically. Compare the pattern edges and look at how neighboring sections create a seamless connection.
If the design was prepared digitally, preview several copies before cutting. That makes directional behavior easier to understand and prevents accidental misalignment once physical application has already started.
Should the Previous Repeat Dry Before I Reposition the Stencil?
The safer question is whether the existing coating can tolerate nearby contact without damage. If the material still feels vulnerable, movement may cause paint bleed, disturb edge quality, or leave unwanted paint residue.
Conditions differ between products, so follow the coating manufacturer’s guidance instead of assuming one universal interval. Preserving alignment precision is easier when the earlier work is stable enough to tolerate nearby handling.
How Do I Prevent Paint Bleeding Under the Stencil?
A strong result starts before color is transferred. Make sure the template has firm stencil contact, particularly around detailed sections and fine openings, and inspect areas where the material might lift.
Use controlled passes rather than trying to achieve full coverage immediately. For spray applications, the Spray Paint Stencil Techniques Guide covers practical ways to control application and reduce edge problems.
Can Repeating Stencils Be Used on Textured Walls?
Yes, but texture changes how easily the template sits against the project. On uneven bases, focus more heavily on position control and inspect each area before committing color, because small gaps can affect the finish.
Flexible stencil film can also require extra attention on heavily textured bases. Cricut’s stencil-film instructions note that improved sealing may be needed before applying color. Test an inconspicuous area before tackling the full project.
Can Repeating Stencil Patterns Be Used on Surfaces Other Than Walls?
The technique can be adapted to many projects provided the coating, template material, and preparation method suit the substrate. Think about material thickness, registration accuracy, and whether the working area can hold the template steadily.
Machine-cut projects may require different preparation from hand-painted décor. For reusable cut files, the Online Stencil Maker can help simplify artwork before it is transferred to the chosen material.
How Often Should I Check Whether the Repeat Is Straight?
There is no benefit in checking after every tiny movement if the workflow is stable, but waiting until the project is nearly finished is risky. Build inspection into your consistent sequence, especially after several new placements.
Look from a normal viewing distance rather than only close-up. This makes alignment drift easier to notice and gives you enough time for gentle alignment correction before the deviation becomes visually dominant.
Why Are Seams Visible Between Stencil Repeats?
Visible transitions often come from more than one cause. Uneven repeat spacing, inconsistent position control, or a localized paint bleed can each make neighboring impressions appear disconnected even when most of the layout is correct.
Inspect the transition before repainting it. Sometimes the better fix is a small alignment correction or controlled touch-up rather than adding more color everywhere. Fixing only the actual defect keeps the surrounding design cleaner.