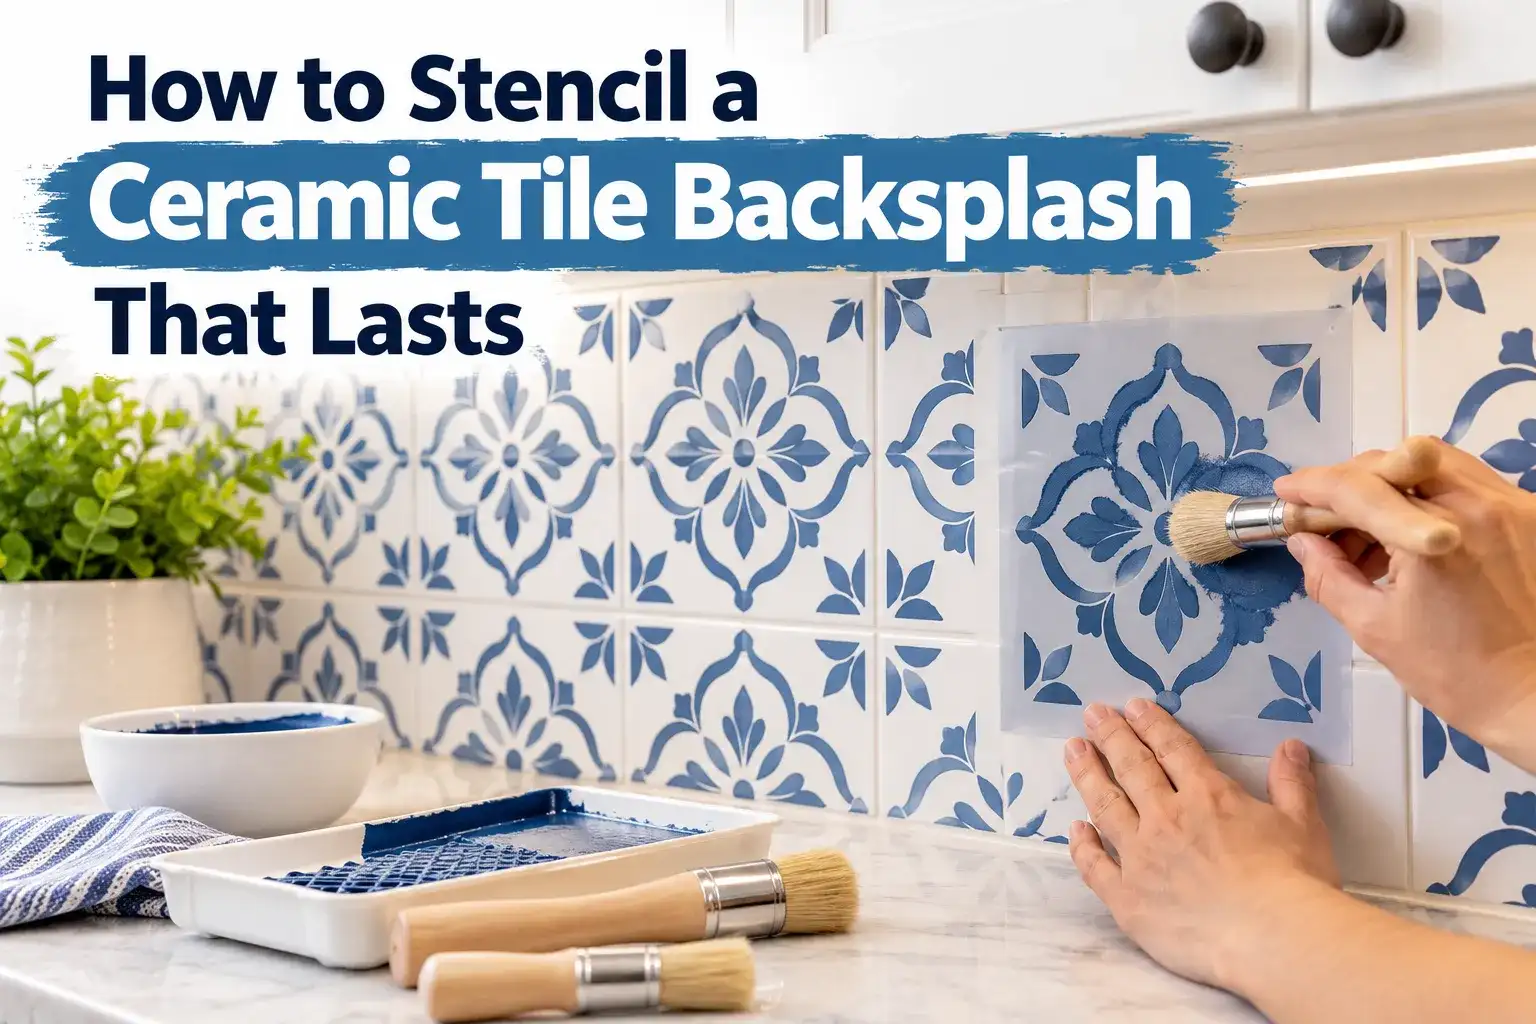
A stenciled backsplash can change the look of a kitchen without removing the existing tile, but glossy ceramic is not a forgiving paint surface. The pattern itself is usually the easy part. The real work is cleaning cooking residue, creating adhesion, choosing a coating system that suits vertical tile, and keeping the stencil aligned across grout lines.
This guide is specifically about vertical ceramic backsplash tile. It is not a recommendation for shower interiors or ceramic floors, which have very different moisture and wear demands.
Quick answer: can you stencil a ceramic tile backsplash?
Yes, if the tile is sound, thoroughly cleaned, properly prepared, and outside extreme wet-service areas. Sherwin-Williams advises cleaning vertical ceramic tile, dulling the finish by sanding, applying an adhesion primer, and then using quality latex paint in suitable non-floor, non-extreme-moisture locations. Review their ceramic wall tile painting guidance before selecting products.
Where this project makes sense and where it does not
A decorative backsplash on a sound kitchen wall is a much better candidate than a shower enclosure or a floor. Floors face abrasion and standing dirt; showers face repeated moisture and cleaning chemicals. A backsplash still needs durability, but its exposure is different.
If the tile is cracked, loose, constantly wet, or contaminated with failing caulk, solve those problems first. Paint should not be used to hide a substrate issue.
What you need
- Degreasing cleaner suitable for the tile and coating system
- Fine abrasive or sanding pad if required by the primer manufacturer
- High-adhesion primer rated for glossy surfaces
- Compatible base paint and stencil color
- Tile-size stencil or repeating pattern stencil
- Painter’s tape
- Dense mini foam roller or stencil brush
- Small artist’s brush for touch-ups
- Optional compatible protective topcoat
Step 1: remove grease, soap film, and residue
A kitchen backsplash can look clean while still holding a thin film of cooking oil. Wash it carefully and pay special attention to tile around the range. Rinse away cleaner residue and let the surface dry.
Do not sand greasy tile first. Clean it before creating any abrasion so contaminants are not spread into the surface.
Step 2: dull the gloss only as required
Glossy ceramic gives ordinary coatings little mechanical grip. Follow the primer manufacturer’s prep instructions, including any sanding or deglossing step. Wear appropriate protection when sanding and remove all dust afterward.
The goal is preparation, not aggressive removal of the tile surface.
Step 3: apply an adhesion primer
Use a primer specifically rated for slick, hard-to-paint surfaces and compatible with ceramic tile. Let it dry for the full recoat window on the label. A shortcut here can cause the base coat to lift later when you remove stencil tape.
Step 4: apply the base color and let it harden
Roll or brush the base coat evenly. Do not rush to stencil as soon as it feels dry. Give the coating enough time to develop adhesion so the stencil and tape do not pull it up.
HGTV’s tile-stenciling tutorial also emphasizes cleaning, priming, a dry roller, and careful stencil repositioning. Their paint-and-stencil ceramic tile walkthrough is useful for seeing the sequence, although a backsplash and a floor have different wear requirements.
Step 5: choose the pattern size strategically
The easiest option is a stencil that matches one tile. Grout lines then become natural registration guides. An all-over stencil can also work, but you will need a consistent reference point to keep the pattern from drifting.
Before cutting a custom design, simplify it with the DigitalOnDay Stencil Maker. For repeating layouts, review how to align repeating stencils.
Step 6: use very little stencil paint
Load a dense foam roller or stencil brush and remove the excess before touching the wall. The roller should look almost dry. Apply several light passes rather than trying to cover the pattern in one coat.
Too much paint is especially risky at grout lines because the stencil cannot always sit perfectly flat across the recess.
Work around grout lines instead of fighting them
Press the stencil into the grout line with a fingertip as you work nearby, or use a smaller stencil brush for that area. If a grout joint creates a tiny imperfect edge, fix it later with an artist’s brush rather than flooding the stencil with extra paint.
Step 7: plan the order of the wall
Start in the most visible area and establish a straight reference line. Work outward, leaving tight corners and edge cuts for the end. Recheck level every few repeats instead of trusting the previous stencil position indefinitely.
For a large backsplash, alternate between two identical stencils if possible. One can dry while the other is in use, which reduces the chance of transferring wet paint to the wall.
Step 8: remove the stencil and correct small errors
Lift the stencil away without dragging it across the surface. Let the pattern set before making touch-ups. Small bleed marks can be corrected with the base color and a fine brush.
DigitalOnDay’s stencil bleed repair guide covers the most common causes of fuzzy edges.
Do you need a topcoat on a backsplash?
That depends on the paint system. Some coatings are designed to stand alone; others rely on a compatible clear finish. Use only a topcoat approved over the paint below it, and pay attention to cure time before exposing the backsplash to grease, scrubbing, or repeated splashes.
Avoid assuming that more clear coats always mean more durability. Incompatible layers can create adhesion or appearance problems.
Common backsplash stenciling mistakes
- Painting over grease: adhesion problems start below the pattern.
- Stenciling too soon after the base coat: tape or adhesive can lift soft paint.
- Overloading the roller: paint collects under the stencil and in grout lines.
- Following a crooked previous repeat: use a level or reference marks.
- Using a floor or shower claim for a backsplash product: always follow the exact coating label and substrate guidance.
Best stencil styles for a ceramic backsplash
Geometric tile patterns, Moroccan-inspired motifs, simple florals, stars, and bold line designs work well. Very tiny details can disappear around grout joints, so a medium-scale design is usually easier to maintain across the wall.
Final takeaway
A durable stenciled backsplash is mostly a prep-and-alignment project. Clean the tile thoroughly, build a compatible adhesion system, let each layer develop properly, and keep the stencil paint light. The result will look more like a deliberate finish and less like paint sitting on top of slick tile.