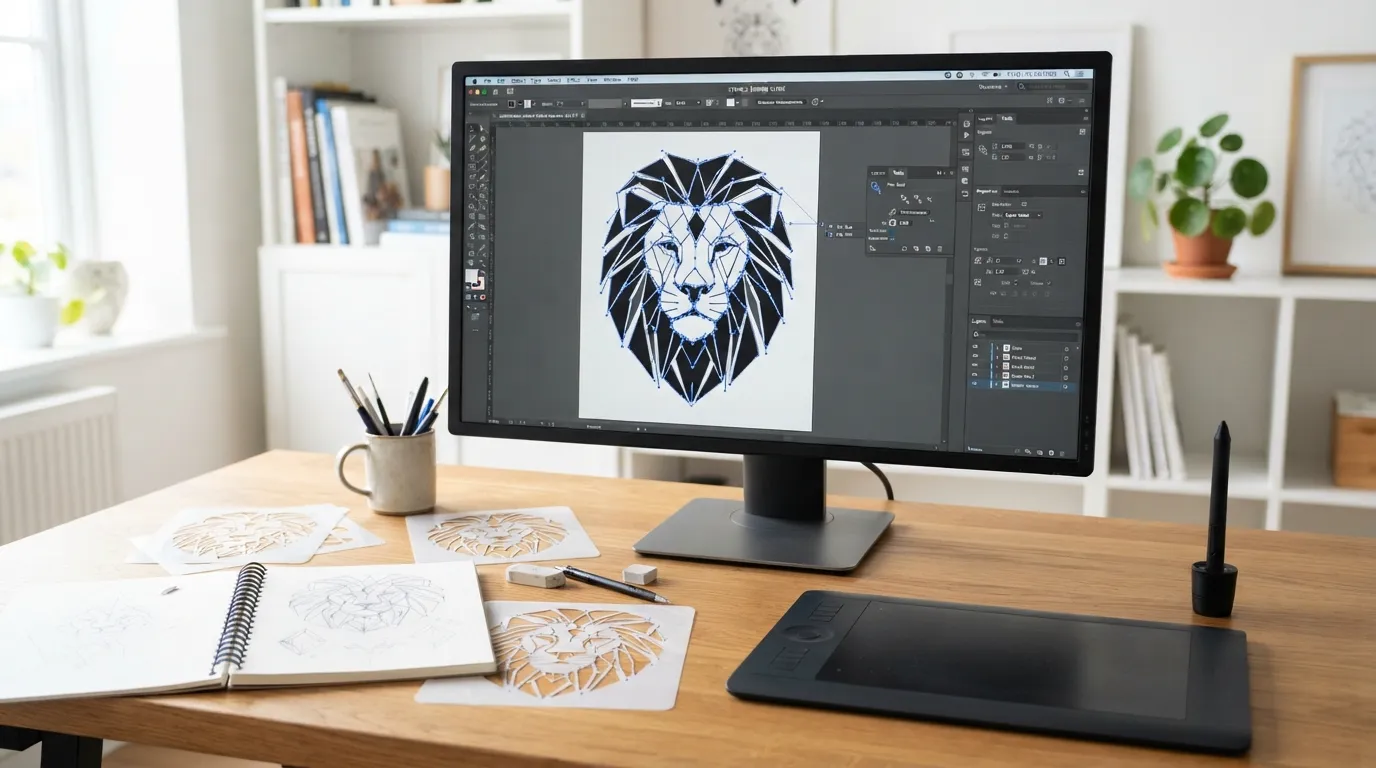
Adobe Illustrator is one of the best tools for creating stencil designs because it works with vector paths. A vector stencil can be resized, edited, cleaned, exported as SVG, and prepared for Cricut, Silhouette, laser cutting, vinyl cutting, screen printing, wall stencils, wood signs, and reusable mylar stencils.
But stencil design is not the same as normal graphic design. A design may look good on screen and still fail when cut. Thin lines may tear, small shapes may fall out, letters may lose their centers, and detailed artwork may become difficult to weed. That is why a proper Illustrator stencil workflow matters.
This guide is part of the Stencil Making Tools & Techniques Complete Guide, where we cover stencil tools, cutting methods, digital design software, and beginner-friendly stencil production tips.
In this Illustrator stencil design guide, you will learn how to create a clean, cut-ready stencil file from scratch, how to add bridges, how to prepare text, how to simplify paths, how to avoid weak cuts, and how to export the final design for tools like Cricut Design Space, laser cutters, and stencil printing workflows.
What Is an Illustrator Stencil Design?
An Illustrator stencil design is a vector artwork file created in Adobe Illustrator and prepared so it can be cut or printed as a stencil. The design usually contains open areas where paint, ink, henna, spray paint, chalk paste, or another medium will pass through.
A normal logo, drawing, or text file is not always stencil-ready. For a design to work as a stencil, all floating inner parts must be connected to the main stencil sheet. These connecting parts are called bridges.
For example, letters like A, O, P, D, B, R, and 0 have inner spaces. If you cut them without bridges, the center pieces may fall out. In stencil design, you must connect those inner parts with small gaps or support lines.
A good stencil file should be:
- Vector-based
- Clean and scalable
- Free from unnecessary anchor points
- Easy to cut
- Easy to weed
- Strong enough for the stencil material
- Designed with bridges where needed
- Exported in the correct file format
Why Use Adobe Illustrator for Stencil Design?
Illustrator is useful for stencil design because it gives detailed control over paths, shapes, text, and export formats. You can draw custom artwork, convert text to outlines, trace images, adjust anchor points, join paths, create compound paths, and export SVG files for cutting software.
Illustrator is especially helpful when you need:
- Clean SVG stencil files
- Custom stencil fonts
- Lettering stencils
- Logo stencils
- Reusable mylar stencil designs
- Cricut stencil files
- Laser-cut stencil templates
- Multi-layer stencil artwork
- High-resolution vector artwork
- Scalable stencil patterns
If your design starts as a PNG or JPG, Illustrator can help convert it into vector form. For image-based designs, you can also read our related guide on PNG to SVG conversion for stencils.
Quick Answer: How Do You Make a Stencil in Illustrator?
To make a stencil in Illustrator, create a new document, draw or import your design, convert text to outlines, simplify the paths, add bridges to floating areas, use Pathfinder or compound paths to create clean cut shapes, check the design in outline mode, then export the file as SVG, PDF, EPS, or AI, depending on your cutter or printing workflow.
The most important stencil rule is this: every inner island must stay connected. If a shape is floating inside a cut area, add a bridge before exporting.
Step 1: Set Up the Illustrator Document
Start with the correct document size. If you are making a physical stencil, the artboard should match the final stencil size or at least use the correct ratio.
Recommended Setup
- Color mode: RGB for Cricut/SVG work, CMYK for print-focused workflows
- Units: inches, centimeters, or millimeters, depending on your cutter
- Artboard size: match the final stencil size
- Raster effects: not important for simple stencil files
- Bleed: usually not needed unless printing first
- Grid: optional but useful for alignment
For a 12 x 12-inch Cricut stencil sheet, create a matching 12 x 12-inch artboard. Wall stencils should use an artboard close to the final panel size, while laser-cut files should follow the unit system required by your laser software.
Step 2: Choose or Create the Stencil Artwork
You can create stencil artwork in three ways:
- Draw the design from scratch
- Use text and shapes
- Trace an image into vector paths
For beginners, text and simple shapes are easiest. Complex illustrations need more cleanup.
Best Artwork Types for Stencils
- Bold lettering
- Simple logos
- Floral shapes
- Geometric patterns
- Icons and symbols
- Borders and repeat patterns
- Decorative panels
- One-color silhouettes
Artwork to Avoid for Beginner Stencils
- Very thin lines
- Heavy gradients
- Photorealistic images
- Tiny details
- Soft shadows
- Transparent effects
- Overlapping unmerged shapes
- Complicated texture patterns
Stencil cutters do not understand visual effects the same way your screen does. They follow paths. So the cleaner the path, the cleaner the cut.
Step 3: Convert Text to Outlines
If your stencil uses text, convert the text into editable vector shapes before final export.
How to Convert Text to Outlines
- Select the text.
- Go to Type > Create Outlines.
- Ungroup the letters if needed.
- Check letters with inner spaces.
- Add bridges to keep the inner parts attached.
This step is important because cutting software may not have the same font installed. If you export live text, the font can change or fail to load correctly.
After outlining, your text becomes shapes. You can now edit the letter edges, add stencil bridges, unite shapes, or adjust spacing.
Step 4: Understand Stencil Islands and Bridges
This is the most important part of stencil design.
What Is a Stencil Island?
A stencil island is a part of the design that is surrounded by a cut area and would fall out if not connected.
Examples include:
- Center of the letter O
- Center of the letter A
- Inner parts of D, B, P, R
- Small enclosed parts inside floral designs
- Circular centers inside decorative shapes
- Details inside icons or logos
What Is a Stencil Bridge?
A bridge is a small connecting strip that holds an island to the rest of the stencil sheet. It keeps the stencil structure intact after cutting.
For example, the letter O needs one or more small breaks so the center does not fall out.
How Wide Should Stencil Bridges Be?
Bridge width depends on the stencil material and design size.
Stencil TypeSuggested Bridge Width
Vinyl stencil 1–2 mm
Paper stencil 2–3 mm
Mylar stencil 2–4 mm
Large wall stencil 4–8 mm
Laser-cut stencil. Depends on material thickness
Small Cricut stencil 1.5–3 mm
Very thin bridges can tear. Very thick bridges can change the look of the design. The best bridge is strong enough to hold the stencil but small enough to keep the design attractive.
Step 5: Add Bridges in Illustrator
There are several ways to add bridges. The easiest beginner method is to place small rectangles over the areas where you want to break the cut path.
Simple Bridge Method
- Select the Rectangle Tool.
- Draw a small rectangle across the part you want to connect.
- Place the rectangle where the stencil needs support.
- Select the letter or shape and the rectangle.
- Use Pathfinder tools to subtract or divide, depending on your workflow.
- Check the shape in outline mode.
For stencil text, add bridges to letters with enclosed centers. For icons, add bridges to floating details.
Better Bridge Placement Tips
- Place bridges where they look natural.
- Use the same bridge width across similar letters.
- Avoid placing bridges too close to corners.
- Use two bridges for large inner shapes.
- Keep bridges thick enough for the material.
- Preview the stencil at the final size before cutting.
Good bridges should look intentional, not accidental.
Step 6: Use Pathfinder for Clean Stencil Shapes
Pathfinder tools help combine, divide, trim, and subtract shapes in Illustrator. For stencil design, Pathfinder is useful when you need to merge overlapping shapes or cut bridge gaps into letters.
Common Pathfinder uses for stencil design include:
- Unite shapes into one clean Object
- Minus Front to cut gaps
- Divide overlapping shapes
- Trim unwanted pieces
- Merge simple stencil artwork
Beginner Pathfinder Workflow
- Make a copy of the original design.
- Work on the copy.
- Select overlapping shapes.
- Use Pathfinder carefully.
- Expand the result if needed.
- Remove unwanted leftover pieces.
- Check the final paths in outline mode.
Always keep a backup layer before using Pathfinder. Some Pathfinder actions are hard to reverse after saving and closing the file.
Step 7: Create Compound Paths
Compound paths are useful when a stencil design contains holes or inner cut areas. They help Illustrator understand which shapes are part of the same Object and which areas should appear open.
For example, if you create a ring shape, the outer circle and inner circle may need to become a compound path so the inside remains a cut-out area.
When to Use Compound Paths
Use compound paths when:
- A shape has holes
- Letters are converted to outlines
- You are preparing cut-ready SVG files
- You want the inside areas to remain open
- You need cleaner export behavior
Simple Compound Path Steps
- Select the related shapes.
- Go to Object> Compound Path > Make.
- Check whether the fill appears correctly.
- Use outline mode to inspect paths.
Compound paths are especially useful for stencil files because they keep related cut areas organized.
Step 8: Simplify Paths Before Cutting
Complex vector files often contain too many anchor points. This can cause slow cutting, rough curves, jagged edges, or cutter errors.
Simplifying paths removes unnecessary anchor points while keeping the design shape mostly intact.
When to Simplify Paths
Simplify paths when:
- You used Image Trace
- The file has too many points
- Curves look rough
- Cricut Design Space loads slowly
- Laser software shows too many nodes
- Cutting takes too long
- The stencil has rough edges
Do Not Over-Simplify
Too much simplification can distort letters, circles, floral shapes, or logo details. Always compare before and after.
A good stencil file should have enough anchor points to keep the shape accurate, but not so many that the cutter struggles.
Step 9: Check the Design in Outline Mode
Outline mode is one of the best ways to inspect stencil artwork before export.
Use:
View > Outline
or keyboard shortcut:
- Windows: Ctrl + Y
- Mac: Cmd + Y
In outline mode, you can see the actual paths instead of fills and colors.
What to Check
- Are there duplicate paths?
- Are there hidden shapes?
- Are bridges connected?
- Are there tiny loose pieces?
- Are all letters outlined?
- Are all shapes closed?
- Are there unnecessary anchor points?
- Are there floating islands?
If a design looks clean in normal view but messy in outline mode, fix it before exporting.
Step 10: Prepare the File for Cricut, Vinyl Cutter, or Laser Cutter
Different machines may need different file settings.
For Cricut Stencils
Use SVG format when possible. SVG files preserve vector paths and are easier to upload into Cricut Design Space.
Before exporting:
- Convert text to outlines
- Unite or organize shapes
- Remove hidden layers
- Use simple fills
- Avoid clipping masks
- Avoid effects and shadows
- Keep the design inside the artboard
- Save a clean SVG copy
For the Cricut-specific workflow, read our Cricut Stencil Design Beginner Guide.
For Laser Cutting
Laser cutters often use SVG, PDF, DXF, or AI files, depending on the software. Use hairline strokes only if your laser workflow requires strokes. For filled stencil shapes, confirm whether the laser software reads fills, strokes, or both.
Before exporting for laser:
- Set the correct size
- Remove duplicate lines
- Check the material-safe bridge width
- Avoid overlapping cut paths
- Use clean vector outlines
- Confirm scale after import
For machine setup, see our related guide on laser cutter settings for stencils.
For Printing and Hand Cutting
If the stencil will be printed and cut by hand, export it as a PDF or high-resolution PNG. Use bold outlines and avoid very tiny details.
For hand cutting, make bridges wider because thin bridges may tear during cutting.
Step 11: Export the Stencil File Correctly
The best export format depends on the next step.
Use Case Best Format
Cricut Design Space SVG
Silhouette Studio Designer Edition SVG
Laser cutter software SVG, PDF, DXF, AI
Print and hand-cut the PDF or PNG
Professional cutting service AI, EPS, SVG, PDF
Website preview PNG or WebP
Editable master file AI
Keep two versions of your file:
- Editable AI master file
- Final cut-ready export file
The master file should keep layers and editable objects. The final file should be clean, outlined, simplified, and ready for cutting.
Best Illustrator Tools for Stencil Design
Illustrator Tool: Why It Helps
Pen Tool: Draw custom stencil shapes
Shape Builder Tool: Merge and remove shape areas
Pathfinder: unite, divide, trim, and subtract shapes
Direct Selection Tool Edit anchor points and curves
Smooth Tool Clean rough vector edges
Image Trace: Convert raster images to vector paths
Type Tool: Create text-based stencils
Outline Mode: Check real cut paths
Layers Panel: Organize editable and final versions
Artboard Tool Set final stencil size
For photo-to-stencil work, Illustrator can help, but Photoshop may be better for contrast preparation first. You can read our Photoshop Stencil Making Tutorial if you are starting from a photo or image-heavy design.
Common Mistakes in Illustrator Stencil Design
Mistake 1: Forgetting Bridges
This is the biggest stencil design mistake. If a design has enclosed parts and no bridges, those inner shapes may fall out after cutting.
Mistake 2: Using Thin Lines
Thin lines may tear, lift, curl, or fail to cut properly. Always check line thickness at the final size.
Mistake 3: Exporting Live Text
Live text may not open correctly in cutting software. Convert text to outlines before exporting.
Mistake 4: Leaving Duplicate Paths
Duplicate paths can make a cutter go over the same line twice. This may tear vinyl, burn laser-cut material, or damage the stencil edge.
Mistake 5: Using Gradients and Shadows
Gradients and shadows do not work well for basic stencil cutting. Use solid vector shapes instead.
Mistake 6: Not Checking the Scale
A stencil that looks good on screen may be too small or too detailed when cut. Always test at the final size.
Mistake 7: Overusing Image Trace
Image Trace is useful, but it often creates too many anchor points. Always clean and simplify traced artwork.
Problem-Solution Guide
ProblemCauseSolution
Letter centers fall out. No bridges. Add bridge gaps before export
Cricut file uploads slowly. Too many anchor points. Simplify paths
Design cuts twice, Duplicate paths, Remove hidden or repeated lines
SVG opens at the wrong size. Export or artboard issue. Check artboard size and export settings
Small details tear the lines too thin. Increase thickness or simplify the design
Laser burns edges, overlapping paths, and clean duplicate cuts
Text changes after upload. Font not outlined. Create outlines before export
The shape looks filled incorrectly. Compound path issue. Rebuild the compound path.
People Also Ask
Can Illustrator make stencil files?
Yes. Illustrator is excellent for stencil files because it creates vector artwork. You can design stencil text, logos, patterns, icons, borders, and SVG cut files.
What file format should I export for Cricut stencils?
SVG is usually the best format for Cricut stencil designs because it keeps the artwork as scalable vector paths.
Do stencil letters need bridges?
Yes, many stencil letters need bridges. Letters like A, O, P, D, B, and R have inner spaces that may fall out if they are not connected.
Can I turn a photo into a stencil in Illustrator?
Yes, but you may need to adjust contrast first. After tracing the image, simplify paths, remove tiny details, and add bridges where needed.
Is Illustrator better than Photoshop for stencil design?
Illustrator is better for cut-ready vector stencil files. Photoshop is useful for editing photos before turning them into stencil artwork.
Real-World Use Cases
Cricut Vinyl Stencils
Use Illustrator to create clean SVG files with outlined fonts and bridges. Upload the SVG into Cricut Design Space, resize it, and cut it on stencil vinyl or removable vinyl.
Reusable Mylar Stencils
For reusable stencil sheets, keep bridges stronger and avoid very tiny details. Mylar can last longer than paper or vinyl, but the design must be strong enough to handle repeated use.
Wood Sign Stencils
Use bold lettering and wider bridges. Wood signs often use stencil vinyl, mylar, or adhesive stencil film. Avoid tiny decorative cuts that may lift during painting.
Wall Stencils
Wall stencil designs should be larger and less fragile. Repeating patterns need clean alignment marks and consistent spacing.
Laser-Cut Stencils
Laser stencil files must be very clean. Remove overlapping paths, confirm scale, and test cut small areas before cutting the full design.
Beginner Checklist Before Exporting
Before exporting your Illustrator stencil file, check this list:
- Text is converted to outlines
- Bridges are added where needed
- No floating islands remain
- Paths are simplified
- Duplicate paths are removed
- Design is the final size
- Lines are thick enough
- Shapes are closed
- Hidden layers are removed
- File is saved as editable AI
- Final copy is exported as SVG, PDF, or the required format
Learn More / References
For deeper technical help, these official resources are useful:
- Adobe explains how to use Auto-Simplify paths in Illustrator to reduce unnecessary anchor points and smooth curves.
- Adobe’s Pathfinder panel overview is helpful for combining, dividing, and subtracting overlapping stencil shapes.
- Adobe’s guide on saving artwork in Illustrator explains common file formats such as AI, PDF, EPS, and SVG.
Final Thoughts
An Illustrator stencil design should not only look good on screen. It should cut cleanly, hold together, and work on the real surface. That means bridges, clean paths, proper sizing, simple shapes, and correct export settings are all important.
For beginners, the safest workflow is simple: start with bold artwork, convert text to outlines, add bridges, simplify paths, check the design in outline mode, save an editable AI file, and export a final SVG for cutting.
Once you understand bridges, islands, path cleanup, and SVG export, Illustrator becomes one of the most powerful tools for making professional stencil designs.
2 thoughts on “Illustrator Stencil Design Guide: Create Clean Cut-Ready Stencils”