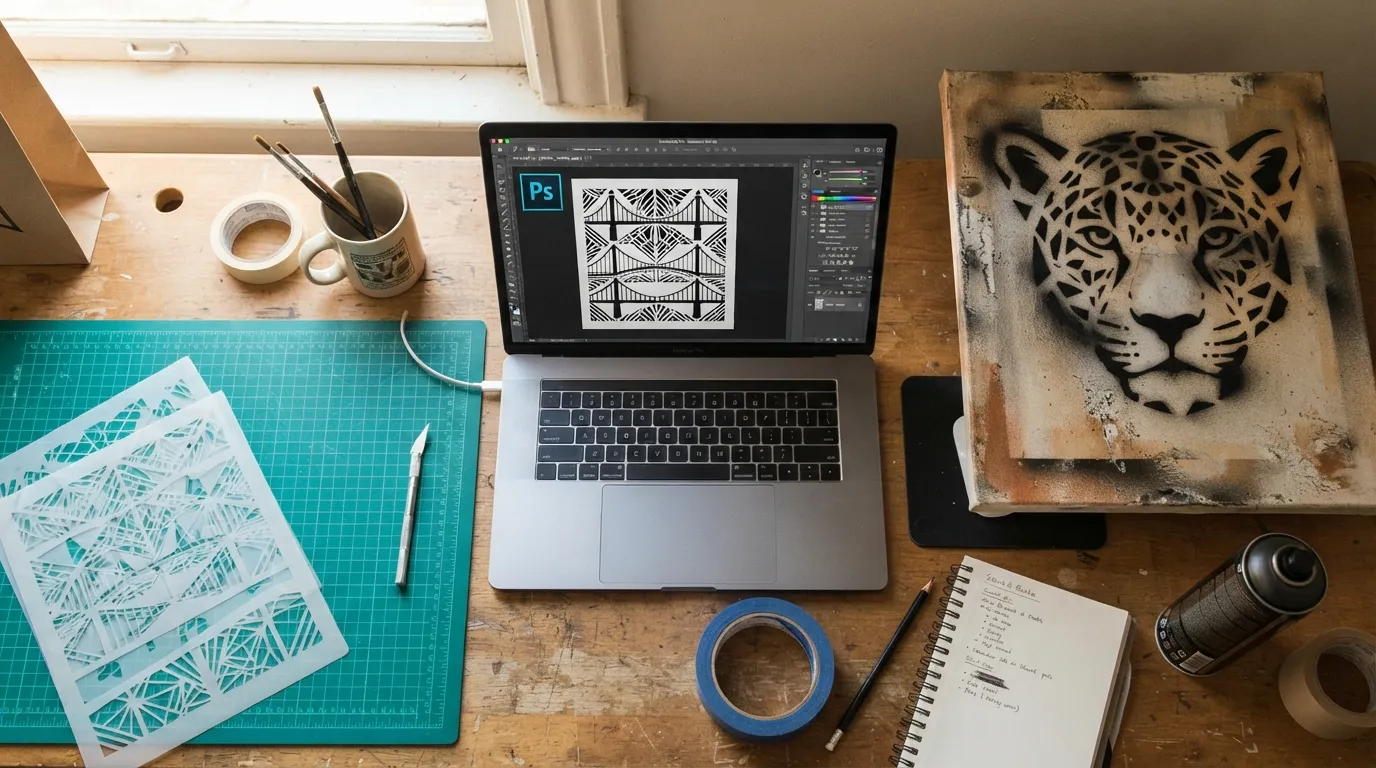
Creating digital stencil designs has become much easier with modern design software. Instead of manually drawing every pattern, designers can use Photoshop to transform images, illustrations, and artwork into clean stencil templates for crafts, cutting machines, wall decoration, and DIY projects.
Photoshop is especially useful for beginners because it provides powerful tools to simplify images, increase contrast, remove unwanted details, and create stencil-ready artwork.
Whether you want to make reusable painting stencils, Cricut cutting templates, craft patterns, or printable designs, learning a proper Photoshop stencil workflow helps you create better results.
This Photoshop stencil making tutorial explains every step from selecting the right image to preparing the final stencil design for real-world use.
For a complete understanding of stencil equipment, software, and production methods, explore our Stencil Making Tools & Techniques Complete Guide.
What Is a Photoshop Stencil Design?
A stencil design is a simplified version of an image where certain areas are removed or kept solid to create a reusable pattern.
Unlike normal digital artwork, a stencil must work physically. The design needs to be easy to cut, paint, print, or transfer onto another surface.
A good stencil design usually contains:
- Strong contrast between light and dark areas
- Clean edges
- Simple shapes
- Balanced negative space
- Connected design sections
For example, a normal portrait photo may contain thousands of colors and details. A stencil version converts that image into a simplified black-and-white pattern that can be cut or painted.
Why Use Photoshop for Creating Stencils?
Many online tools can automatically generate stencil effects, but Photoshop provides more control over the final result.
Professional designers often prefer Photoshop because it allows them to manually adjust every important detail.
1. Better Control Over Details
Automatic converters may remove important parts of an image or create unnecessary shapes.
Photoshop allows you to decide:
- Which details should remain
- Which areas should be removed
- How strong the contrast should be
- How simple the final stencil should become
2. Professional Image Editing
Photoshop includes tools for:
- Background removal
- Image adjustments
- Layer editing
- Shape refinement
- Design corrections
These features help create cleaner stencil templates.
3. Flexible Design Preparation
A Photoshop stencil can later be used for:
- Cricut projects
- Vinyl cutting
- Printable templates
- Wall painting
- Craft decorations
Photoshop Stencil Making Workflow Overview
The basic process of creating a stencil in Photoshop includes:
- Selecting a suitable image
- Removing the background
- Converting the image into black and white
- Applying Threshold adjustment
- Cleaning unwanted areas
- Improving stencil structure
- Adding bridges where necessary
- Exporting the final design
Following these steps creates a stencil that looks good digitally and works better in practical projects.
Step 1: Choose the Right Image for Your Stencil
The first step is selecting the correct image.
Not every image works well as a stencil. Complex photographs with many details usually require more editing.
The best images for stencil conversion include:
- Logos
- Simple illustrations
- Line drawings
- Bold portraits
- Decorative patterns
- High-contrast artwork
Avoid using:
- Low-quality images
- Blurry photos
- Images with complicated backgrounds
- Designs with too many tiny details
A higher-quality starting image always produces a cleaner stencil.
Step 2: Open Your Image in Photoshop
Open Photoshop and import your selected image.
Follow these steps:
- Open Photoshop
- Select File → Open
- Choose your image
- Duplicate the image layer
Duplicating the layer is important because it keeps your original image safe while you edit.
Professional designers usually work with duplicate layers to avoid damaging the original artwork.
Step 3: Remove the Background
A clean background makes stencil conversion much easier.
Photoshop provides several ways to remove backgrounds.
Select Subject Tool
This works well for:
- Objects
- People
- Simple shapes
Quick Selection Tool
Useful when you need manual control over selected areas.
Pen Tool
The Pen Tool provides the most accurate results when creating professional stencil outlines.
After selecting your subject:
- Create a layer mask
- Remove unwanted background areas
- Keep only the important design elements
Step 4: Convert Image Into Black and White
Most stencil designs work best with a limited color range.
Convert your image into black and white using Photoshop adjustment tools.
This helps you identify:
- Main shapes
- Important details
- Areas that should be removed
A stencil is not about keeping every detail. It is about creating a recognizable and practical design.
Step 5: Apply Photoshop Threshold Adjustment
The Threshold adjustment is one of the most important tools for stencil creation.
It converts an image into two main areas:
- Black sections
- White sections
To apply Threshold:
- Create a Threshold adjustment layer
- Move the slider
- Find the correct balance
If the threshold is too high:
- Details disappear
- The design becomes too simple
If the threshold is too low:
- Too many small details remain
- Cutting becomes difficult
The goal is to create a clean stencil structure.
Step 6: Clean and Refine the Stencil Design
After applying Threshold, your design usually needs manual cleanup.
Remove:
- Small unwanted dots
- Random marks
- Weak shapes
- Extra details
Useful Photoshop tools:
- Brush Tool
- Eraser Tool
- Lasso Tool
- Pen Tool
This step separates a basic stencil effect from a professional stencil template.
Step 7: Create Stencil Bridges
One of the biggest mistakes beginners make is ignoring stencil bridges.
A stencil bridge connects separate parts of a design so they do not fall apart after cutting.
For example:
Letters like:
- A
- O
- P
- R
often require connecting sections.
Without bridges:
- Small pieces may disappear
- The stencil becomes fragile
- The final design may not transfer correctly
Always check whether your stencil can physically survive cutting.
Step 8: Prepare Photoshop Stencil Files for Cricut
If you plan to use a cutting machine, your design needs additional preparation.
A Cricut-friendly stencil should have:
- Clear shapes
- Strong outlines
- Limited small details
- Connected sections
For users creating machine-cut designs, our Cricut stencil design guide explains how to prepare cutting files and improve accuracy.
You can also learn about Cricut’s official design workflow through the Cricut Help Center.
Photoshop Tools That Help Create Better Stencils
Threshold Adjustment
Best for converting images into high-contrast stencil designs.
Levels Adjustment
Helps improve:
- Brightness
- Contrast
- Image clarity
Pen Tool
Useful for creating accurate outlines.
Layer Masks
Allows non-destructive editing.
Brush Tool
Helpful for repairing damaged stencil areas.
Photoshop Stencil Effect vs Real Cutting Stencil
Many beginners confuse a visual stencil effect with an actual usable stencil.
A Photoshop effect may look good on screen, but a real stencil must be physically practical.
A visual effect focuses on appearance.
A cutting stencil focuses on:
- Strong connections
- Clean shapes
- Durable structure
- Easy cutting
Before using a stencil design for production, always test the physical result.
Common Photoshop Stencil Making Mistakes
Mistake 1: Keeping Too Many Details
Problem:
The stencil becomes difficult to cut.
Solution:
Simplify the design and remove unnecessary elements.
Mistake 2: Ignoring Negative Space
Problem:
The stencil loses clarity.
Solution:
Balance filled areas with empty spaces.
Mistake 3: Using Low Resolution Images
Problem:
Edges become rough.
Solution:
Start with the highest-quality image available.
Mistake 4: Not Saving Editable Files
Problem:
Future changes become difficult.
Solution:
Save:
- PSD file for editing
- PNG preview
- SVG version when needed
For advanced vector workflows, understanding SVG files is helpful. You can learn more about scalable vector graphics through this overview of Scalable Vector Graphics (SVG) Wikipedia.
Real-World Uses of Photoshop Stencil Designs
Cricut Craft Projects
Photoshop-made stencils can be used for:
- Vinyl cutting
- Paper crafts
- Custom labels
- Decorative projects
Wall Painting Templates
Large stencil designs are useful for:
- Home decoration
- Furniture painting
- Art projects
Small Business Products
Designers can create:
- Printable stencil templates
- Craft files
- Custom design collections
Photoshop vs Illustrator for Stencil Making
Photoshop is better for:
- Photo-based stencil conversion
- Image editing
- Artistic effects
Illustrator is better for:
- Vector artwork
- Logo stencils
- Precise cutting paths
Many professional designers use both tools together depending on the project.
How to Improve Your Photoshop Stencil Results
Follow these practical tips:
- Start with high-resolution images
- Use strong contrast
- Remove unnecessary details
- Create stencil bridges
- Test small versions first
- Save editable project files
- Optimize designs before cutting
Modern AI-based design tools can also help generate starting concepts before editing them manually. Learn more about workflow possibilities in our guide about AI tools for creating stencil designs.
People Also Ask
Can Photoshop create stencil designs?
Yes. Photoshop can convert images into stencil-style designs using tools like Threshold, Levels, and manual editing techniques.
What is the best Photoshop tool for making stencils?
Threshold adjustment is one of the most commonly used tools because it quickly converts images into high-contrast stencil patterns.
Can I use Photoshop stencil designs with Cricut?
Yes. After preparing and exporting the design correctly, Photoshop-created artwork can be used for Cricut projects.
Is Photoshop better than Illustrator for stencils?
Photoshop is better for image-based designs, while Illustrator is usually better for pure vector stencil artwork.
How do I make a clean stencil from a photo?
Remove the background, increase contrast, apply Threshold, simplify details, and check the design before cutting.
Conclusion
Creating stencils in Photoshop gives designers complete control over image conversion, detail adjustment, and final artwork quality.
A successful stencil is not only visually attractive but also practical for cutting, painting, or transferring.
By following this Photoshop stencil making tutorial, you can transform ordinary images into professional stencil templates suitable for crafts, Cricut projects, and creative designs.
To build a stronger stencil workflow, continue learning about essential software, machines, and techniques in our Stencil Making Tools & Techniques Complete Guide.
1 thought on “Photoshop Stencil Making Tutorial:(Create Professional Stencil Designs)”