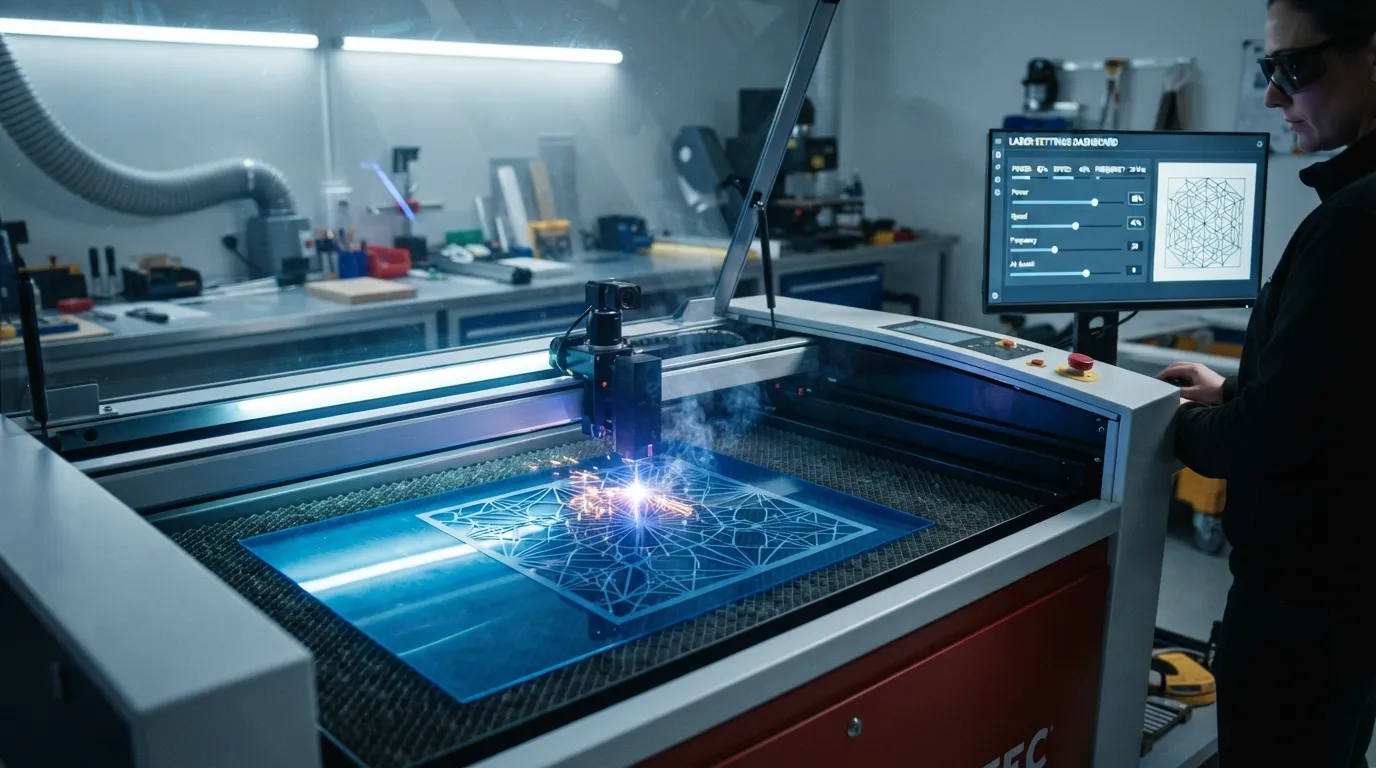
Creating professional stencils with a laser cutter requires more than simply uploading a design file and pressing start. The quality of your final stencil depends on choosing the correct laser settings, understanding your material, and adjusting machine parameters for clean and accurate results.
Laser cutters are widely used for making reusable stencils for:
- Craft projects
- Wall painting
- Sign making
- Fabric decoration
- Acrylic templates
- DIY home projects
- Commercial stencil production
The wrong settings can cause problems such as burnt edges, incomplete cuts, melted materials, or weak stencil designs.
This guide explains laser cutter settings for stencils, including power, speed, frequency, material considerations, common mistakes, and practical tips to achieve professional results.
For a complete understanding of stencil equipment, software, and production methods, explore our Stencil Making Tools & Techniques Complete Guide.
Why Laser Cutter Settings Matter for Stencil Making
Every laser cutting project requires the right balance between:
- Laser power
- Cutting speed
- Pass count
- Material thickness
- Focus distance
- Air assistance
A stencil is different from ordinary cutting projects because it requires both precision and durability.
A good stencil should have:
- Smooth edges
- Strong connecting areas
- Accurate shapes
- Minimal burning
- Long-lasting material strength
Incorrect settings may create designs that look good digitally but fail when used physically.
Understanding Laser Cutter Settings
Before adjusting your machine, it is important to understand the main settings that control laser cutting performance.
Laser Power
Laser power controls how much energy the machine applies to the material.
Higher power:
- Cuts deeper
- Works with thicker materials
- Can create more heat damage
Lower power:
- Produces cleaner edges
- Works better for thin materials
- May require multiple passes
For stencils, the goal is not maximum power. The goal is controlled cutting.
Cutting Speed
Speed determines how quickly the laser moves across the material.
Slow speed:
- Provides deeper cuts
- Increases heat exposure
- May create burn marks
Fast speed:
- Reduces heat damage
- May not cut completely
Finding the correct speed and power combination is essential for clean stencil results.
Frequency or Pulse Rate
Some laser machines allow frequency adjustments.
Frequency affects:
- Cutting smoothness
- Material response
- Edge quality
Different materials require different frequency settings.
Number of Passes
Some stencil materials are better cut using multiple passes instead of one aggressive cut.
Multiple passes can provide:
- Cleaner edges
- Less burning
- Better detail preservation
Best Laser Cutter Settings for Common Stencil Materials
Laser settings depend on your machine, lens, material, and thickness. Always perform a small test cut before producing the final stencil.
Acrylic Stencil Settings
Acrylic is a popular stencil material because it is:
- Durable
- Reusable
- Easy to clean
- Available in different thicknesses
General approach:
- Use moderate power
- Adjust speed according to thickness
- Use proper ventilation
Acrylic edges can melt if too much heat is applied.
For beginners, testing small shapes before cutting the complete design is recommended.
Wood Stencil Settings
stencils are useful for:
- Decorative painting
- Craft projects
- Home designs
Wood types behave differently.
Factors affecting results:
- Thickness
- Moisture content
- Wood type
- Surface finish
Thin plywood usually requires different settings compared with thicker hardwood.
Plastic Sheet Stencil Settings
Plastic sheets are commonly used for reusable templates.
Advantages:
- Flexible
- Lightweight
- Affordable
Important considerations:
- Avoid excessive heat
- Check whether the plastic is laser-safe
- Use proper ventilation
Some plastics release harmful fumes when cut.
Mylar Stencil Settings
Mylar is one of the most popular stencil materials because it is:
- Flexible
- Durable
- Reusable
- Resistant to paint
Laser cutting Mylar requires careful settings because thin sheets can warp with excessive heat.
How to Choose Laser Settings for Stencil Cutting
Follow this simple workflow.
Step 1: Identify Your Material
Before adjusting settings, know:
- Material type
- Thickness
- Manufacturer recommendations
Different materials react differently to laser heat.
Step 2: Run a Test Pattern
Never start with a full stencil design.
Create a small test file containing:
- Lines
- Small circles
- Detailed corners
- Fine patterns
Testing saves material and improves accuracy.
Step 3: Adjust Power and Speed
If the laser does not cut through:
Increase:
- Power
- Number of passes
or reduce:
- Cutting speed
If edges are burnt:
Decrease:
- Power
- Number of passes
or increase:
- Cutting speed
Step 4: Check Edge Quality
A good stencil edge should be:
- Smooth
- Clean
- Consistent
Inspect:
- Small details
- Corners
- Thin lines
- Connecting bridges
Recommended Laser Cutting Workflow for Stencils
A professional workflow usually includes:
- Create or import stencil design
- Convert artwork into vector paths
- Check design thickness
- Prepare machine settings
- Test cut material
- Adjust parameters
- Cut final stencil
- Clean and inspect results
Design preparation is equally important as machine settings. Learning how to prepare vector artwork properly through our guide on PNG to SVG Conversion for Stencils can improve cutting accuracy.
How to Prevent Burn Marks on Laser Cut Stencils
Burn marks are one of the most common laser cutting problems.
To reduce burning:
Use Correct Focus Height
Incorrect focus reduces cutting accuracy.
Always check:
- Lens position
- Material placement
- Machine calibration
Use Air Assist
Air assist helps:
- Remove smoke
- Reduce heat buildup
- Improve edge quality
Avoid Excessive Power
Many beginners increase power too much.
High power can:
- Melt edges
- Damage details
- Reduce stencil durability
Improve Ventilation
Smoke buildup can affect:
- Cutting quality
- Machine performance
- Material appearance
Common Laser Cutter Stencil Problems and Solutions
Problem 1: Design Does Not Cut Completely
Possible causes:
- Low power
- High speed
- Thick material
- Poor focus
Solutions:
- Increase power slightly
- Reduce speed
- Use additional passes
Problem 2: Burnt or Melted Edges
Possible causes:
- Too much power
- Slow cutting speed
- Poor ventilation
Solutions:
- Reduce power
- Increase speed
- Improve airflow
Problem 3: Small Details Break During Cutting
Possible causes:
- Design too detailed
- Lines too thin
- Weak connections
Solutions:
- Simplify design
- Increase minimum line thickness
- Add stencil bridges
Problem 4: Uneven Cutting Depth
Possible causes:
- Uneven material surface
- Incorrect focus
- Machine calibration issues
Solutions:
- Flatten material
- Adjust focus
- Check machine alignment
Laser Cutting vs Laser Engraving for Stencils
cutting removes material completely.
engraving only creates marks or designs on the surface.
For stencil creation:
Laser cutting is usually preferred because it creates:
- Open areas
- Transfer patterns
- Reusable templates
Engraving may be useful for adding:
- Labels
- Design marks
- Alignment guides
Tips for Professional Laser Cut Stencils
Follow these best practices:
- Use vector SVG files
- Keep small details practical
- Test before final production
- Maintain proper line thickness
- Add bridges to weak areas
- Choose durable stencil materials
- Clean edges after cutting
For advanced cutting workflows, understanding vector file preparation and machine compatibility is essential. You can also explore official machine guidance through the Cricut Help Center for general cutting design concepts.
Real-World Uses of Laser Cut Stencils
Wall Painting Stencils
Laser-cut stencils create:
- Reusable patterns
- Decorative designs
- Professional finishes
Business Applications
Small businesses use laser stencils for:
- Custom signs
- Packaging designs
- Craft products
DIY Projects
Home users create:
- Furniture patterns
- Seasonal decorations
- Personalized crafts
People Also Ask
What is the best laser setting for stencil cutting?
The best setting depends on the material, thickness, and laser machine. Testing power and speed combinations is recommended.
Can a laser cutter make reusable stencils?
Yes. Materials like Mylar, acrylic, and suitable plastics can create durable reusable stencils.
What material is best for laser cut stencils?
Mylar, acrylic, and thin plywood are commonly used depending on the project requirements.
Why are my laser cut stencil edges burning?
Burning usually happens because of excessive power, slow speed, poor focus, or insufficient airflow.
Do I need SVG files for laser stencil cutting?
Vector files like SVG are usually preferred because they provide accurate cutting paths.
Conclusion
Choosing the correct laser cutter settings for stencils is essential for creating clean, durable, and professional templates.
The best results come from balancing power, speed, material selection, and design preparation. Instead of using one fixed setting for every project, test your machine with each material and adjust gradually.
With proper settings and a well-prepared design, laser cutters can produce high-quality stencils for crafts, businesses, home decoration, and creative projects.
Continue building your stencil production knowledge by exploring our Stencil Making Tools & Techniques Complete Guide and related technical guides.
References / Learn More
- Learn more about vector design concepts through Scalable Vector Graphics (SVG) Wikipedia
- Explore official design and cutting workflows through Cricut Help Center
- Learn professional design software workflows through Adobe Illustrator Help Center
3 thoughts on “Laser Cutter Settings for Stencils”