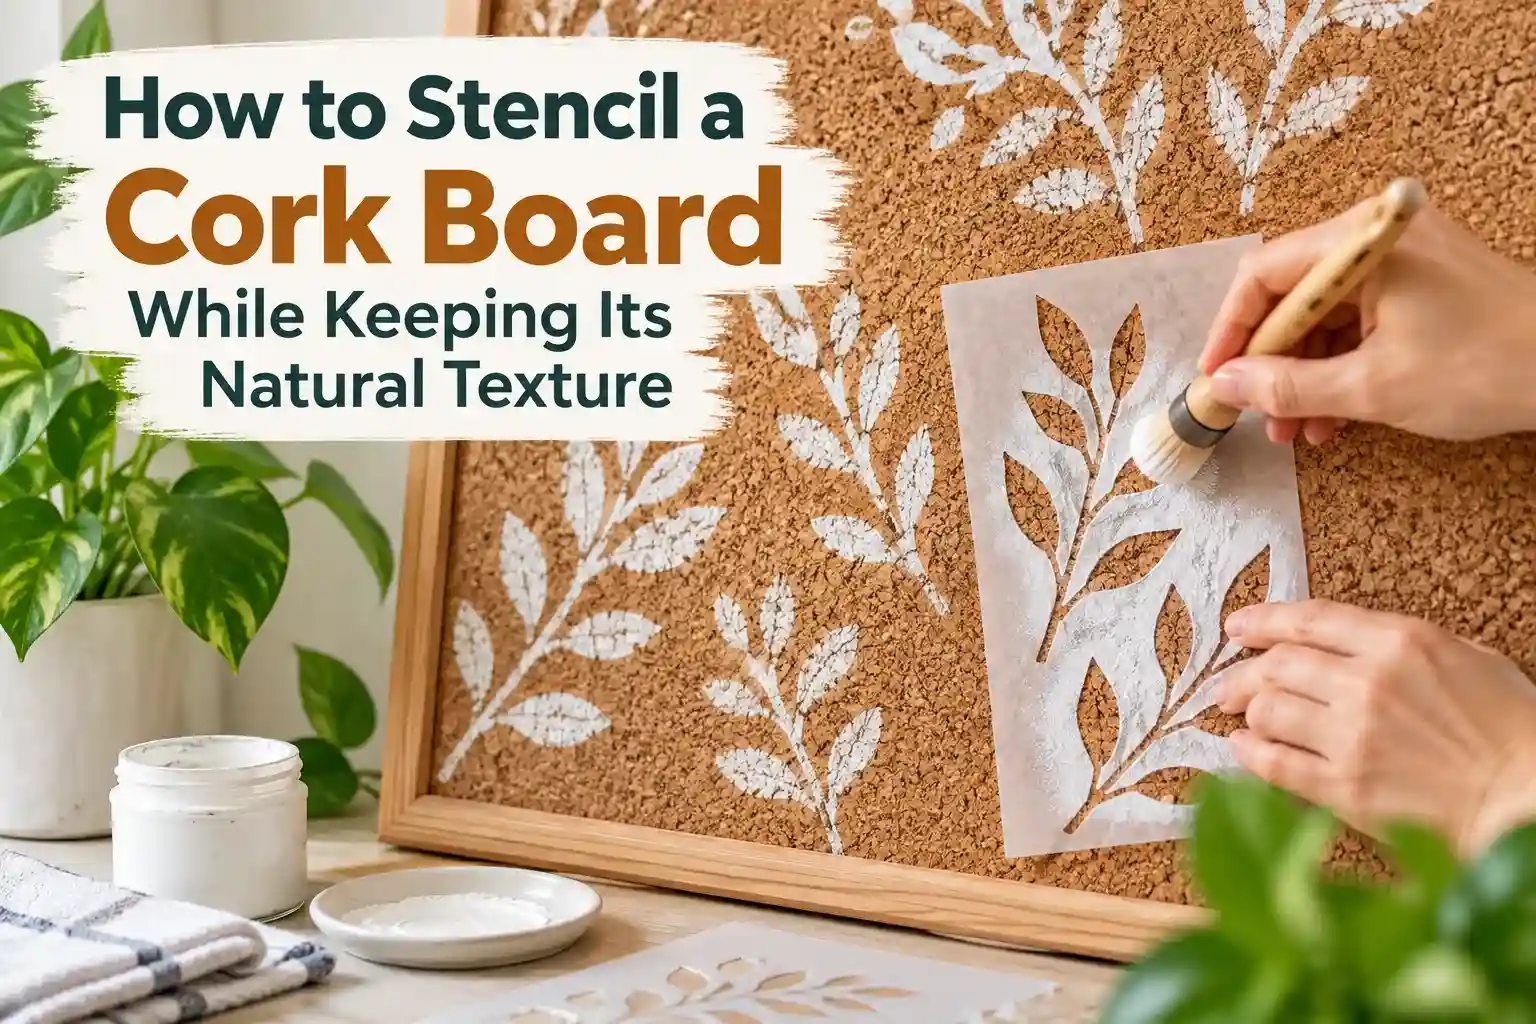
introduction
Stenciling a cork board can add personality and organization without hiding the warm, natural texture that makes cork unique. The key is using light paint layers, the right stencil, and gentle application techniques so paint stays on the surface instead of filling the cork’s small pores. Because cork is soft, porous, and slightly uneven, too much paint can cause bleeding or create a thick, artificial-looking finish. With proper preparation and a lightly loaded stencil brush or foam applicator, you can create clean, attractive designs while keeping the original cork grain visible and maintaining its natural appearance.
Use the cork texture as part of the design
To stencil a cork board, remove loose dust, support the board flat, secure a simple stencil, and apply light layers of paint with an almost dry brush. You do not need to bury the cork texture beneath an opaque painted skin. A lightly painted motif can leave room for notes and pins while making the board look intentional.
First decide whether you want a working pinboard or a decorative panel. That choice affects how much area to paint, how much preparation to do, and whether a clear coating serves any useful purpose.
Check the board before choosing a stencil
Inspect the cork around the edges and existing pinholes. If it crumbles when touched or peels away from its backing, painting will not repair that structure. Avoid vigorous sanding, especially on a thin cork veneer. A worn corner can disappear under a frame; a loose painting surface needs attention before decoration.
Factory-coated boards may behave differently from raw cork. Test a hidden corner or a matching offcut with your intended paint. After the recommended drying period, check for poor adhesion, an unexpected color change, and damage when tape is removed.
For a first attempt, use a border, several widely spaced shapes, or a large central initial. A full repeating pattern requires more repositioning and creates more chances to transfer wet paint. Leave a generous clear area if the board will hold tickets, reminder cards, and photographs.
Pick the right preparation for the intended finish
| Goal | Useful approach | Tradeoff to test |
|---|---|---|
| Natural cork with a painted motif | Test light paint directly on clean cork. | The first coat may look uneven or muted. |
| Sharper detail on porous cork | Test a thin compatible sealing layer first. | The sealer may darken the cork or change its sheen. |
| A fully colored background | Apply a compatible base coat before stenciling. | More paint changes the natural appearance. |
| A heavily used notice board | Keep the design limited and paint build low. | Pinholes will still become visible with use. |
Designer Stencils recommends sealing cork in its surface preparation guidance. Treat that as an option to test against your desired finish. A sealed, decorative panel and a mostly natural working pinboard do not have identical requirements.
Supplies for a small cork board
- A structurally sound cork board.
- A reusable stencil with uncomplicated openings.
- A small stencil brush or foam pouncer.
- Compatible acrylic craft paint and a palette.
- Low-tack tape, paper towels, ruler, and scrap paper.
- A soft dry brush or cloth for removing loose dust.
Use our image-to-stencil tool if you want to turn your own simple motif into a starting design. Preview it at the actual size and remove details that would be difficult to distinguish against cork granules. A clean digital outline does not remove the texture of the physical board.
Paint the board step by step

1. Lay it flat and protect the frame
Remove pins, papers, and hanging accessories that interfere with the work. Lay the board on a firm surface. Brush away loose particles gently. Mask the frame after testing the tape, or remove a removable frame if its construction allows that without damage.
2. Arrange paper copies first
Cut out rough paper versions of the motif and move them around until the placement works. View the arrangement from the distance where the board will hang. A design can look beautifully centered close up yet disappear behind normal everyday notes.
As a planning example, a 12-by-18-inch board could use a narrow border and an open center. The exact border width is a design choice, not a paint requirement. Check that your stencil leaves room to hold or tape it without covering the neighboring motif.
3. Test attachment before adding paint
Start with small tape tabs around the stencil border. If the center lifts, hold the section you are painting gently or test a compatible repositionable adhesive. Do not assume that stronger adhesive gives better results: it can pull at the cork surface when removed.
4. Apply a light first pass
Touch the brush into the paint and offload the excess. Tap vertically rather than pushing sideways under the stencil. Expect the cork texture to show through. The first pass establishes the outline; it does not have to produce complete opacity.
5. Judge coverage after drying
Follow the paint label before adding another layer. Decide whether another coat improves readability or simply fills more texture. Use less pressure near narrow openings so the stencil does not bend away from the board.
6. Lift without sliding
Remove the stencil carefully and check its underside. Let the painted area dry before another stencil or your hand touches it. Bangor Cork’s cork board project offers an additional manufacturer example of decorating a board and its frame.
Troubleshoot the surface rather than adding more paint
Faint spots inside the shape: These may be low points in the cork. Inspect the outline first. If it is clear, accept some texture or add a controlled second pass instead of flooding the whole motif.
A furry or broken edge: Check whether loose cork particles moved during painting. Clean the area before the next repeat and consider a bolder design on a less fragile part of the board.
Paint outside the opening: Reduce the brush load, improve contact around that opening, and avoid dragging the stencil while lifting it. Do not scrub raw cork with a wet cloth in an attempt to erase a large mistake.
Repeats drifting out of line: Use a measured reference rather than the board frame alone. Frames are not always perfectly square. Our repeat-pattern alignment guide explains how to establish consistent spacing.
Do you need a clear topcoat?
Not automatically. An indoor pinboard does not have the same exposure as a drinks coaster or outdoor sign. A clear finish can change the sheen, darken unpainted cork, and add another layer around pinholes. Test it only if your paint system or intended use calls for it.
Wait for the paint’s recommended cure before pinning papers over it. Test a spare scrap of paper first so valuable photographs are not the first items touching a possibly tacky surface. Keep the board away from damp areas unless the board itself is intended for those conditions.
Common questions
Can the same method be used on cork coasters?
The painting motion is similar, but moisture exposure changes the finishing decision. Do not treat a decorative pinboard finish as proof that a coaster can tolerate condensation or heat.
Is a roller faster?
It can be on a larger, stable surface, but small boards and detailed motifs are easier to control with a brush. Our brush and roller comparison helps match the applicator to the job.
Will paint hide old pinholes?
Usually not reliably. Choose the layout around damaged areas rather than filling the entire board with thick paint.