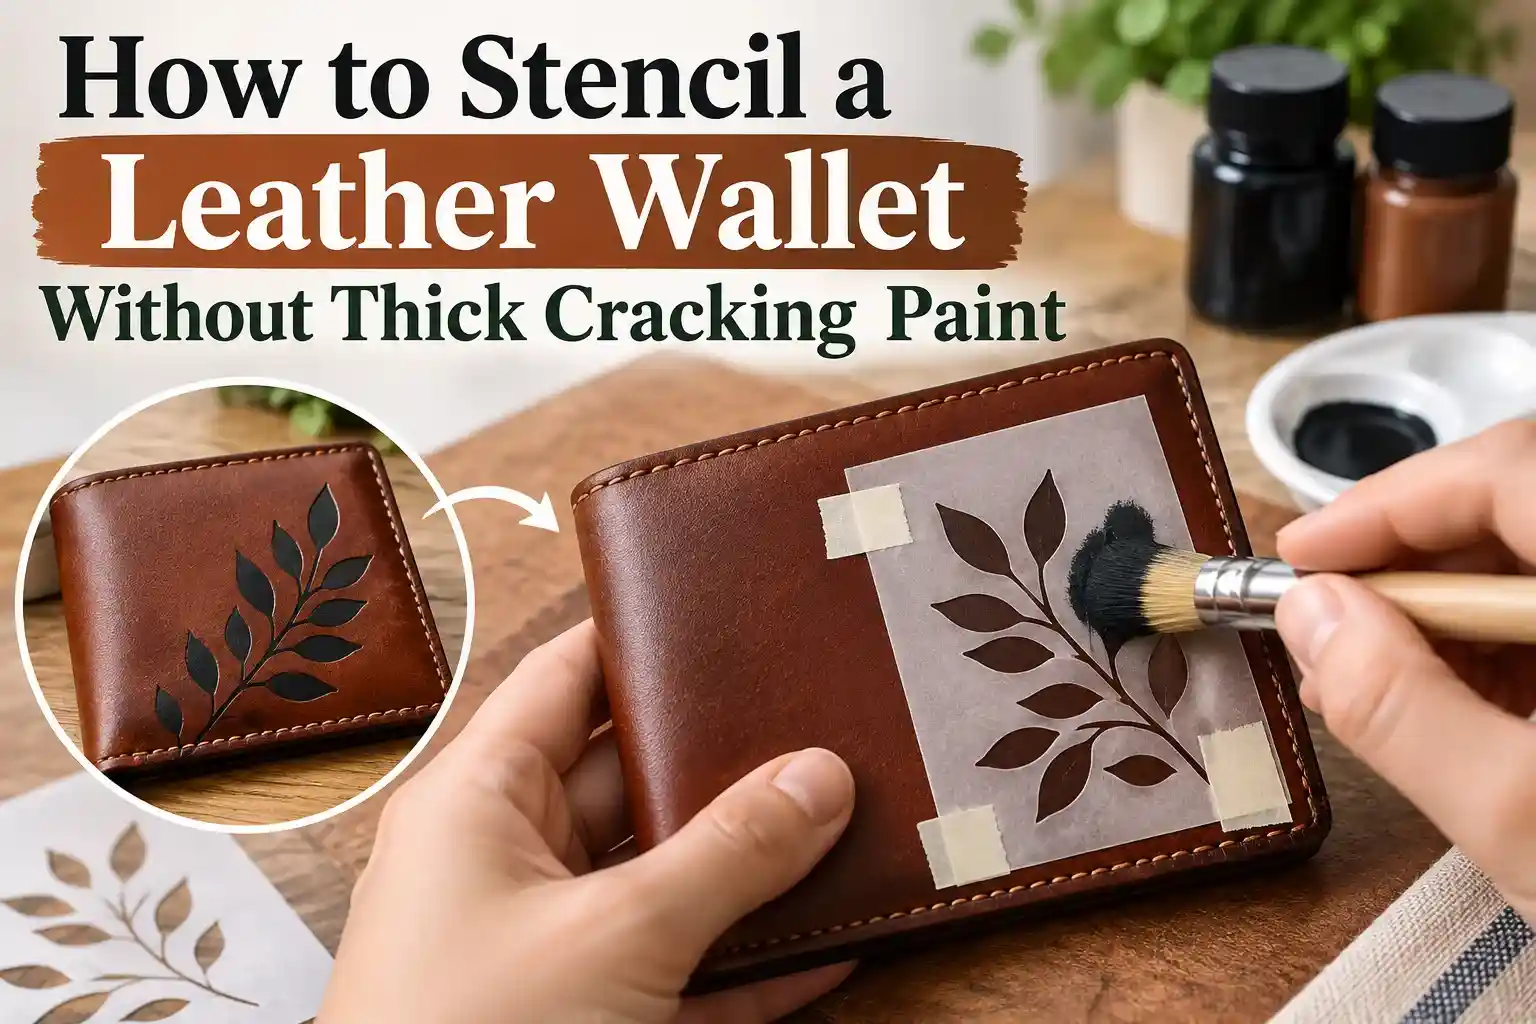
introduction
Stenciling a leather wallet can add a clean, custom design, but leather needs a lighter approach than wood, fabric, or canvas. Heavy paint layers may look fine at first, then crack, peel, or feel stiff as the wallet bends during everyday use. The best results come from proper surface preparation, a well-secured stencil, flexible paint, and several thin coats instead of one thick layer. In this guide, you’ll learn how to stencil a leather wallet neatly while keeping the design sharp, flexible, and durable without hiding the natural texture of the leather.
Choose a small design on a stable part of the wallet
To stencil a leather wallet, identify the material, test a compatible leather-paint system, prepare the surface as directed, and build the design in thin coats. Keep the motif away from the main fold. A wallet bends and rubs against pockets every day, so paint flexibility and placement matter as much as a sharp stencil edge.
This guide is for smooth leather. Suede, nubuck, patent leather, coated synthetic material, and peeling bonded leather need different decisions. If you cannot identify the surface, start with the wallet maker’s care information and a hidden-area test instead of applying a strong cleaner.
Check whether the wallet is a suitable painting surface
| Surface or condition | Decision before painting |
|---|---|
| Sound, smooth leather | Test a leather-paint system and its recommended preparation. |
| Unknown faux leather | Confirm compatibility with its coating; leather instructions may not apply. |
| Suede or nubuck | Do not use this smooth-leather workflow on the raised nap. |
| Peeling or flaking surface | Painting over unstable material will not repair the underlying layer. |
| Very soft fold or stretched corner | Move the motif to a less stressed area. |
Empty the wallet and inspect it both open and closed. Mark the area you intend to decorate on a paper copy, then close the wallet again. A design centered on the open panel may land awkwardly on a fold when carried.
Leave space around stitching, edge paint, snaps, and zipper tracks. This is not just a visual margin: it provides somewhere to secure the stencil and reduces the risk of paint collecting against raised details.
Use supplies intended to work together
- A compatible flexible leather paint.
- The cleaner or preparer recommended for that paint and leather.
- A small stencil, brush or foam pouncer, and palette.
- Low-tack attachment materials tested on the wallet.
- Clean cloths, masking materials, and a rigid support insert.
- A compatible finishing product only if the chosen system calls for one.
A general craft acrylic is not automatically interchangeable with a leather paint. Likewise, a clear furniture coating is not automatically a suitable flexible finish. Follow one documented product system rather than combining unrelated bottles because they all say acrylic.
Angelus publishes a quick guide for its leather-paint system. Its coat and curing guidance applies to that system; use the directions for your actual paint if you select another brand.
Prepare a stencil that will survive handling
Choose a short initial, a simple geometric mark, or a compact silhouette. Large solid blocks put more paint across areas that flex. Very fine lines demand precise contact and can disappear against leather grain. Print a paper mockup and compare it with the wallet at normal viewing distance.
Our personalized lettering tool can help plan initials. If you cut a reusable stencil, check enclosed shapes before cutting. The middle of an O or A needs a connection to the surrounding sheet; our guide to supported letter centers explains that design problem.
Stencil the wallet step by step
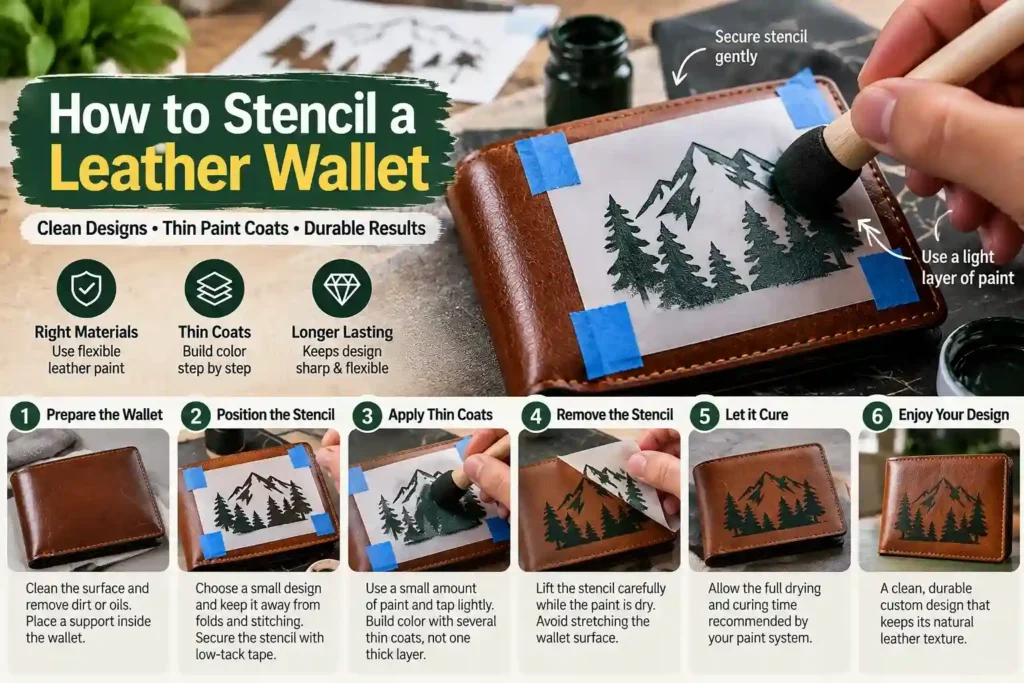
1. Protect and support it
Remove cards, cash, and removable accessories. Slip a smooth support behind the panel without overstretching the wallet. Mask neighboring areas carefully, especially stitching and hardware. Do not put adhesive over fragile edge paint merely to save time.
2. Test the entire paint system
A useful test includes preparation, paint, and any intended finish, not just a dot of color. Let the test cure as directed, then examine appearance, tack, adhesion, and gentle flexing. A test that looks fine while wet does not establish durability.
3. Prepare only as directed
Remove dirt and oils with the recommended method. Some smooth-leather paint systems require removing the factory finish with a specified preparer. That process can change the original color and finish, so keep the treatment controlled and follow ventilation and handling instructions on the product.
Do not substitute household solvents or soak the wallet. Linings, glued layers, and surface coatings may respond differently. Angelus’s leather preparation instructions explain the role of preparation within its own system.
4. Position the stencil
Align it with your paper layout and secure it lightly. Check contact around each opening. If the stencil bridges a seam or crease, move the design or reduce its size instead of pushing harder. Test any repositionable adhesive for residue and changes to the finish before using it on the visible panel.
5. Build thin color layers
Load a small amount of paint and offload the excess. Tap carefully through the opening. Let each layer dry as the manufacturer directs before adding another. Do not aim for complete coverage with one thick application, especially when painting a pale color over dark leather.
For light colors, test whether a compatible underlayer is needed. Keep every layer inside the same stencil boundary so a pale halo does not remain around the final color. More coats are only useful if each one is controlled and properly dried.
6. Remove, finish, and cure
Lift the stencil carefully without stretching the painted panel. Avoid placing another adhesive stencil over fresh paint. Apply a compatible finish only at the stage specified by the paint system, then allow the full recommended waiting time before using the wallet.
What to do if the test goes wrong
The paint beads or separates: Stop and check surface compatibility and preparation. Adding thicker paint over a surface it cannot wet evenly does not solve the underlying problem.
The design feels tacky: Allow the specified drying time and reassess coat thickness, conditions, and product compatibility. Do not close the wallet against the painted area or bury tackiness under an arbitrary clear coat.
Color lifts with the stencil: Check whether the adhesive is too aggressive, the base was insufficiently prepared, or paint was covered before it was ready. Change the test process before decorating the main panel.
The edge has spread: Reduce paint load and improve stencil contact. Our paint-bleed troubleshooting guide explains the common causes, but cleanup methods must still suit the leather.
Common questions
How soon can I put the wallet back in my pocket?
Follow the full use or cure interval for your products, not just touch-dry time. Angelus’s quick guide specifies a 24–48-hour cure; other systems may differ, and a finishing coat can have its own waiting period.
Will a topcoat guarantee that the design cannot crack?
No. A topcoat does not compensate for incompatible paint, poor preparation, heavy buildup, or a badly placed design across a stressed fold.
Can I paint an expensive or sentimental wallet?
Practice on comparable scrap leather first. Surface preparation may permanently change the original finish, and a hidden-area test cannot guarantee an invisible reversal.