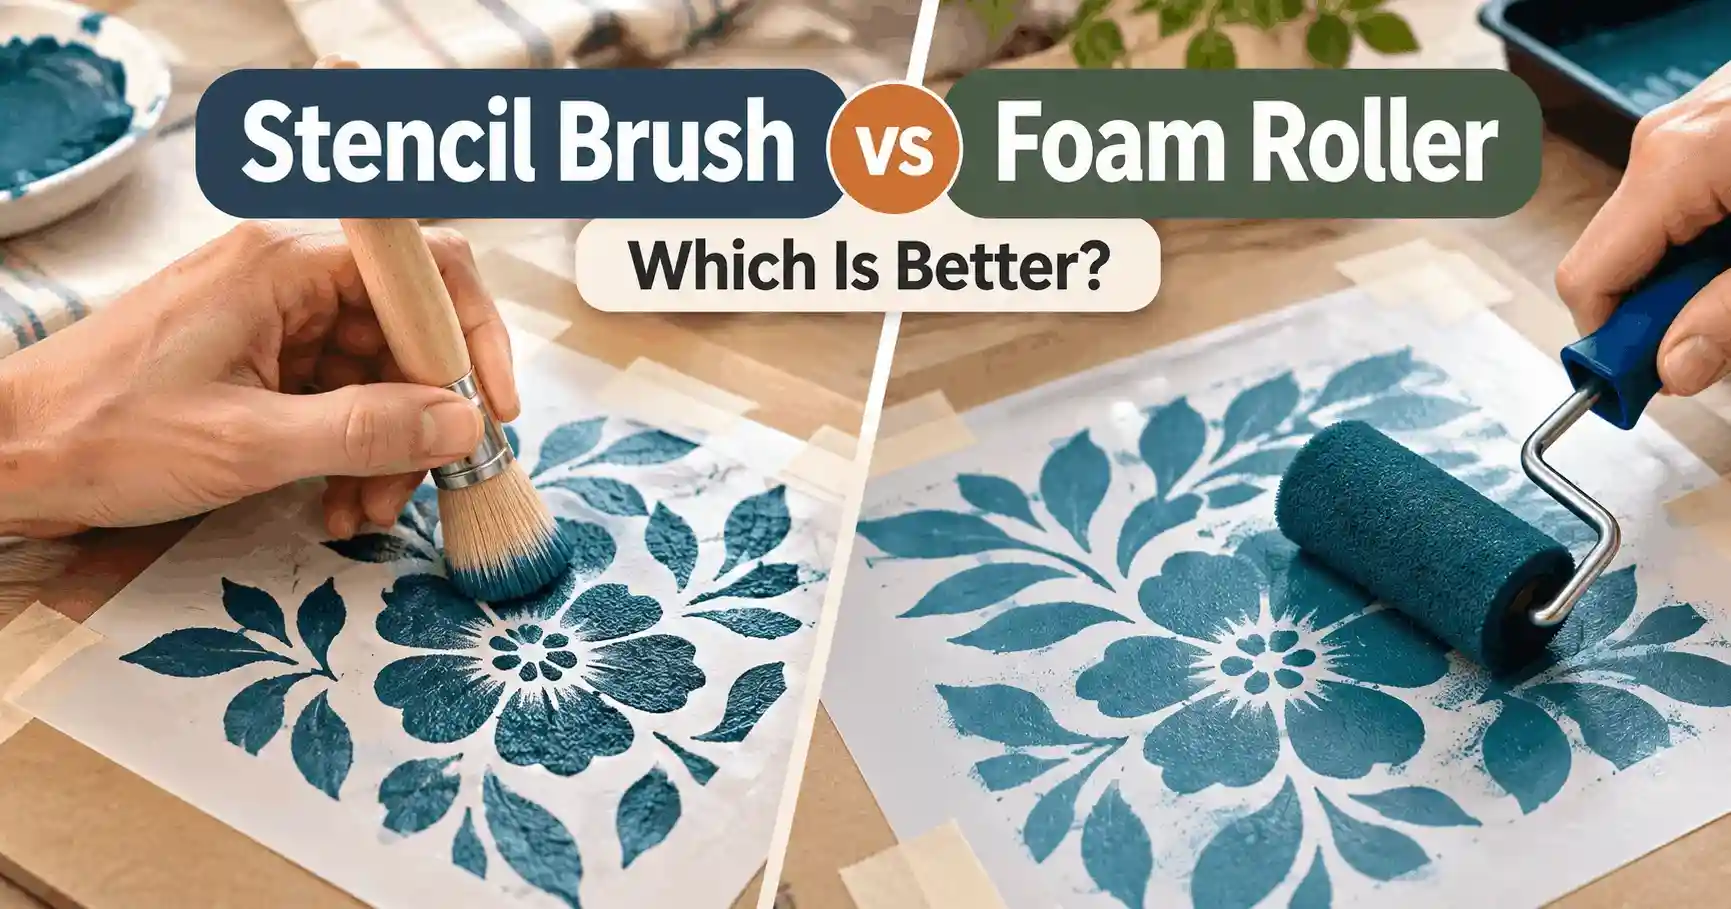
Quick Answer: Stencil Brush vs Foam Roller
A stencil brush and a foam roller can both produce clean stencil results, but they solve different problems. A foam roller is usually faster on broad, flat designs. A stencil brush gives more control around small openings, corners, texture, shading, and multi-color details.
The more useful question is not which tool is universally better. It is which tool matches the stencil size, surface, paint, and finish you are trying to create. This guide compares both tools side by side and shows when switching tools can prevent fuzzy edges, patchy coverage, and paint bleed.
If the stencil design itself still needs cleanup before painting, use the free stencil maker to simplify the image, check small details, and prepare a cleaner cut-ready design.
Quick Comparison: Stencil Brush vs Foam Roller
| Factor | Stencil Brush | Foam Roller |
|---|---|---|
| Best for | Details, small openings, corners, shading, textured surfaces | Large openings, walls, floors, repeating patterns, flat surfaces |
| Speed | Slower | Faster |
| Paint control | Very high | High when lightly loaded |
| Multi-color work | Easier | Less precise around color boundaries |
| Texture control | Better for irregular surfaces | Best on smoother surfaces |
| Learning curve | Requires practice with pouncing or swirling | Simple, but easy to overload with paint |
| Large projects | Time-consuming | Efficient |
Which Tool Fits Each Stencil Project?
When a Stencil Brush Is the Better Choice
Choose a stencil brush when the design contains narrow openings, sharp corners, several colors, or areas where paint must be placed precisely. The short, firm bristles let you work vertically with a pouncing motion or use a controlled circular motion without sweeping wet paint sideways under the stencil edge.
A brush is also useful on lightly textured surfaces because you can control both pressure and direction. Instead of forcing paint into every low spot at once, build coverage gradually. This reduces the chance of pushing a heavy load of paint beneath a lifted section of the stencil.
Brushes make sense for small craft stencils, furniture details, lettering, touch-ups, blended color, and designs where one tool needs to stay inside a tight opening. For broader guidance on avoiding bleed and fuzzy outlines, see common stencil mistakes and fixes.
When a Foam Roller Is the Better Choice
A dense foam roller is usually the practical choice for large wall stencils, floor patterns, repeated motifs, and wide stencil openings. It covers more area with each pass and can create an even layer quickly when the surface is flat and the roller is not overloaded.
The main risk is excess paint. A saturated roller can push paint into gaps around the stencil, especially when the stencil is not lying flat. Load the roller, then remove enough paint on a clean paper towel or tray area that the roller feels evenly coated rather than wet. Apply light pressure and build color in thin passes.
Paint manufacturers also emphasize light application for stencil work. Rust-Oleum recommends applying stencil paint lightly with a brush or roller and lifting the stencil at the appropriate stage for its coating system. See the Rust-Oleum stencil application guidance.
Which Tool Gives Cleaner Stencil Edges?
Either tool can create clean edges when paint quantity and stencil contact are controlled. A brush gives you finer control around small details, while a dense foam roller can create very clean results over large openings if it is nearly dry and the stencil is firmly secured.
Plaid’s stenciling guidance describes rollers as useful for large areas and emphasizes off-loading paint before rolling. It also notes that brushes, daubers, spouncers, and other tools create different effects. The Plaid stenciling tips are a useful reference when matching application tools to a project.
Why Paint Bleed Happens With Both Tools
Paint bleed is usually caused by a combination of too much paint, poor stencil contact, sideways movement, surface texture, or excessive pressure. Changing from a roller to a brush will not solve a stencil that is lifting around the edges. Likewise, a perfect stencil brush can still force paint underneath the design if it is heavily loaded.
If the paint has already moved under the stencil, use the repair steps in our guide to fixing stencil paint bleed rather than adding another heavy coat.
Before painting, make sure the surface is clean and dry, secure the stencil, and check narrow bridges or corners for lifting. If the stencil material itself is too rigid, too flimsy, or poorly matched to the surface, compare the options in the stencil materials guide.
Best Tool by Surface and Project Size
Walls and Large Repeating Patterns
For a large wall or repeating floor pattern, a dense foam roller is usually more efficient. It can cover broad openings quickly while keeping the coat even. Work in light passes rather than trying to reach full opacity in one roll.
A stencil brush still has a role. Use it for corners, narrow border areas, registration details, touch-ups, and sections where the roller cannot reach cleanly. For many large projects, the best setup is not brush versus roller; it is a roller for the main pattern and a small brush for precision work.
Furniture, Signs, and Small Crafts
For furniture panels, small signs, boxes, cards, and detailed craft stencils, a stencil brush is often easier to control. Small openings can disappear under a roller, and a roller can touch neighboring areas unintentionally when the design is compact.
For medium-size furniture motifs with broad open shapes, a small foam roller can still work well. Test the design on scrap material first, especially if the project uses a new paint, a textured surface, or an unfamiliar stencil material.
Best Tool for Spray-Paint Stencils
Neither a stencil brush nor a foam roller is the primary application tool when the project uses aerosol paint. In that case, paint distance, angle, coat thickness, stencil contact, ventilation, and removal timing become more important. Read the spray paint stencil techniques guide for that workflow.
How to Use Either Tool Without Paint Bleed
How to Use a Stencil Brush Without Bleeding
- Secure the stencil so small details stay flat.
- Load only the tips of the bristles with paint.
- Remove most excess paint on a paper towel or palette.
- Apply paint with light vertical pounces or a controlled circular motion.
- Build color gradually instead of flooding the opening.
- Check an edge before continuing across the whole design.
- Lift the stencil carefully according to the paint system you are using.
A nearly dry brush may look too lightly loaded at first, but thin layers are easier to control than a single wet coat.
How to Use a Foam Roller Without Bleeding
- Use a dense foam roller sized for the stencil openings.
- Coat the roller evenly.
- Off-load excess paint until the roller no longer looks wet or drippy.
- Roll with light pressure rather than pressing into the stencil.
- Use several light passes if more opacity is needed.
- Avoid repeatedly rolling over paint that has started to set.
- Lift the stencil carefully without sliding it across the wet design.
Can You Use a Brush and Roller on the Same Stencil?
Yes. Combining tools is often the most practical method for a complex project. A roller can fill broad background shapes quickly, while a brush handles corners, tight openings, color changes, and touch-ups.
If multiple colors are involved, keep separate brushes or rollers for each color when practical. This reduces accidental mixing and makes it easier to control the amount of paint reaching each section.
For the broader workflow—from design and cutting to materials and application—see the Stencil Making Tools & Techniques Complete Guide.
Final Choice
Use a stencil brush when precision matters more than speed. Use a dense foam roller when the stencil has large openings and the project covers a broad, mostly flat surface. For many projects, the strongest workflow combines both: roller for coverage, brush for detail.
Whichever tool you choose, clean edges depend more on light paint loading, firm stencil contact, suitable material, and controlled application than on the tool alone. Test on scrap first, then use the tool that gives the cleanest edge with the least pressure.