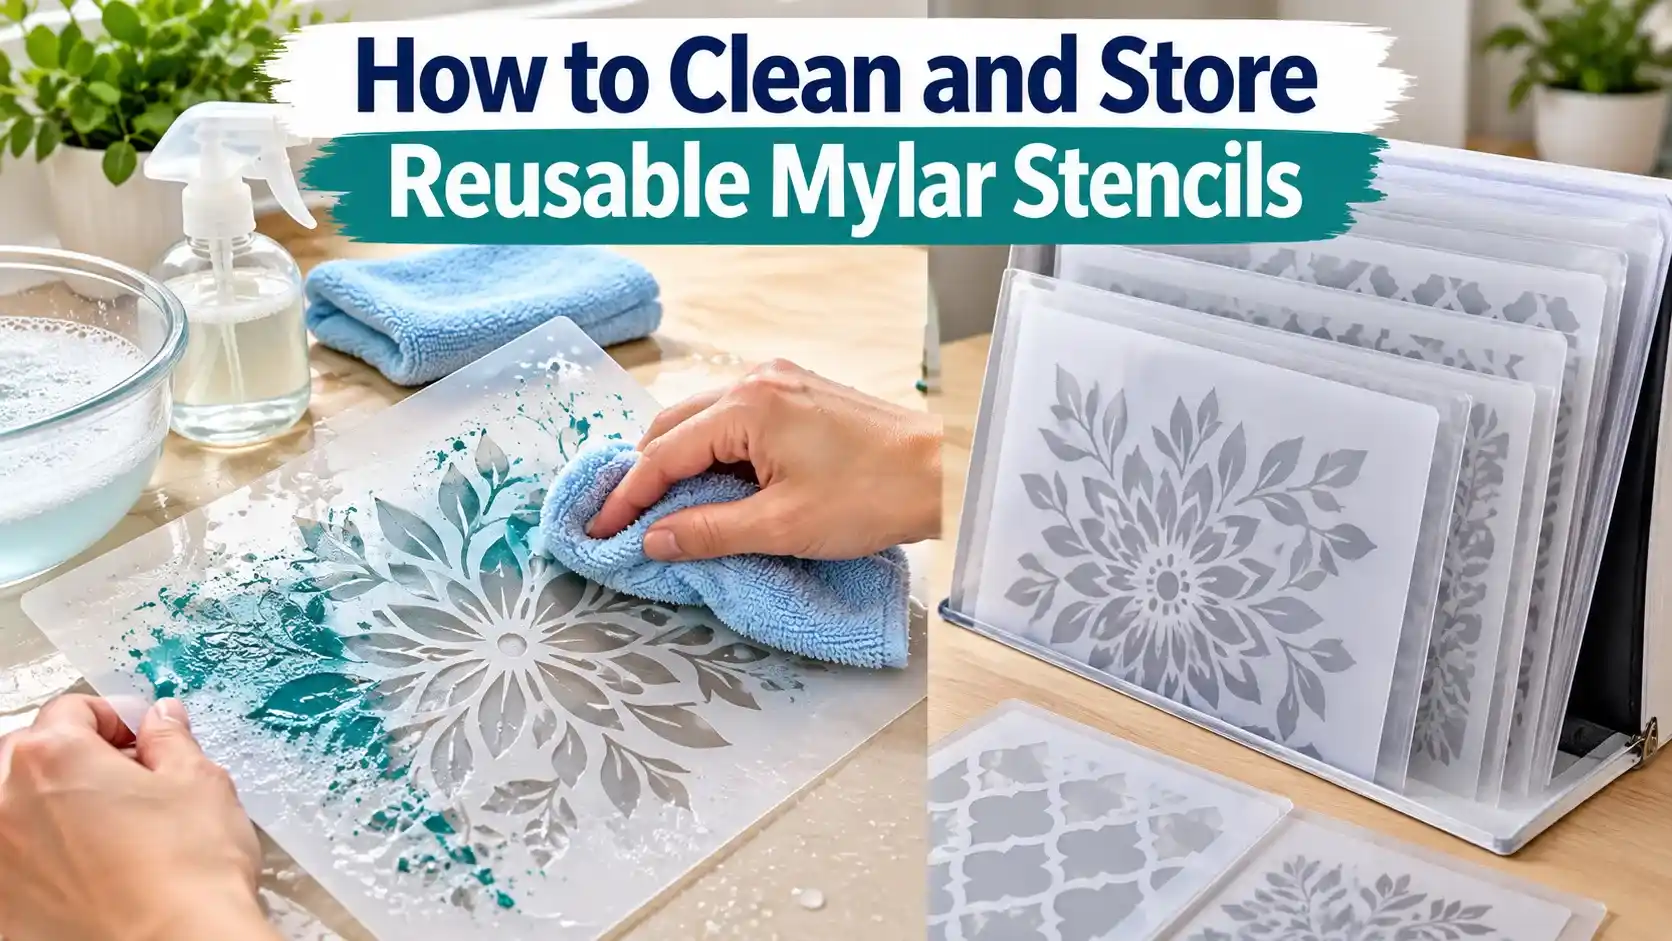
Quick Answer: Cleaning and Storing Mylar Stencils
Reusable Mylar stencils can stay useful for many projects when paint is removed without damaging fine bridges, cut edges, or the shape of the sheet. The safest cleaning method depends on two things: the paint you used and the exact stencil material.
Start with the mildest method that matches the paint. Water-based paints are usually easiest to clean while still fresh. Dried coatings, spray paints, and solvent-based products may need a different approach, but strong cleaners should never be treated as universally safe for every plastic stencil.
If you are still choosing a reusable sheet, compare Mylar, vinyl, acetate, cardstock, and other options in the stencil materials guide.
Quick Cleaning Guide by Paint Type
| Paint or residue | First approach | Important caution |
|---|---|---|
| Fresh water-based acrylic or craft paint | Lukewarm water, mild soap, soft cloth or soft brush | Do not bend fine bridges while scrubbing |
| Fresh latex/water-based wall paint | Follow paint-label cleanup directions; gentle soap-and-water cleaning is a common starting point | Do not let paint harden in detailed cutouts if the product can be cleaned while wet |
| Dried water-based paint | Soften gently, work in small areas, use a material-compatible cleaner only if needed | Avoid sharp metal scraping tools |
| Spray or solvent-based coating | Follow both paint and stencil-manufacturer directions | Some solvents are flammable and may damage certain plastics |
| Adhesive residue | Use the stencil maker’s recommended adhesive-removal method | Test any cleaner on an edge or spare piece first |
How to Clean Reusable Mylar Stencils Safely
Clean Water-Based Paint Before It Hardens
When the paint label permits soap-and-water cleanup, cleaning soon after use is usually easier than waiting for a thick layer to harden. Lay the stencil flat, rinse or wipe away loose paint, then use lukewarm water and a small amount of mild soap.
Work gently around tiny cutouts and bridges. A soft toothbrush or soft craft brush can reach corners, but the goal is to loosen paint rather than flex the stencil aggressively. Support the sheet with your other hand so small details do not bend.
After cleaning, rinse away soap residue and lay the stencil flat to dry. Do not stack damp stencils because moisture and remaining paint can transfer between sheets.
Mylar is a polyester film, and official Mylar Specialty Films information describes polyester films as resistant to moisture and a wide range of chemicals. However, stencil sheets can vary by grade, thickness, coating, and supplier, so that general material property is not a substitute for the instructions for your exact stencil. See the Mylar Specialty Films PET material information for background on polyester-film durability.
Use Solvents Only When Material Compatibility Is Confirmed
Some stencil-cleaning guides recommend acetone or paint thinner for stubborn coatings. That advice should be treated as material-specific, not universal. Plastic films differ, and a cleaner that works on one stencil can cloud, soften, crack, or distort another.
Before using any solvent, check the stencil supplier’s instructions and the paint manufacturer’s cleanup directions. Test on a spare piece or an inconspicuous edge when compatibility is uncertain. Keep strong chemicals away from heat, sparks, and open flames, and follow the product label for ventilation and protective equipment.
Acetone, for example, is a highly volatile, flammable solvent and can irritate the eyes, skin, nose, and throat. The NIOSH acetone safety reference summarizes its hazards and exposure information. This is why a strong solvent should not be the default first step for a routine craft cleanup.
Remove Dried Paint Without Damaging Fine Details
Dried paint around narrow bridges is where reusable stencils are easiest to damage. Avoid digging into the cut edges with a knife, screwdriver, or other hard metal tool. A nick in a bridge can turn into a tear during the next use.
- Lay the stencil on a flat, protected surface.
- Identify whether the coating is water-based, spray, oil-based, or another finish.
- Use the cleanup method recommended for that coating and compatible with the stencil material.
- Work from broad areas toward fine details.
- Use a soft brush, cloth, or other non-damaging tool before trying anything more aggressive.
- Stop if the plastic begins to soften, curl, turn cloudy, or stretch.
- Rinse or wipe away cleaner residue as directed by the product manufacturer.
Is It Necessary to Remove Every Stain?
No. A reusable stencil does not have to look new to work correctly. A thin stain that does not change the cut edge, block an opening, or make the stencil uneven may be mainly cosmetic.
Trying to remove every trace of color can cause more damage than leaving a harmless stain in place. Focus on buildup that changes the stencil geometry, prevents the sheet from lying flat, blocks detailed openings, or transfers wet residue to the next project.
Cleaning After Spray-Paint Projects
Spray-paint cleanup is more complicated because aerosol coatings vary widely in chemistry. Do not apply a generic solvent recipe to every spray paint and every stencil film. Read the can’s cleanup instructions, then confirm that the recommended cleaner is compatible with the stencil material.
If you regularly use aerosol paint, reducing buildup during application can make later cleanup easier. Light coats also help prevent thick ridges from forming around stencil openings. See the spray paint stencil techniques guide for application, contact, distance, and coat-control tips.
How to Dry and Store Mylar Stencils
Dry Mylar Stencils Flat
After washing, shake off loose water gently and blot the stencil with a soft towel rather than twisting it. Lay it on a clean, flat surface until both sides are completely dry.
Avoid drying a flexible stencil while it is tightly curled or folded. Heat can also change some plastic films, so do not place the stencil on a radiator or use high heat unless the material manufacturer specifically allows it.
Store Reusable Stencils Flat
Flat storage protects shape, registration points, and fine bridges. A large folder, portfolio sleeve, flat envelope, or rigid mailer can work well for craft-size stencils. Larger sheets can be placed between clean pieces of cardboard or another smooth, rigid support.
Keep the storage area dry and away from direct sunlight or excessive heat. Do not put heavy, uneven objects on top of detailed stencils because pressure on a small bridge can create a crease.
When to Hang or Roll Large Stencils
Flat storage is simplest when space allows. If a very large flexible stencil must be rolled, use a wide, loose roll rather than a tight tube and avoid creating sharp folds. Before reuse, unroll it and let it relax on a flat surface.
Hanging can work when the stencil has a reinforced border or storage holes designed for that purpose. Do not suspend a detailed stencil from a weak cut section.
How to Prevent Paint Buildup in the First Place
Cleaning starts during the painting process. Heavy coats create thicker ridges and force more paint into fine openings. Use light application, keep the stencil stable, and avoid unnecessary paint pooling.
If your results are developing fuzzy edges, pooling, lifted sections, or damaged bridges, review common stencil mistakes and fixes. A cleaner application usually means an easier cleanup.
Before the Next Project
Inspect the stencil before reuse. Check for blocked openings, cracked bridges, curled corners, adhesive buildup, and dried paint that changes the edge of the design. A small flaw is easier to correct before paint is applied.
If you need a fresh design or want to simplify an image before cutting a replacement stencil, the online stencil maker can prepare a cleaner image, SVG, or printable stencil workflow.
For the broader workflow—from design and cutting to materials and application—see the Stencil Making Tools & Techniques Complete Guide.
Final Takeaway
Use the gentlest cleaning method that matches both the paint and the stencil material. Clean fresh water-based paint promptly when the product allows it, support fine details while scrubbing, avoid aggressive scraping, and never assume a strong solvent is compatible with every plastic.
Dry stencils completely and store them flat, protected from heat, sunlight, moisture, and sharp folds. The goal is not to make every stencil look brand new; it is to preserve the cut edges and geometry that produce a clean result on the next project.