Introduction
Resizing a stencil sounds simple until the lines blur, the edges turn jagged, and the fine details disappear. This happens because most people scale the wrong file type or use the wrong software settings. Whether you are enlarging a small mehndi stencil for an adult hand, shrinking a design for a child, or preparing a pattern for a Cricut or laser cutter, the method you use determines whether the final stencil stays sharp or turns pixelated.
After testing the same stencil design across Illustrator, Inkscape, Cricut Design Space, and a few AI upscaling tools, one pattern became clear: quality loss rarely comes from the software itself; it comes from starting with the wrong file type or skipping one small step in the workflow. Once that root cause is fixed, scaling becomes predictable and repeatable.
This guide breaks down exactly how professional stencil designers scale artwork up or down without losing quality covering file formats, software tools, resolution settings, material-specific considerations, and the most common mistakes beginners make. If you are starting from a photograph, first simplify it with our image-to-stencil tool, then scale or vectorize the cleaner result.
If you are new to stencil materials, sizes, and design planning in general, start with our Stencil Making Tools & Techniques Complete Guide, which covers the full process from design to cutting.
Why Stencils Lose Quality When Scaled
Every image file falls into one of two categories, and this single fact explains almost every scaling problem people run into.
Raster images (pixel-based)
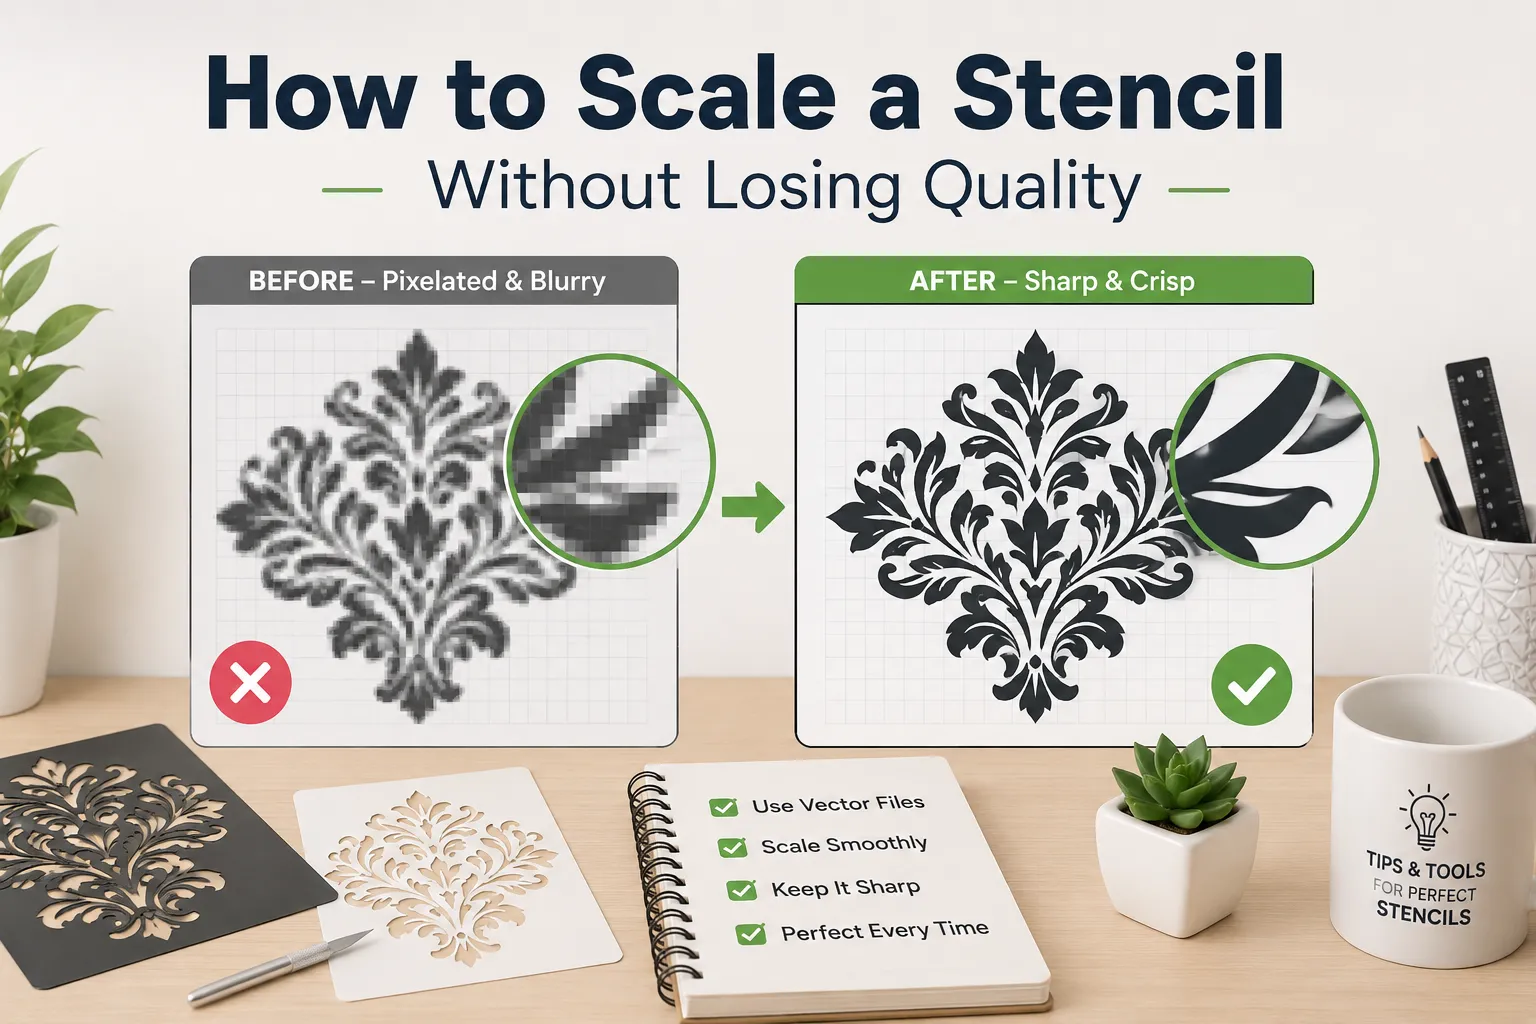
Raster files — JPG, PNG, and most scanned images — are made of a fixed grid of pixels. When you enlarge a raster image, the software has to invent new pixels by guessing colors between existing ones. This process is called interpolation, and it is the reason enlarged designs look soft, blurry, or blocky.
Vector images (path-based)
Vector files — SVG, AI, EPS, and PDF (when created from vector art) — are built from mathematical paths rather than pixels. A circle in a vector file is stored as a formula, not as a grid of dots. Because of this, vector designs can be scaled to any size, larger or smaller, without any loss of sharpness.
The core rule: if a stencil needs to be resized more than a small amount, it should be vector artwork. Raster images can be scaled slightly (5–10%) with acceptable results, but anything beyond that will show visible quality loss.
Quick comparison
| Factor | Raster (JPG/PNG) | Vector (SVG/AI/EPS) |
|---|---|---|
| Enlarging | Loses sharpness quickly | No quality loss |
| Shrinking | Generally safe | No quality loss |
| Fine lines/bridges | Can blur or merge | Stay crisp at any size |
| Cutting machine compatibility | Needs conversion first | Native support |
| File size | Larger at high resolution | Small, regardless of size |
| Best use | Photos, scanned textures | Line art, stencils, logos |
Step-by-Step: How to Scale a Stencil Without Losing Quality
Step 1: Identify your file type first
Before resizing anything, check the file extension.
- Vector-safe formats: SVG, AI, EPS, PDF (vector-based)
- Raster formats that need extra care: JPG, PNG, BMP, scanned images
If your stencil design is currently a raster image and you plan to resize it significantly, convert it to a vector file first (see Step 3).
Step 2: Use the right software for the job
Different tools handle scaling differently. Choose based on what you already have and what the stencil is for.
| Tool | Best for | Vector support | Cost |
|---|---|---|---|
| Adobe Illustrator | Complex, professional stencil artwork | Full | Paid subscription |
| Inkscape | Hobbyists, budget-friendly tracing and editing | Full | Free |
| Cricut Design Space | Stencils cut directly on a Cricut machine | Full (uploads) | Free with machine |
| Silhouette Studio | Stencils cut on Silhouette machines | Full | Free / paid tiers |
| AI upscalers (Topaz, Adobe Super Resolution) | Rescuing an old raster-only design with no vector source | None (stays raster) | Paid |
Avoid resizing inside basic photo viewers or word processors — these tools almost always use low-quality interpolation methods that damage fine stencil lines.
Step 3: Convert raster designs to vector (vectorization)
If your original stencil is a photo, scan, or downloaded JPG/PNG, convert it into a vector file before scaling:
- Open the image in Illustrator or Inkscape.
- Use the built-in tracing tool (Illustrator’s “Image Trace” or Inkscape’s “Trace Bitmap”).
- Adjust threshold settings so only the main outlines are captured — avoid tracing shadows, textures, or background noise.
- Clean up any broken lines or stray points manually.
- Save the result as an SVG or AI file.
This single step solves most stencil scaling problems permanently, because pixel count no longer limits the file.
If vectorization isn’t possible (for example, a highly photographic or textured design that can’t be reduced to clean lines), an AI upscaling tool can improve a raster image before resizing. Still, it will not match the sharpness of true vector art, so treat this as a fallback rather than a first choice.
Step 4: Scale proportionally
Once your file is in vector format:
- Always lock the aspect ratio (width-to-height proportion) unless you specifically want to stretch the design.
- Resize using the corner handles, not the side handles, to avoid distortion.
- In Cricut Design Space and Silhouette Studio, enter exact width or height values in the size panel instead of dragging manually — this keeps proportions accurate for repeat printing.
Step 5: Check bridge and detail thickness after resizing
Stencils are different from regular artwork because they need bridges — the small connecting sections that hold the design together once shapes are cut out. When you shrink a stencil, thin bridges can become too fragile to survive cutting or handling.
After scaling down:
- Check that no bridge is thinner than roughly 1.5–2mm on paper stencils, or the minimum recommended by your cutting machine’s manufacturer.
- Widen any bridge that looks too delicate at the new size.
- Simplify tiny details that were fine at the original size but become unreadable at a smaller scale.
Step 6: Adjust for the stencil material
Scaling behaves slightly differently depending on what the stencil will be cut from, so factor material into your resize decisions.
- Adhesive vinyl stencils — thin material tolerates smaller bridges than paper, but very tiny shapes can still tear on removal.
- Paper or cardstock stencils — need slightly thicker bridges than vinyl since the material is stiffer and more prone to cracking at fine points.
- Mylar/reusable stencils — most forgiving for small details, but very intricate patterns at a small scale can still be difficult to clean after repeated henna use.
Step 7: Set the correct DPI for print or cut
If the stencil will be printed (rather than cut directly), resolution matters even with vector files, because the final output is rasterized at print time.
- 300 DPI — standard for sharp, print-ready stencils at actual size.
- 150 DPI — acceptable for large stencils viewed from a distance, where fine detail is less critical.
- Avoid dropping below 150 DPI for any stencil with fine lines or small text-like shapes.
Step 8: Export in the right format for your next step
- For cutting machines: export as SVG or the machine’s native format.
- For printing: export as a high-resolution PDF or PNG at 300 DPI.
- For further editing: keep a master AI or SVG file so you can rescale again later without repeating the vectorization process.
Quick Pre-Export Checklist
Before finalizing a resized stencil, confirm:
- File is vector-based (SVG/AI/EPS), not a stretched raster image.
- Aspect ratio was locked during resizing.
- All bridges are thick enough for the chosen material.
- DPI is set correctly if the file will be printed.
- A master vector file is saved separately for future resizing.
Troubleshooting: Why Your Scaled Stencil Still Looks Wrong
The design looks blurry even after vectorizing. The original raster image may have been too low-resolution or too soft for the tracing tool to capture clean edges. Start with the highest-resolution source image available before tracing.
Bridges are breaking during cutting. The stencil was likely scaled down without adjusting bridge width. Go back into the vector file and manually thicken the thinnest connecting sections.
The design looks stretched or warped. Aspect ratio lock was probably turned off during resizing. Undo the resize and reapply it using a corner handle or the software’s fixed width/height field.
Colors or fills look different after resizing. This is common when a raster image is resized multiple times and recompressed. Work from a single master file instead of repeatedly saving over the same JPG.
Common Mistakes When Scaling Stencils
Enlarging a low-resolution JPG directly. This is the single biggest cause of blurry stencils. Always vectorize first.
Using “Free Transform” without locking proportions. Stretching a design unevenly distorts curves and makes mandalas, florals, and geometric patterns look uneven.
Ignoring bridge width after downsizing. A stencil that looks fine on screen can fall apart physically if bridges become too thin once printed or cut at a smaller size.
Repeatedly saving and re-exporting a raster file. Every time a JPG is resized and re-saved, it loses additional quality through repeated compression — a problem known as generational loss.
Scaling in the wrong software. Basic image viewers, some PDF readers, and default operating system tools often use low-quality resizing algorithms not meant for detailed line art.
Not keeping a master file. Without an original vector master, every future resize starts back at square one with quality loss.
Ignoring the stencil material when resizing. A bridge width that works fine on vinyl may crack on paper — always double-check against the material you plan to cut.
People Also Ask
Can you resize a PNG stencil without losing quality? A PNG can be resized slightly without visible damage, but PNGs are raster files, so significant enlargement will cause blurring. For any major size change, convert the PNG to a vector file first using a tracing tool.
What is the best file format for resizable stencils? SVG is generally the best format for stencils that need frequent resizing, because it is vector-based, widely supported by cutting machines, and keeps file sizes small.
Does scaling down a stencil also cause quality loss? Vector files can be scaled down with no quality loss. Raster files can lose fine detail when shrunk too much, since very thin lines may disappear or merge at low pixel counts.
What DPI should a stencil be for cutting machines? Most cutting machines like Cricut and Silhouette work directly with vector files, so DPI does not apply in the same way it does for printing. DPI only becomes relevant when the stencil is exported as a raster image for printing.
Can AI upscaling tools fix a blurry stencil? AI upscaling tools can improve the sharpness of a raster image to some degree, but they cannot fully recreate clean vector lines. They work best as a backup option when the original vector or high-resolution file is not available.
Real-World Use Case: Resizing One Mehndi Design for a Whole Family
A common scenario is preparing the same stencil motif — such as a crescent moon or floral bracelet — in three different sizes for an adult, a teenager, and a child.
- Start with the original design as a vector file (or vectorize it if it began as a photo or sketch).
- Duplicate the design three times inside the same file.
- Resize each copy proportionally to fit the intended hand size, checking bridge thickness at the smallest version.
- Adjust bridge width for the material each size will be cut from — a child’s small vinyl version can hold thinner bridges than the adult’s larger paper stencil.
- Export all three sizes together on one sheet to save material when printing or cutting.
This workflow keeps every version sharp, consistent, and ready to use without repeating the design process from scratch.
Learn More and References
- Vector graphics — Wikipedia’s overview of how vector-based images are constructed and why they scale without quality loss.
- Adobe’s guide to Image Trace in Illustrator — official documentation on converting raster images into scalable vector artwork.
- Cricut Design Space help documentation — official resource for uploading, resizing, and preparing designs for Cricut cutting machines.
Conclusion
Scaling a stencil without losing quality comes down to one core principle: work with vector files whenever possible, and vectorize raster images before making major size changes. Combine this with proportional resizing, correct DPI for printing, attention to bridge thickness, and material-aware adjustments, and any stencil design can be resized for any hand, project, or machine without turning blurry or fragile.
1 thought on “How to Scale a Stencil Without Losing Quality”