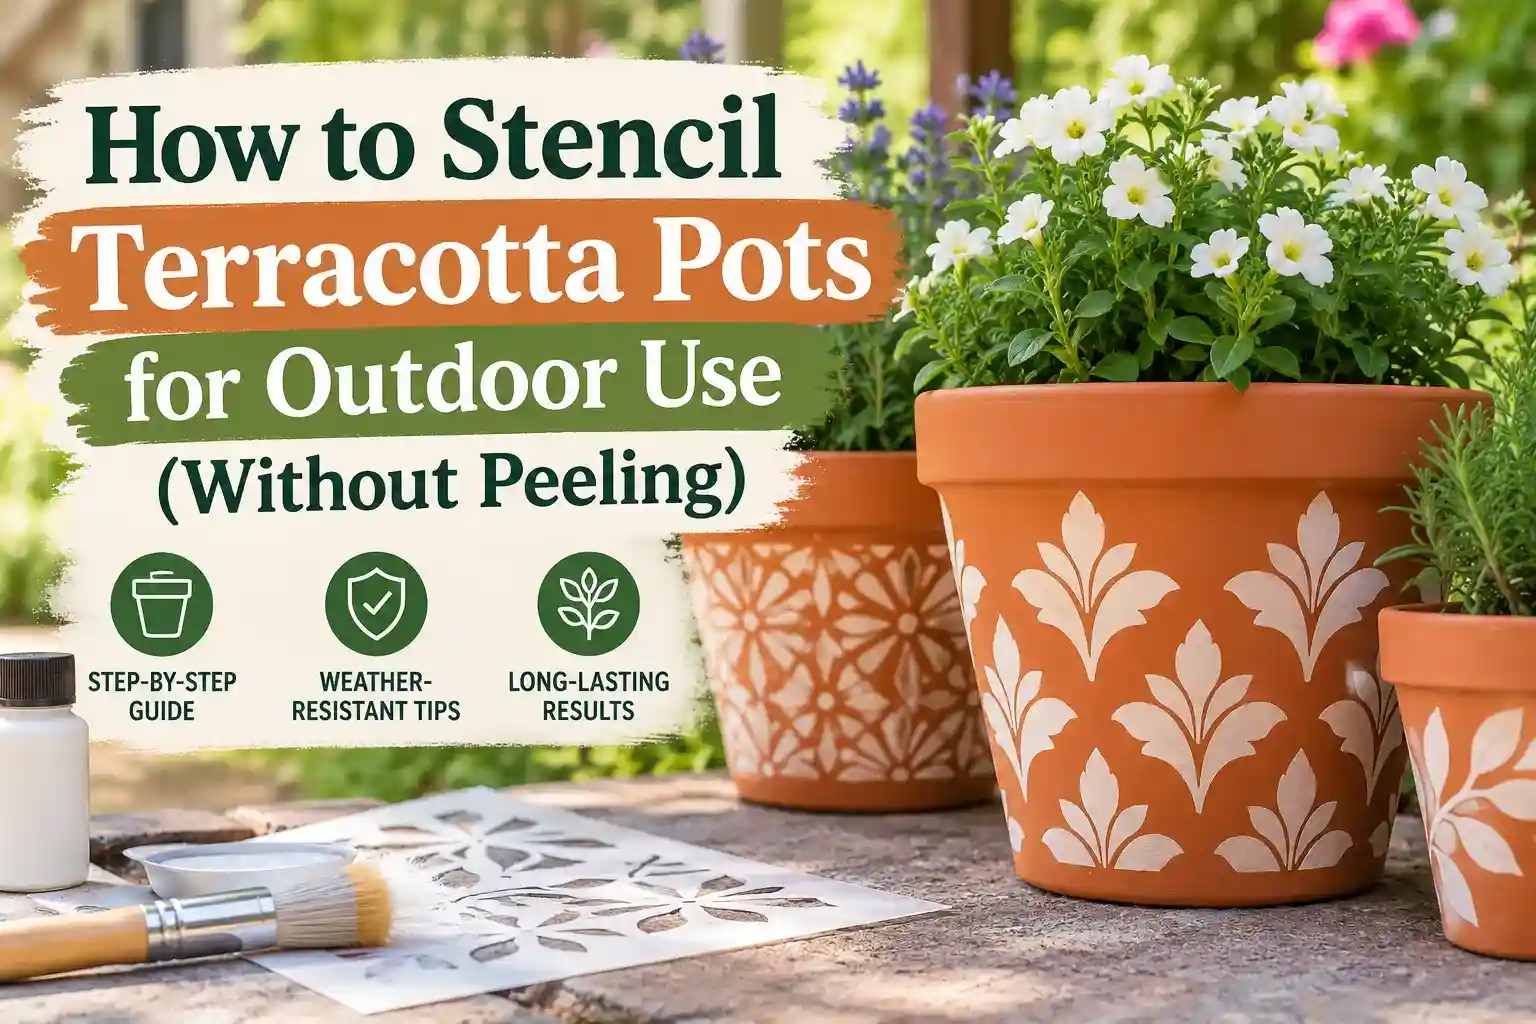
Stenciling a terracotta pot looks simple until the first watering, rainstorm, or hot afternoon exposes weak prep. Unglazed clay is porous, curved, and often dusty straight from the store. That combination can cause fuzzy stencil edges, patchy color, or paint that lifts later.
This guide focuses on an outdoor-friendly method for U.S. DIYers who want a clean stencil without turning a breathable flowerpot into a heavily coated decorative object. The goal is not to use the most products. It is to use the right products in the right order.
Quick answer: how do you stencil a terracotta pot cleanly?
Start with a fully dry, dust-free pot. Use paint made for masonry, patio, or multi-surface craft use, apply a light base coat only if you want one, and secure a flexible stencil to the curve. Work with a nearly dry stencil brush or dense foam pouncer, building color in several thin passes instead of one wet coat. Let the finish cure according to the paint label before exposing the pot to water or weather.
If you are making the stencil yourself, create a simple design with generous bridges and avoid tiny isolated details. The DigitalOnDay Stencil Maker is useful for simplifying an image before you cut or print it.
What makes terracotta different from wood or plastic?
Terracotta is absorbent. Moisture can move through unglazed clay, and a damp or dusty surface gives paint a poor foundation. The pot is also tapered, so a flat stencil naturally wants to wrinkle as it wraps around the side.
That is why the two biggest priorities are surface dryness and stencil contact. A perfectly designed stencil will still bleed if one edge is floating above the clay.
Supplies that work well
- Clean, fully dry terracotta pot
- Reusable Mylar stencil or low-tack adhesive stencil
- Painter’s tape
- Stencil brush, small dense foam pouncer, or mini foam roller for larger shapes
- Exterior-rated or multi-surface acrylic paint suitable for porous surfaces
- Paper towels for offloading paint
- Optional base-coat paint
- Optional exterior-compatible clear finish, only if it is appropriate for your paint system and intended use
If you are unsure which stencil sheet to use, see the guide to choosing stencil materials. Thin flexible Mylar is easier to persuade around a small pot than a thick rigid sheet.
Step 1: clean and dry the pot completely
Brush away loose clay dust, then wipe the pot with a barely damp cloth. If the pot has been used before, remove soil, mineral deposits, algae, and loose finish first. Give it enough time to dry all the way through before painting.
Do not rush this part. A surface that feels dry can still hold moisture deeper in the clay after washing.
Step 2: decide whether you actually need a base coat
A base coat gives the stencil more contrast and creates a more uniform background, but it is optional. For a natural terracotta look, you can stencil directly onto clean clay with a compatible paint. For a fully painted pot, use a coating intended for the project conditions and follow the label for preparation, dry time, and recoating.
A useful niche tutorial from Designer Stencils demonstrates cleaning the pot, trimming a stencil to fit the curve, and using a dry-brush technique. You can review their terracotta stenciling method for another practical reference.
Step 3: make the stencil fit the curve
The stencil does not have to wrap around the entire pot. In fact, a smaller motif is easier to control. If you are using a reusable sheet, trim excess border material if needed, leaving enough margin to tape it securely.
For a tapered pot, make tiny relief cuts in the unused outer border of the stencil—not through the design—to help the sheet overlap slightly instead of buckling. Tape the top and side edges, then press the design openings flat with your fingers.
Use adhesive sparingly
A light repositionable stencil adhesive can help on curved clay, but more adhesive is not automatically better. Apply it to the stencil away from the pot, allow it to become tacky as directed, and press only the design area into firm contact.
Step 4: offload more paint than you think
The fastest way to create fuzzy edges is to load the brush like you are painting a wall. Stenciling works best with very little paint.
Load the brush or pouncer, then blot repeatedly on a paper towel until it looks almost too dry. Build the color in light layers using an up-and-down pouncing motion. Avoid brushing sideways toward the stencil edge because that pushes wet paint underneath.
If bleed has already happened on other projects, the paint-bleed troubleshooting guide explains the common causes and cleanup options.
Step 5: work from the center outward
On a curved pot, start in the center of the motif where the stencil is flattest. Then move gradually toward the edges while holding each working section down with a clean finger.
Do not chase full opacity on the first pass. Three thin passes usually produce cleaner edges than one heavy pass. Let the paint flash off briefly between passes if the label allows it.
Step 6: lift the stencil carefully
When the design has enough coverage, lift one edge and peel the stencil away in a controlled motion. Do not drag it sideways over fresh paint.
If you plan to repeat the motif, check the back of the stencil before placing it again. Wet paint on the underside is an easy way to create random smudges. For reusable sheets, the Mylar stencil cleaning guide covers cleaning and storage without bending small details.
How to make an outdoor stenciled pot last longer
Durability comes from the complete paint system, not just a final clear spray. Use products that are compatible with each other and suitable for exterior exposure. Follow the longest cure time on the labels before watering plants, setting the pot in rain, or placing it in strong sun.
If you add a clear finish, make sure it is recommended over your paint and for your intended surface. A decorative cachepot that never holds wet soil has different demands than an unglazed planter that is watered regularly.
Do you need to seal the inside?
Not automatically. If the pot will be used for live plants, preserve drainage and follow the coating manufacturer’s instructions rather than sealing every surface by default. Heavy interior and exterior coatings can change how an unglazed pot handles moisture.
Five mistakes that cause peeling or blurry stencil edges
- Painting damp clay: let a washed or previously planted pot dry thoroughly.
- Using too much paint: offload the brush before every stencil pass.
- Forcing a large flat stencil around a tight curve: use smaller motifs or relief cuts in the border.
- Repositioning with wet paint on the stencil back: clean or dry the sheet first.
- Putting the pot outdoors before the coating cures: dry-to-touch and fully cured are not the same thing.
Best stencil designs for small pots
Simple leaf shapes, initials, stars, small geometric borders, herb names, and bold floral silhouettes are forgiving. Very thin script, tiny islands, and highly detailed portraits are harder to keep crisp on rough clay.
For a repeating border, mark a light reference line around the pot and overlap only the registration area. DigitalOnDay’s repeating-stencil alignment guide can help with spacing.
Final takeaway
A clean terracotta stencil is mostly a moisture-control and paint-control project. Start dry, keep the stencil tight to the curve, use less paint, and give the coating time to cure. Those four decisions matter more than buying a complicated stencil or piling on extra sealer.