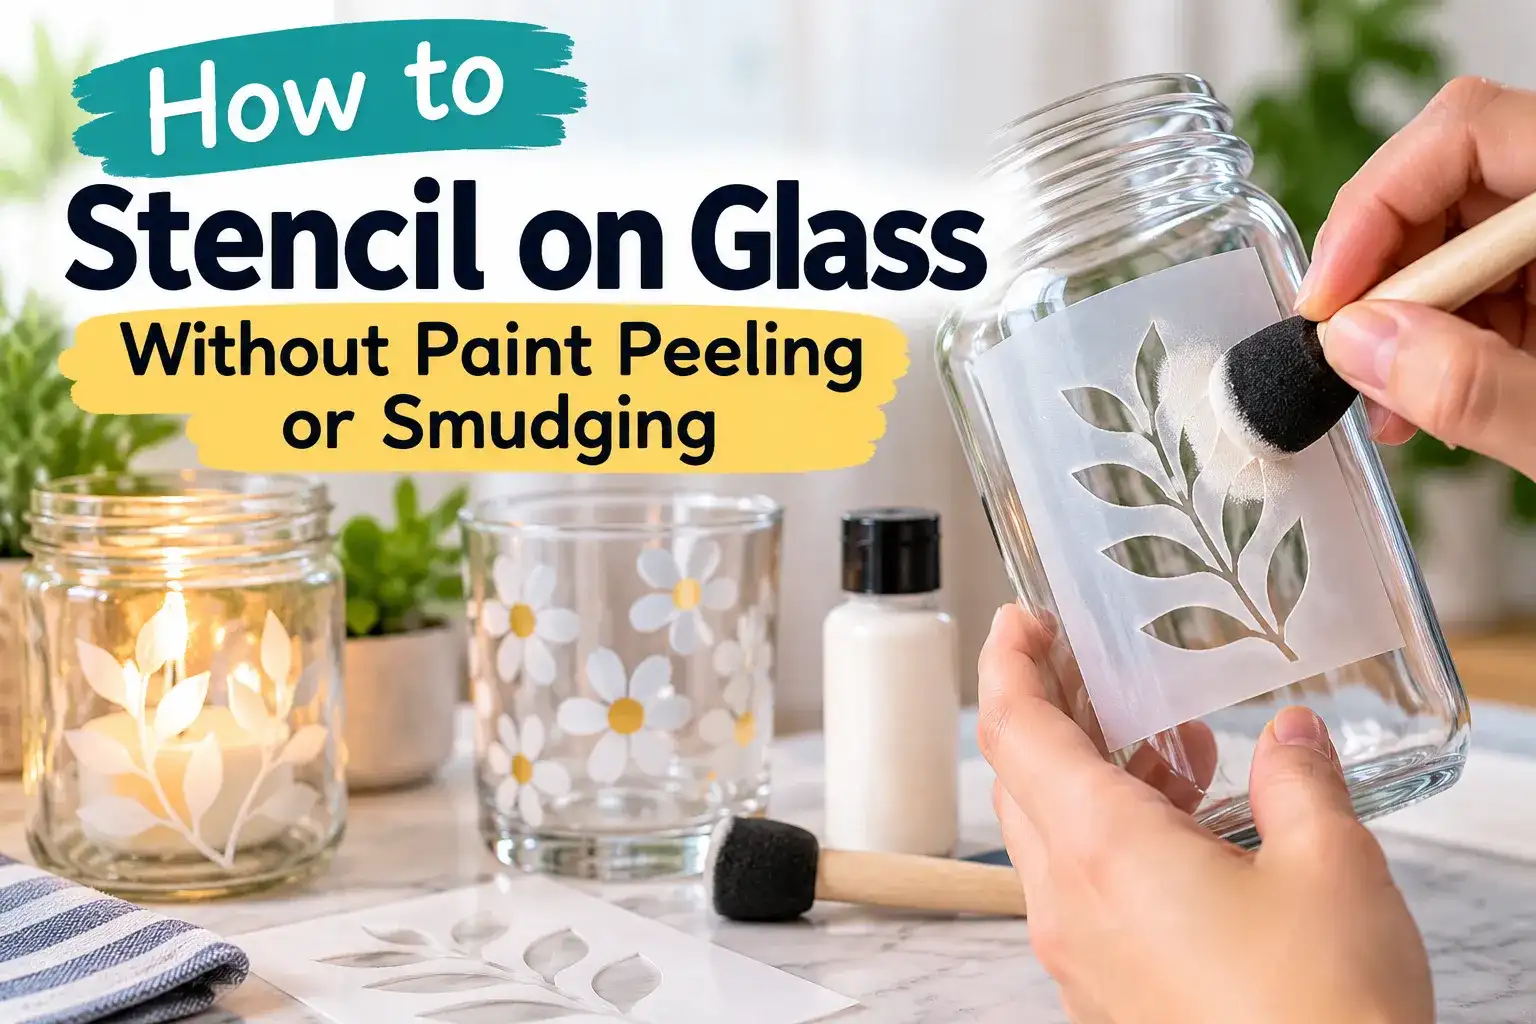
Glass is one of the least forgiving stencil surfaces. It is smooth, non-porous, and shows every fingerprint, paint ridge, and fuzzy edge. The good news is that those same properties make the process predictable: if the glass is truly clean, the stencil is sealed down, and the paint is made for glass, crisp results are realistic even for a first project.
This guide is for decorative glass, jars, frames, vases, mirrors, and similar craft projects. If the item will touch food or drink, use a product specifically approved for that use and keep decorative paint away from food-contact surfaces unless the manufacturer says otherwise.
Quick answer: how do you stencil glass without peeling?
Wash the glass, remove invisible oils with rubbing alcohol or white vinegar, avoid touching the cleaned area, then apply a low-tack adhesive stencil or firmly taped stencil. Use a small amount of glass-compatible paint in thin layers, remove the stencil without dragging it across the design, and cure the paint exactly as its manufacturer specifies.
Plaid’s current glass-painting guidance emphasizes thorough cleaning, an alcohol or vinegar wipe, avoiding fingerprints after prep, and curing the finished paint. Their glass-paint preparation and curing guide is a useful product-level reference.
Choose the right kind of stencil
Reusable Mylar works well on flat glass, but adhesive vinyl or an adhesive reusable stencil is usually easier on curved jars and vases. The smaller the object, the more flexible the stencil needs to be.
If you are converting a logo, monogram, or photo into a cuttable pattern, simplify it first with the DigitalOnDay Stencil Maker. Wide bridges and clean open shapes are easier to paint on slick glass than hairline details.
Step 1: clean twice, not once
First wash the glass with warm soapy water and rinse it well. After it dries, wipe the stencil area with rubbing alcohol or white vinegar using a lint-free cloth or paper towel. Then leave it alone until fully dry.
From this point forward, hold the piece by an unpainted area. Finger oils can create tiny adhesion failures that show up later as chips or lifted edges.
Step 2: position and seal the stencil
For flat glass, painter’s tape around the perimeter may be enough. For a vase or jar, adhesive stencil material is easier because it follows the curve.
Press around every cut edge with a fingertip or squeegee. On a curved object, make small relief cuts in the waste border if the sheet wrinkles. Do not cut into the artwork itself.
If your reusable material feels too stiff for the project, compare options in the stencil material selection guide.
Step 3: use paint made for glass
Ordinary craft acrylic may be fine for temporary decor, but a permanent or washable project needs a paint system designed for glass or multi-surface use. Read the label before you begin because cure methods vary by product.
Some glass paints air-cure; others offer a bake-cure method. Do not invent a time or temperature from a different brand. The exact instructions on your paint bottle take priority.
Step 4: apply several thin stencil layers
Put a small amount of paint on a palette. Load a dense pouncer or stencil brush, then offload most of it onto a paper towel. Tap straight down through the stencil openings.
One heavy coat is tempting because glass is transparent, but heavy paint is more likely to pool against the stencil edge. Thin coats keep the design sharper and reduce ridges.
The same dry-application principle appears in DigitalOnDay’s stencil brush versus foam roller comparison, which is helpful if you are choosing an applicator.
Step 5: remove the stencil without lifting the design
There is no universal perfect removal minute because different paints skin over and cure at different rates. The safer rule is to follow the paint maker’s directions and test your exact paint/stencil combination on scrap glass first.
When you remove the stencil, peel it back slowly at a low angle. If a fine bridge in the painted design starts to lift, stop and use the tip of a craft knife to separate the paint film from the stencil edge. Do not scrape the glass itself aggressively.
Why does glass paint peel with the stencil?
Four causes show up repeatedly:
- Oil or residue on the glass: wash and degrease before painting.
- A coat that is too thick: thick paint can connect the stencil and design into one film.
- The wrong paint: use a coating formulated for glass when durability matters.
- Removing the stencil roughly: peel slowly and support delicate edges.
How to stop paint from bleeding under a glass stencil
Bleeding usually means either the stencil was not fully sealed or the applicator carried too much paint. Press the cut edges down again before every color, and pounce with a nearly dry applicator.
For a more detailed troubleshooting sequence, see how to fix paint bleeding under a stencil.
Special note for drinking glasses and plates
Decorative craft paint should not automatically be treated as food-safe. Plaid advises keeping painted areas away from food and beverages for its glass-paint systems, including leaving space around drinking rims. Follow the safety and care instructions for the exact product you use.
For reverse-painted plates or frames, working on the back side of clear glass can protect the visual surface while keeping the front smooth. This is especially useful for decorative pieces that are viewed through the glass.
Can you stencil a mirror?
Yes. The technique is similar: clean thoroughly, use a low-tack stencil, apply minimal paint, and choose a finish that matches whether you want the design removable or permanent. Protect the reflective surface from scratching when correcting small mistakes.
How to cure and care for the finished piece
Cure time matters more than dry-to-touch time. Leave the project undisturbed for the full period listed by the manufacturer. If the paint has a bake-cure option, follow that brand’s temperature and cooling instructions exactly and only use it on glassware appropriate for oven curing.
After curing, clean the item according to the paint label. Even when a product says it is washable, harsh soaking, abrasive scrubbers, and repeated dishwasher cycles may shorten the life of decorative work.
Best stencil designs for glass
Monograms, bold botanical shapes, simple geometric patterns, labels, and medium-weight lettering transfer well. Tiny serif letters and very thin bridges are harder because a small lifted edge is visible immediately on transparent glass.
If you need a cut-ready vector for a precise vinyl stencil, DigitalOnDay’s PNG-to-SVG stencil guide explains how to simplify raster artwork before cutting.
Final takeaway
For clean glass stenciling, preparation is the real craft. Degrease the surface, keep fingerprints off it, use compatible glass paint, apply less paint than you think you need, and respect the full cure time. The stencil design matters, but adhesion and handling decide whether the finished piece still looks good after the first week.