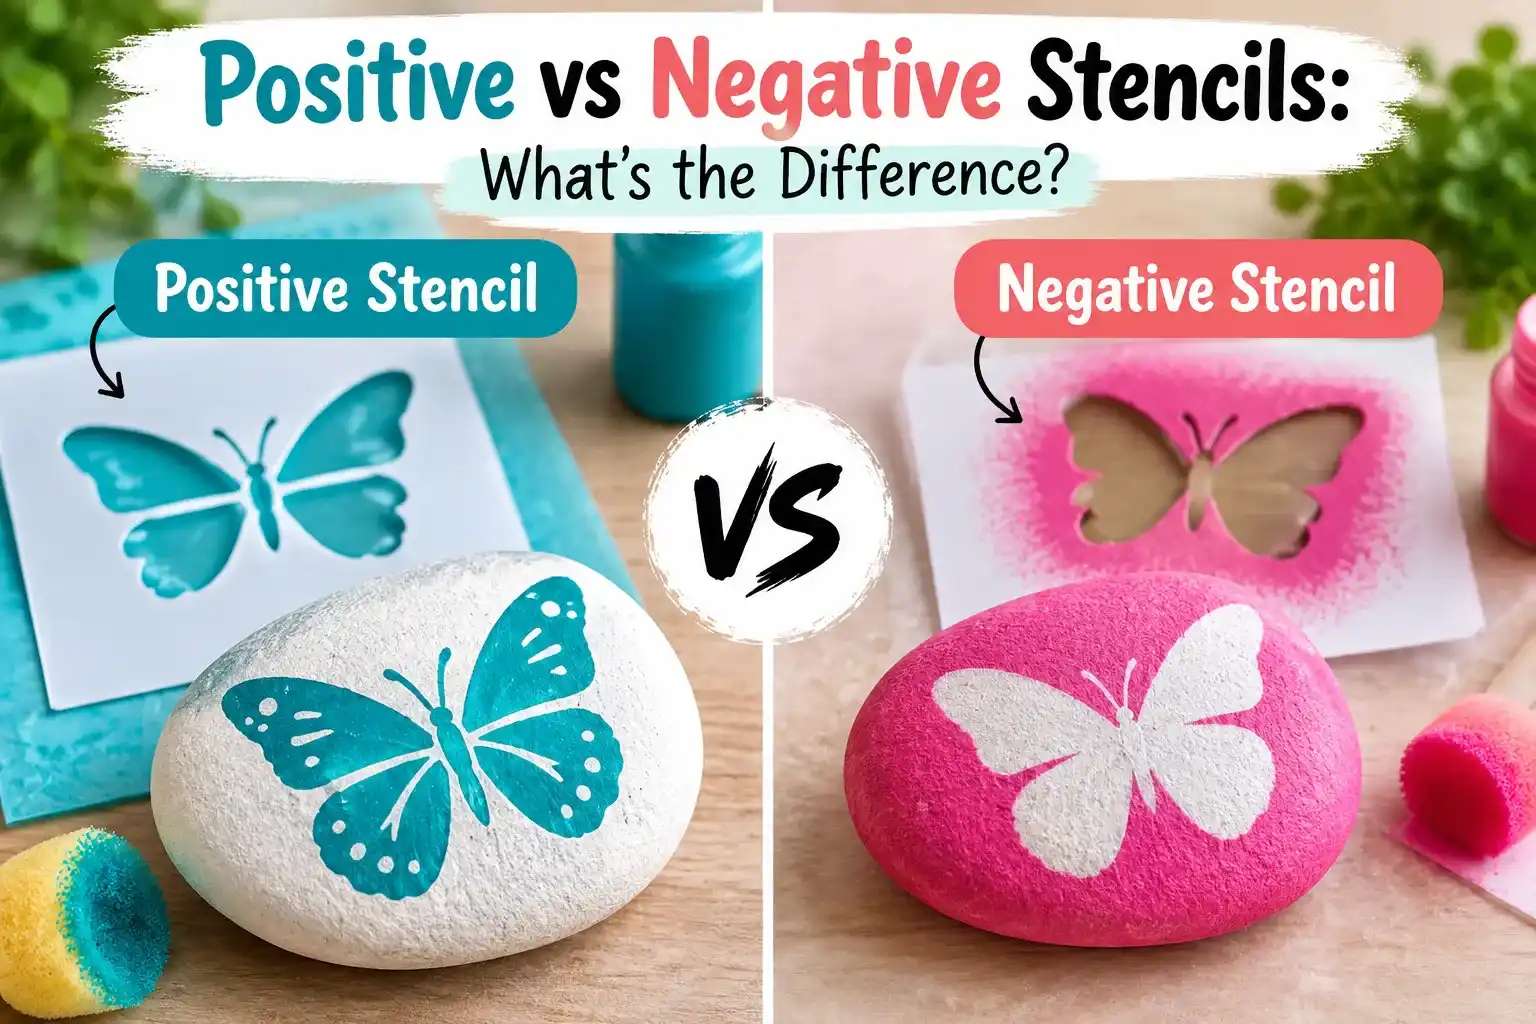
Positive and negative stencils can produce very different visual results even when they come from the same design. Understanding the difference helps you decide what to cut, what to keep, and how the final painted image will appear.
In simple terms, a negative stencil uses the cut-out area as the painted shape, while a positive stencil uses the solid stencil piece to block paint and create the shape through the unpainted area around it. Both methods are useful, but they behave differently on walls, signs, fabric, spray-paint projects and layered artwork.
What Is a Negative Stencil?
A negative stencil is the most familiar type. You cut openings into a sheet, place the sheet on the surface, and apply paint through those openings.
The open parts become the painted design. The uncut stencil material blocks the paint.
Example
If you cut a star-shaped opening into a Mylar sheet and paint through it, the surface receives a painted star. That is a negative stencil application.
What Is a Positive Stencil?
A positive stencil uses the cut-out piece itself as a mask. Instead of painting through an opening, you place the solid shape on the surface and paint around or over it.
When the mask is removed, the original surface color remains inside the shape while the surrounding area is painted.
Example
If you cut out a solid star, place that star on a wall and spray around it, the wall color remains visible in the star shape. The painted area surrounds it.
Positive vs Negative Stencil: Quick Comparison
| Feature | Negative Stencil | Positive Stencil |
|---|---|---|
| What you use | Sheet with cut-out openings | Solid cut-out shape |
| Where paint goes | Through the openings | Around the mask |
| Final shape | Painted | Usually left unpainted |
| Best for | Letters, signs, repeated motifs, detail | Silhouettes, reverse effects, backgrounds |
| Bridge requirement | Often needed for enclosed islands | Usually less important for the solid mask itself |
Why the Difference Matters Before You Cut
A design can look perfect on screen but fail physically if you do not decide which areas will remain connected. In a negative stencil, enclosed islands can fall out unless they are joined with bridges.
This is why letters such as A, B, D, O, P, Q and R often need structural connections in reusable stencils.
For a full explanation, see our guide to stencil bridges for letters and logos.
Positive and Negative Space in Stencil Design
Stencil design is fundamentally about deciding which areas are open and which areas remain blocked. In visual art, positive and negative space work together: one defines the other.
Traditional stencil printing follows the same basic principle—paint passes through openings while uncut material reserves the areas that remain unpainted. A historical Britannica description of textile stenciling also notes that uncut ties are needed to keep parts of a stencil connected. Read the historical stencil-printing reference.
When to Use a Negative Stencil
Choose a negative stencil when you want the design itself to receive paint.
It works especially well for:
- wall quotes and lettering;
- logos and signs;
- repeating patterns;
- fabric decoration;
- furniture and floor motifs;
- spray-paint graphics;
- multi-layer color stencils.
When to Use a Positive Stencil
Choose a positive stencil when you want to preserve the surface color inside the design while changing the background around it.
It can work well for:
- silhouettes;
- reverse lettering;
- halo and shadow effects;
- spray-paint backgrounds;
- layered art;
- masking a logo or shape before applying texture.
Can One Design Produce Both Types?
Yes. When you cut a shape from a sheet, you often end up with both useful parts: the sheet containing the opening and the solid piece that was removed.
The outer sheet can work as the negative stencil, while the removed shape can work as the positive mask.
Keeping both pieces is especially useful for spray-paint effects, shadows and layered designs.
Positive and Negative Stencils for Text
Text is usually easier with a negative stencil because the letter openings become the painted areas. However, letters with enclosed centers need bridges if the stencil must stay in one piece.
A positive lettering mask can create a reversed sign where the background is painted and the letters remain the original surface color.
Positive and Negative Stencils for Logos
Logos can work either way, but the right choice depends on the shape. A simple solid logo can make an excellent positive mask. A complex logo containing internal details may be easier to manage as a bridged negative stencil.
Before cutting, simplify tiny details and check whether any areas will become unsupported islands.
How to Convert an Image Into a Negative Stencil
- Start with a clear, high-contrast image.
- Remove unnecessary background detail.
- Convert the main subject into solid black-and-white shapes.
- Decide which dark or light regions should become openings.
- Add bridges to enclosed islands.
- Test the design at the final physical size.
You can use the DigitalOnDay Stencil Maker to simplify an image into high-contrast stencil artwork before cutting.
How to Create a Positive Stencil From the Same Design
After cutting the negative stencil, save the main cut-out pieces instead of discarding them. Arrange the positive pieces on the surface in their correct positions and secure them before painting around them.
If the design contains many separate pieces, temporary positioning guides or registration marks can help preserve alignment.
Which Type Is Better for Reusable Mylar?
Negative stencils are generally easier to reuse because the full surrounding sheet keeps the design aligned as one unit. Positive masks can also be reused, but multiple loose pieces require more careful positioning each time.
If you are working with reusable material, our stencil material guide explains the differences between common stencil sheets and films.
Which Type Is Better for Spray Paint?
Both work well. Negative stencils produce direct painted shapes, while positive masks create reverse silhouettes and background effects.
For crisp edges, use light coats and avoid flooding the stencil. See our spray paint stencil techniques guide for application methods.
Which Type Is Better for Fabric?
Negative stencils are usually simpler on fabric because the surrounding sheet keeps the design positioned. Positive masks can work for larger silhouettes, but small loose pieces can shift more easily on flexible fabric.
For fabric-specific application tips, see how to stencil on fabric without bleeding.
Using Both in a Multi-Layer Design
Advanced stencil artwork often combines both approaches. One layer can block the background, another can add shadows, and a final negative stencil can add fine detail.
For complex multi-color work, consistent alignment is essential. Our multi-layer registration marks guide explains how to keep layers aligned.
Common Mistakes
- Confusing cut and paint areas: preview the final painted result before cutting.
- Throwing away useful positive pieces: save major cut-outs until the project is complete.
- Ignoring islands: negative stencils can fall apart without bridges.
- Using too much paint: heavy application increases bleeding and soft edges.
- Misaligning loose positive pieces: use guides or registration marks.
A Simple Test Before Cutting
Print the design on ordinary paper and mark each area as either:
- OPEN: paint will pass through;
- BLOCKED: the stencil will cover this area.
If an area marked BLOCKED is completely surrounded by OPEN space, check whether it will become a loose island. This simple test catches many stencil-design problems before material is wasted.
Frequently Asked Questions
Is a normal stencil positive or negative?
Most common lettering and decorative stencils are negative stencils because paint passes through openings cut into a larger sheet.
What is a reverse stencil?
The term usually describes a positive-mask effect: the shape is covered while the surrounding area receives paint, leaving the shape as the original surface color.
Can I use both parts after cutting?
Yes. The surrounding sheet and the removed shape can often be used for two different effects.
Which is easier for beginners?
For most text, signs and repeating patterns, a one-piece negative stencil is easier to position and reuse.
Bottom Line
Negative stencils paint through openings; positive stencils block paint with solid shapes. Neither is universally better. Choose the version that matches the final effect, surface and level of detail you need. If you plan the positive and negative spaces before cutting, you can avoid lost islands, alignment problems and wasted material—and often get two useful stencil effects from a single design.