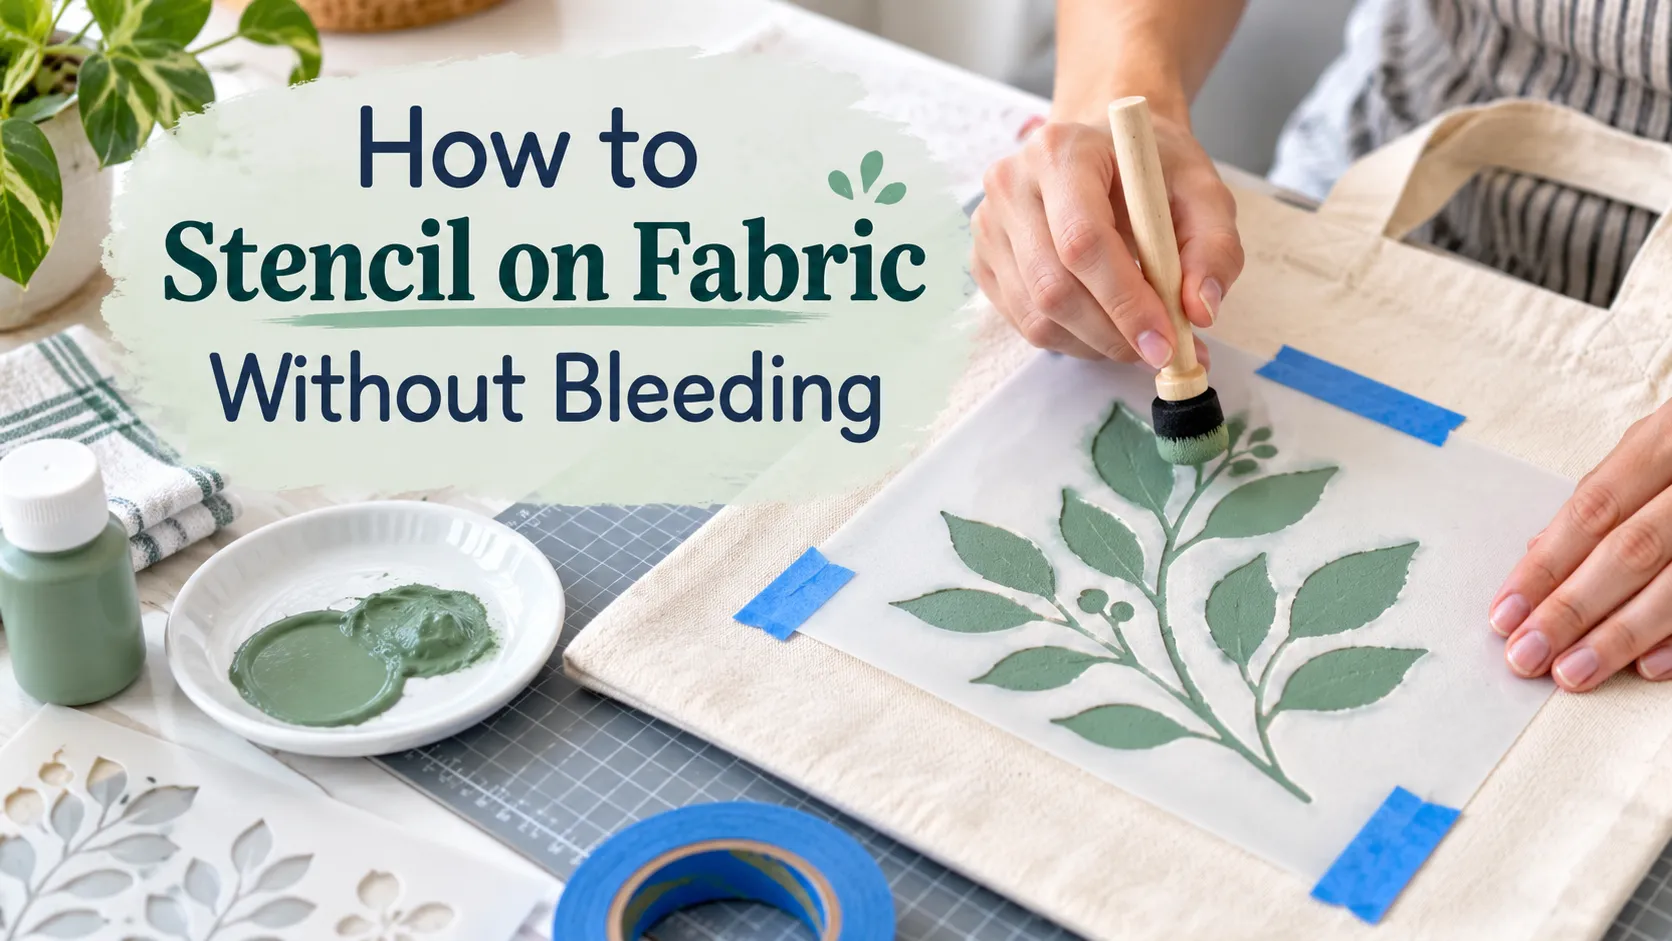
Quick Answer: How to Stencil Fabric Without Bleeding
Clean fabric stenciling depends on controlling movement and paint flow. Fabric is flexible and porous, so a stencil that works perfectly on a wall can produce fuzzy edges on a shirt or tote bag if the cloth shifts, the stencil lifts, or too much paint is applied.
The most reliable workflow is simple: prepare the fabric, support it from underneath, secure the stencil, use a paint made for the fabric, remove excess paint from the applicator, and build color in light vertical applications.
If you need to create the design first, use the free online stencil maker to simplify an image and prepare a printable or cut-ready stencil.
Why Paint Bleeds on Fabric
Paint usually spreads beyond the stencil edge for one or more of these reasons:
- The stencil is not sitting tightly against the fabric.
- The fabric moves while paint is being applied.
- The brush, sponge, or dauber holds too much paint.
- Paint is brushed sideways instead of dabbed vertically.
- The fabric weave is very open or highly textured.
- The wrong paint is being used for the fabric.
- A thick first coat floods the stencil opening.
These are application problems rather than design problems in many cases. The same general causes appear in broader stencil troubleshooting, but fabric adds extra variables such as weave, stretch, absorbency, washing, and curing.
Prepare the Fabric and Stencil
Choose the Right Stencil Material for Fabric
For one-time fabric projects, adhesive stencil film or freezer-paper methods can create close contact around the design. Reusable Mylar can also work, especially for repeated motifs, but it needs to be held flat with tape, temporary adhesive when appropriate, or careful hand pressure around loose details.
Different stencil materials behave differently on cloth. Review the best materials for stencils before cutting if you are deciding between Mylar, stencil vinyl, freezer paper, acetate, or cardstock.
Prepare the Fabric Before Stenciling
Check the fabric-paint manufacturer’s directions first. Many fabric-paint workflows recommend working on clean fabric, and some projects call for pre-washing so finishes, sizing, or residues do not interfere with adhesion.
Iron or smooth the fabric if wrinkles will stop the stencil from making close contact. Place the item on a firm work surface and keep the area under the design flat. Stretching the cloth too much can distort the final design when the tension is released.
Put a Barrier Behind the Fabric
If you are painting a shirt, tote, pillow cover, or another two-layer item, insert a piece of cardboard, poster board, or another suitable protective barrier between the layers. This prevents paint from soaking through to the back and gives you a firmer surface under the stencil.
Plaid’s fabric-paint projects commonly use a board or protective sheet inside garments and then direct users to follow the paint product’s curing instructions. See this Plaid fabric-paint project for a manufacturer example.
Secure the Stencil So the Edges Stay Flat
Tape the outer edges so the stencil cannot slide. For reusable or intricate designs, a light repositionable stencil adhesive may help keep small sections close to the cloth, but use only a product suitable for the fabric and follow its directions.
Press around the openings before painting. If an edge lifts when you touch it lightly, paint can move underneath it as well. Correct the contact problem before adding paint.
Apply Paint Without Bleeding
Use Fabric Paint or a Fabric-Compatible Paint System
A dedicated textile paint is the simplest choice because it is formulated for flexible surfaces. Some acrylic systems can be used on fabric with a compatible fabric medium, but the correct ratio and curing process depend on the product.
Do not assume that every acrylic paint should be treated the same way. Jacquard, for example, lists stenciling as a use for its Textile Color line and provides product-specific heat-setting instructions for maximum permanence. Check the Jacquard Textile Color instructions when using that product.
Off-Load the Brush, Sponge, or Dauber
This is the step that prevents many fabric-stencil failures. Load the applicator with paint, then remove most of the excess on a paper towel, palette, or scrap fabric. The applicator should transfer color without releasing a wet puddle.
It is easier to add a second light layer than to remove paint that has already traveled under the stencil. A nearly dry first pass also reduces the amount of liquid being pushed into an open fabric weave.
Apply Paint Straight Down, Not Sideways
Use a pouncing, tapping, or stippling motion. Move the applicator up and down through the stencil opening instead of brushing strongly from side to side.
Sideways strokes can push paint directly under an edge. Vertical application keeps more of the force inside the cut opening. Work from the outside of a shape toward the center when that helps avoid catching the stencil edge.
Build Color With Light Coats
Do not try to reach full opacity immediately. Apply a thin first layer and add another light pass only where needed. Dense fabric or dark fabric may need more than one pass, but each pass should remain controlled.
Too much paint can create three problems at once: bleeding under the stencil, a stiff painted area, and slower or uneven curing. Thin coats are easier to keep inside the design.
Lift and Cure the Design Correctly
Remove the Stencil Carefully
Removal timing depends on the paint and stencil system. The safest approach is to follow the paint manufacturer’s directions and lift the stencil carefully without dragging it across the design.
Lift from one side in a controlled motion while holding the fabric flat. If the stencil is adhesive, peel it back without stretching the cloth. Avoid touching the freshly painted area with the stencil as it comes away.
Heat-Set or Cure According to the Paint Label
Fabric paints do not all cure the same way. Some require heat setting; others are designed to cure without it. Never apply a generic ironing time or temperature to every product.
Jacquard Textile Color recommends heat setting for maximum permanence, while other fabric paints can have different curing and washing directions. Always use the instructions for the exact paint in your project.
This matters because a stencil can look perfect immediately after painting and still fail later if the paint was not cured according to its formulation.
How to Keep Letters and Small Details Sharp
Letters, thin lines, and small islands are more sensitive to fabric movement. Use a stencil with strong bridges and enough spacing for the final size. Secure narrow sections and use a smaller applicator that fits comfortably inside each opening.
If the original image contains too much detail, simplify it before cutting. A design that is clean at screen size can become fragile after it is reduced for a shirt pocket, tote corner, or small fabric label.
What to Do if Paint Still Bleeds
Stop before adding more paint. Check whether the stencil lifted, the fabric shifted, or the applicator was too wet. Correcting the cause first prevents a small fuzzy edge from becoming a larger smear.
If you need to repair a bleed that has already happened, see our stencil paint-bleed repair guide. It covers wet and dry corrections across several surfaces; this article stays focused on fabric-specific prevention and curing.
For future projects, practice the complete process on a scrap piece of the same fabric. This lets you test paint quantity, stencil adhesion, curing, and color without risking the final item.
For broader troubleshooting across different surfaces, see common stencil mistakes and fixes.
Fabric Stenciling Checklist
- Use clean, flat fabric according to the paint manufacturer’s preparation guidance.
- Place a protective barrier behind multi-layer items.
- Choose a stencil material that can stay close to the fabric.
- Secure the stencil before painting.
- Use a fabric-compatible paint system.
- Off-load excess paint.
- Tap or stipple vertically rather than brushing sideways.
- Build opacity with light coats.
- Lift the stencil carefully.
- Cure and wash the painted fabric according to the product directions.
For the broader workflow—from design and cutting to materials and application—see the Stencil Making Tools & Techniques Complete Guide.
Final Takeaway
To stencil on fabric without bleeding, control both contact and paint quantity. Keep the cloth stable, hold the stencil edges flat, use a suitable paint, remove excess paint from the applicator, and apply color with light vertical passes.
Then treat curing as part of the project rather than an afterthought. The best-looking stencil edge is only useful if the finished paint remains flexible and durable after the fabric is handled or washed.