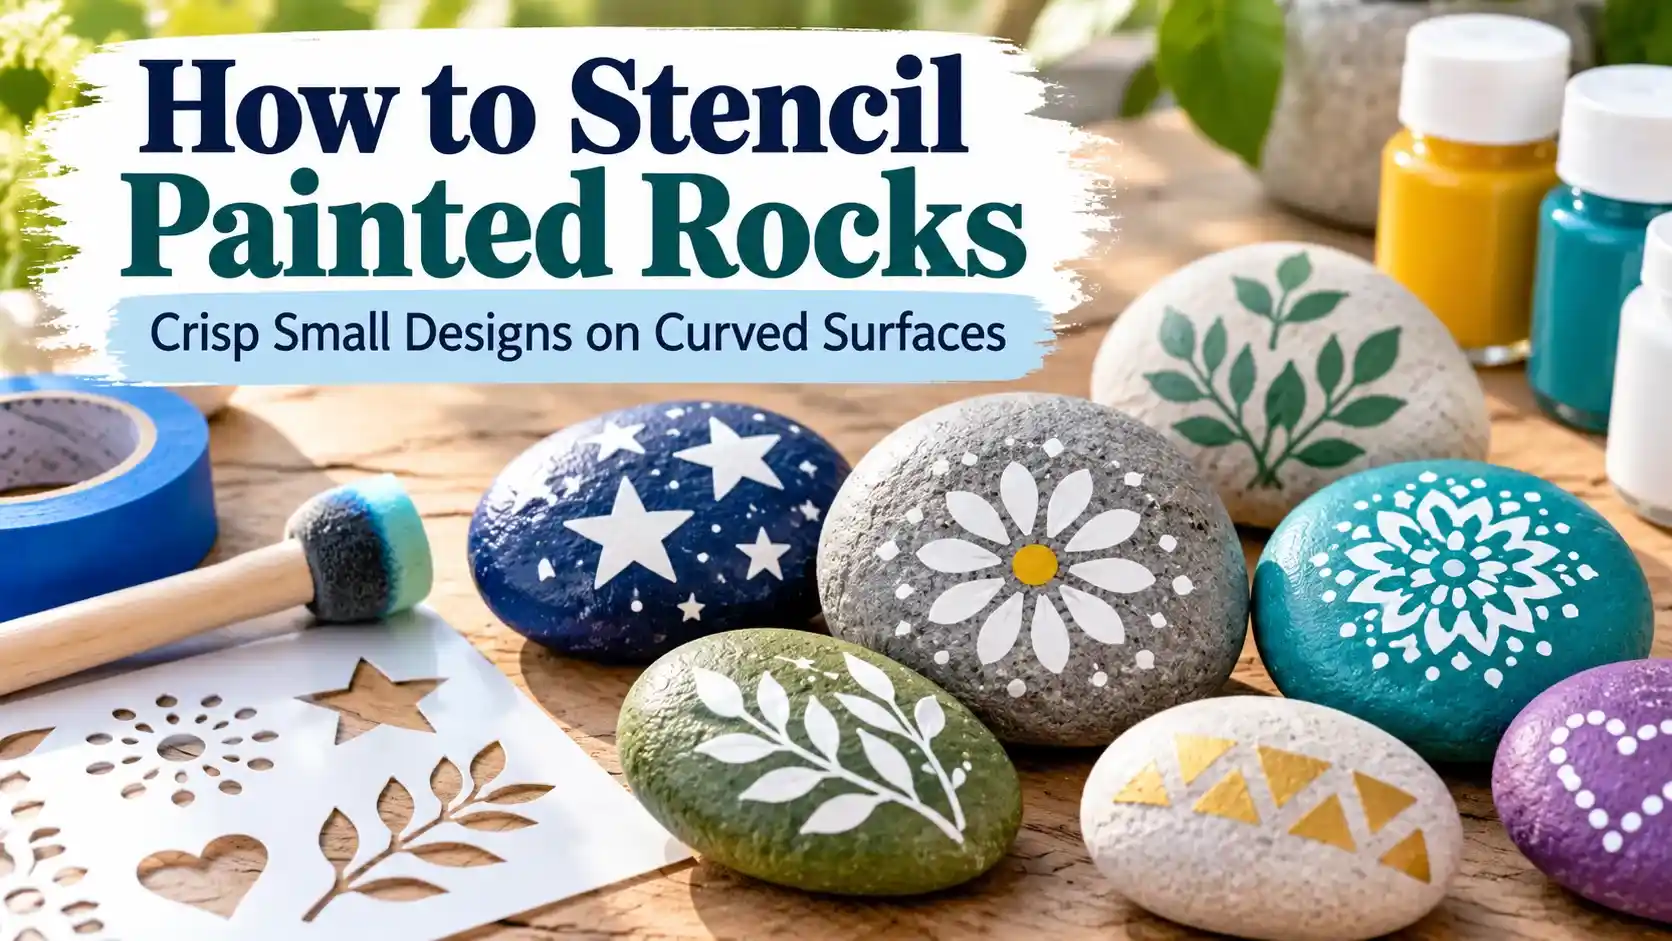
Small painted rocks are perfect for stencils because the project is inexpensive, quick, and easy to personalize. The challenge is the surface: even a “smooth” stone has tiny dips and curves that keep a flat stencil from sealing completely.
The best results come from choosing the right rock, shrinking the design intelligently, using a flexible stencil, and applying very little paint at a time.
Quick answer: how do you stencil painted rocks with crisp small designs?
Choose a smooth, relatively flat rock, wash and dry it, add a base coat if desired, then use a small flexible stencil or adhesive vinyl. Press the cut edges down, pounce on a minimal amount of acrylic or multi-surface paint, and remove the stencil carefully. After the design has fully dried and cured, add a compatible outdoor finish if the rock will live outside.
Plaid recommends multi-surface paint for rock projects and an outdoor Mod Podge finish for weather protection in its painted rock project guidance.
Choose the rock before you choose the design
A common mistake is designing a detailed stencil first and then trying to force it onto whatever rock is available. Reverse that order.
Pick a stone with a broad, smooth face and gentle curve. Deep pits, sharp ridges, and highly rounded pebbles create gaps under the stencil. If the stone is very curved, use a smaller motif rather than wrapping a large design across the whole surface.
Wash and dry the rock
Scrub away soil, dust, and loose material with soap and water. Rinse well and let the stone dry completely before painting. If it was collected outdoors and feels cool or damp, give it more time.
Do not stencil over loose dirt or flaky natural material. The paint needs to bond to the rock or the base coat, not to debris.
Should you base-coat the rock first?
It depends on the look you want. A white, black, or colored base coat creates stronger contrast and a smoother visual field. Natural stone can also look excellent with a single stenciled motif.
If you use a base coat, let it dry and cure enough that the stencil adhesive or tape will not lift it.
Make the stencil simpler than the screen version
A design that looks perfect at six inches wide may fall apart at one inch. Small rock stencils need thicker bridges, wider letter openings, and fewer tiny islands.
Use the DigitalOnDay Stencil Maker to simplify an image, then test-print or preview it at the real size of the rock before cutting.
Best stencil materials for curved rocks
Adhesive vinyl is excellent for one-off small details because it conforms to the curve. Thin reusable Mylar works for repeated motifs but may need finger pressure around the active cutout while painting.
For a broader comparison, see the best stencil materials guide.
Step-by-step: stencil a painted rock
1. Position the design
Center the stencil on the flattest part of the rock. For adhesive vinyl, burnish the cut edges gently. For reusable material, tape the border and press the working area down with a clean fingertip.
2. Load the applicator lightly
Use a small stencil brush or dense foam pouncer. Dip into the paint, then blot on a paper towel until the tool is nearly dry.
3. Pounce straight down
Apply paint with a vertical tapping motion. Do not brush sideways toward the stencil edge. Work from the center of the opening toward the curve.
4. Build the color gradually
Thin passes are easier to control on an uneven stone. If the first pass looks translucent, resist the urge to add a wet blob of paint. Add another light layer instead.
5. Lift carefully
Peel or lift the stencil without sliding it. If a tiny part of the design needs correction, wait until the surrounding paint is stable and use a fine detail brush.
Why do stencil edges bleed on rocks?
Because the stencil cannot seal against every dip in the stone. You reduce the problem by choosing smoother rocks, using a more flexible stencil, pressing the active edge down, and keeping the paint load extremely light.
If fuzzy edges are a recurring problem, DigitalOnDay’s paint bleed troubleshooting guide explains how paint amount, stencil contact, and applicator motion affect the result.
What designs work best on small rocks?
- Initials and short names
- Stars, hearts, moons, and simple flowers
- Small animal silhouettes
- Garden herb labels
- Simple geometric symbols
- Holiday motifs
- One- or two-word kindness messages
For tiny lettering, avoid delicate script unless you are using adhesive vinyl and a very clean cut. Bold sans-serif letters are much more forgiving.
How to stencil several rocks efficiently
If you are making garden markers, party favors, or a matching set, work assembly-line style. Clean all rocks first, base-coat all of them, cut the stencils as a batch, then stencil one color at a time.
With reusable Mylar, inspect the back between rocks. Wet paint transferred from the previous stone can create an unwanted halo. Clean and dry the stencil when needed using the methods in the reusable Mylar cleaning guide.
Should painted rocks be sealed?
Indoor decorative rocks may not need a protective topcoat if the paint is durable enough for their use. Outdoor rocks face rain, sun, soil, and abrasion, so use a finish intended for exterior exposure and compatible with the paint underneath.
Follow the label for dry and cure times. A rock that feels dry on the surface may not be ready for a heavy clear coat or outdoor exposure yet.
Five small-rock stencil mistakes to avoid
- Using a design that is too detailed: simplify before cutting.
- Choosing a deeply pitted stone: smoother surfaces give cleaner edges.
- Overloading the pouncer: thin paint layers are safer.
- Wrapping a large stencil around a tight curve: shrink the motif instead.
- Sealing before the paint is ready: follow the coating’s cure instructions.
Final takeaway
Stenciling rocks is less about artistic skill and more about scale and contact. Match the design to the stone, keep the stencil flexible, use very little paint, and build color slowly. Those choices make small details cleaner and reduce the touch-up work afterward.