introduction
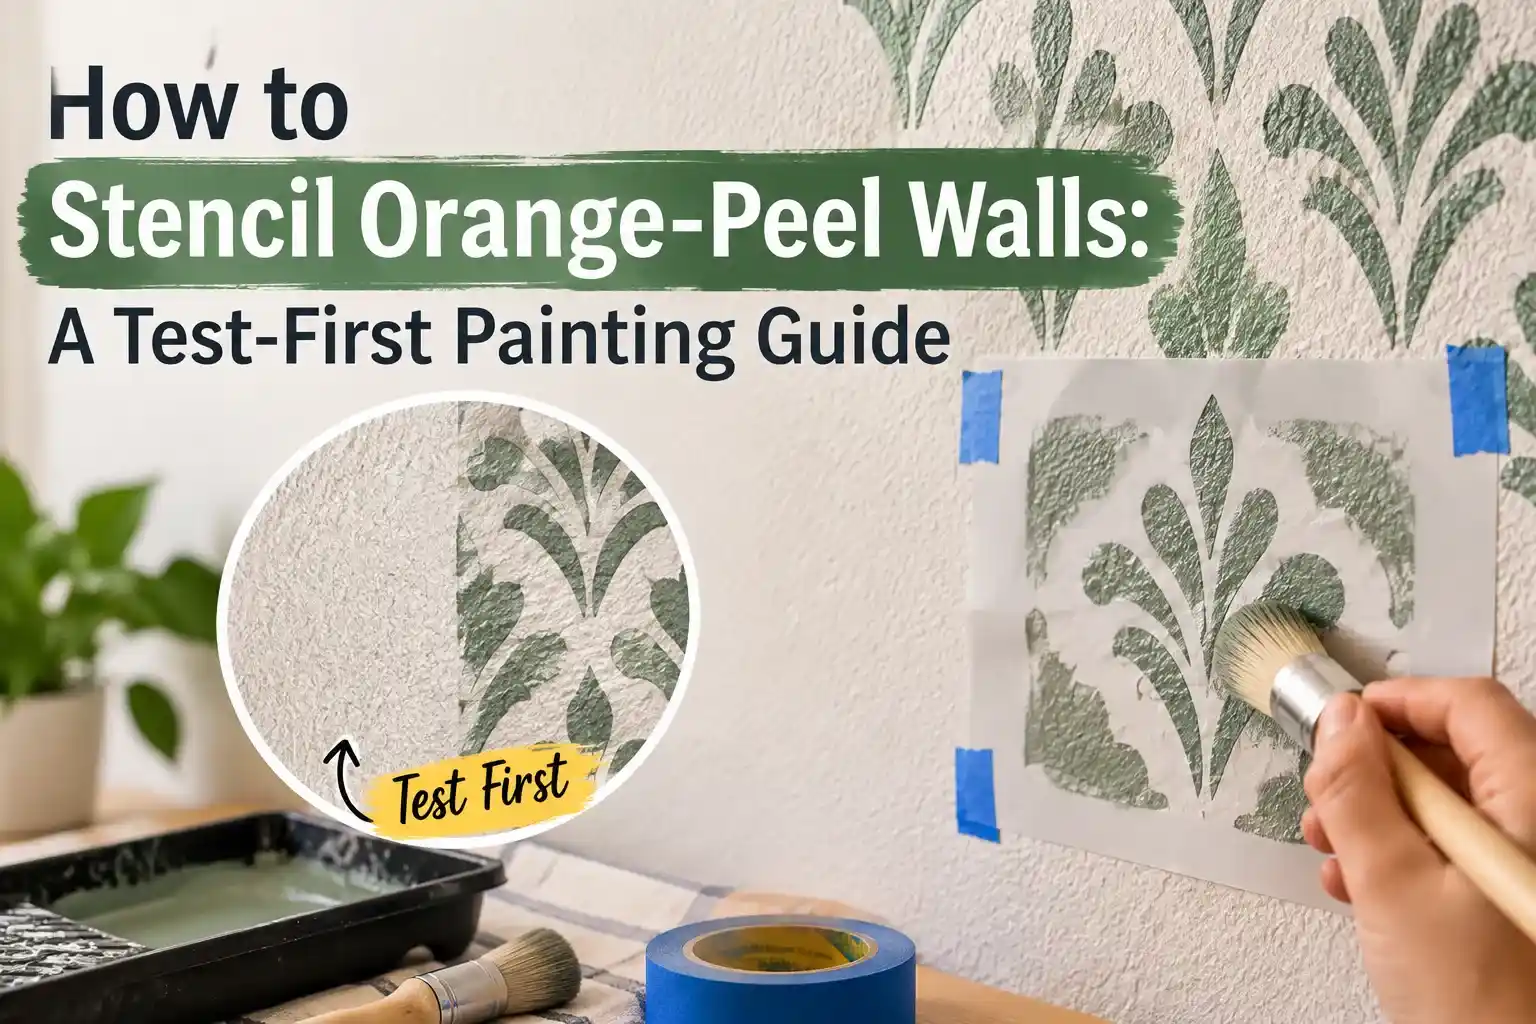
Stenciling an orange-peel wall can be tricky because the uneven texture creates tiny gaps under the stencil where paint can bleed. The best approach is to test your method first, use minimal paint, and work with light pressure instead of trying to force the stencil flat. With the right stencil material, brush or roller, and a few simple preparation steps, you can still create clean, attractive designs on textured walls. This guide explains how to test the surface, control paint, reduce bleeding, and improve stencil results before starting the full project.
Test one motif before committing to the whole wall
You can stencil some orange-peel walls, especially those with light texture, but the edges may remain softer than on a smooth surface. Start with a small test, use a forgiving pattern, and apply very little paint at a time. The aim is a consistent design at normal viewing distance, not a perfectly smooth printed edge across every bump.
Orange-peel texture creates small peaks and valleys. A stencil can touch the peaks while leaving tiny gaps above the low spots. A wet brush or heavily loaded roller can push paint into those gaps, which is why surface texture and paint control must be considered together.
Decide whether your wall is a good candidate
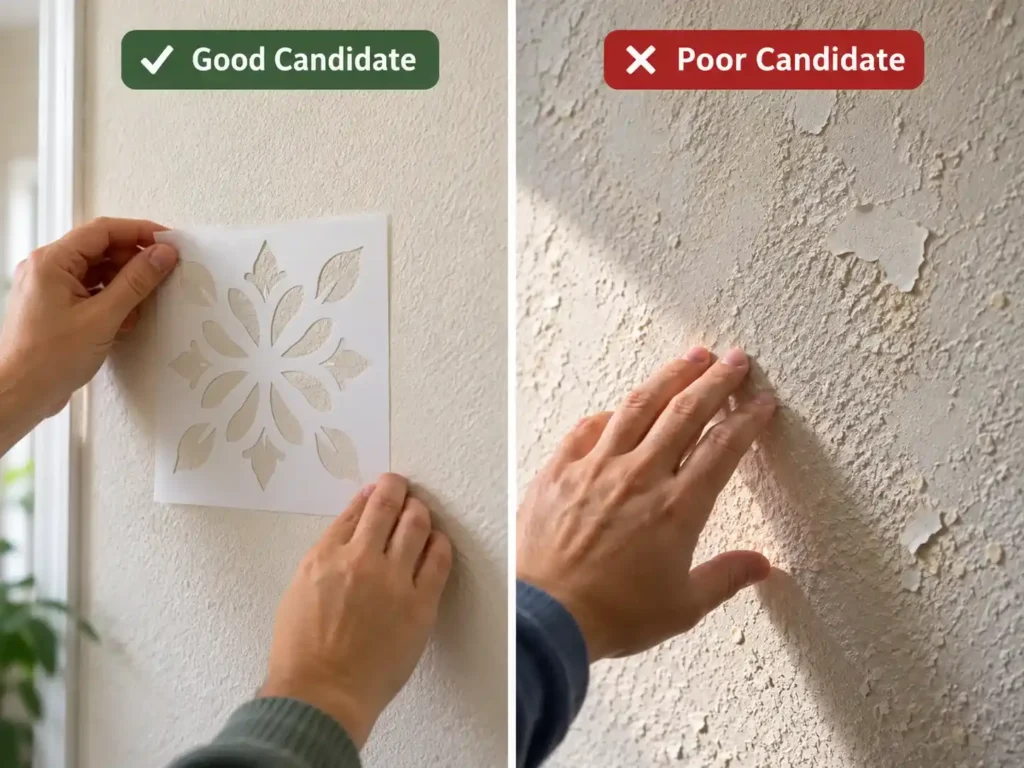
Look along the surface in side lighting. Fine, shallow texture is a different challenge from deep ridges, flaking paint, or damaged patches. Clean and stable paint is essential. Do not cover a loose or dusty surface and expect the stencil to hold it together.
This method concerns painting an existing sound wall. It does not require sanding or scraping old texture. If you are considering removing an unknown older coating, obtain appropriate advice about the material first; surface removal is a separate job.
| Wall condition | Sensible next step |
|---|---|
| Light, evenly distributed orange peel | Try one broad, simple motif in a discreet area. |
| Uneven texture with deeper pockets | Test a larger pattern and judge it from normal room distance. |
| Peeling, powdery, or unstable paint | Address the coating problem before decorating. |
| Fresh background paint | Wait for the coating’s recommended cure before applying tape or adhesive. |
| Fine lettering requiring exact edges | Consider a smoother decorative panel or a simpler design. |
Cutting Edge Stencils describes the limitations and brush-loading approach in its textured-wall painting advice. Use that guidance to plan a test rather than assuming every textured wall will behave alike.
Choose a pattern that works with the texture
Broad leaves, simple geometric shapes, and open patterns give you more room for small edge variations. Tiny lettering and closely spaced parallel lines make those variations easier to notice. A low-contrast color combination may also be more forgiving than a very dark motif on a bright white wall.
Cutting Edge Stencils’ pattern-selection examples are useful when comparing the scale of a design with the wall texture. Look at the shape and spacing rather than choosing only by the photograph’s color scheme.
For a custom motif, our simple silhouette conversion tool can provide a starting design. Print a paper sample at full size and attach it temporarily. View it from the doorway and from the seating position where the wall is normally seen.
Supplies and layout preparation
- A clean reusable stencil with a sufficiently wide border.
- A small stencil brush and, optionally, a dense foam roller for testing.
- Paint suitable for the existing wall coating.
- Low-tack painter’s tape and tested stencil adhesive if needed.
- Paper towels, palette, level, measuring tape, and floor protection.
- A small amount of matching background paint for possible touchups.
Measure the wall and decide where the design begins and ends before painting. Check how partial repeats will look at corners, baseboards, and outlets. A balanced layout may mean starting from a central reference instead of placing a whole motif in the upper-left corner.
For repeating patterns, follow our repeat-spacing and alignment guide. Texture affects the painted edge, while registration affects the overall layout; solve each problem separately.
Run a useful paint test
1. Prepare a discreet area
Remove surface dust using a method suitable for the existing paint and let the area dry. Test tape removal before attaching the stencil. If the tape pulls away the base coat, stop and investigate the wall finish rather than changing to a stronger adhesive.
2. Stabilize the stencil
Attach its border so it cannot slide. If you use a compatible repositionable adhesive, apply it away from the wall and follow the label’s waiting time. Press gently where you are working. Do not stretch a large stencil to force it into every small valley.
3. Make the first pass almost dry
Load the brush lightly, then offload until it leaves a controlled, stippled mark rather than a wet puddle. Tap near the openings with light pressure. Concentrate on contact and consistency before trying to make the color fully opaque.
4. Compare applicators only if needed
A dense foam roller can be efficient on suitable areas, but it needs light loading and pressure. A brush gives more local control around uneven edges. Test the roller on a separate motif instead of switching halfway through the same shape and losing the comparison.
5. Review at two distances
Inspect close up for major leaks, then step back to normal room distance. A tiny irregularity that disappears from several feet away may be acceptable. Repeated smears or uneven color remain noticeable and justify changing the technique before continuing.
Move across the wall without multiplying errors
Once the test is satisfactory, keep the same paint consistency, applicator, and loading method. Recheck the stencil level periodically. Small alignment errors accumulate, especially when a long row is guided only by the last repeat.
Inspect the back of the stencil before each move. Let painted areas dry sufficiently before registration marks or adhesive overlap them. Clean away buildup when it prevents the sheet from lying flat, and dry the stencil fully before returning it to the wall.
At corners, do not force a rigid sheet around a tight bend while also trying to hold registration. Work a manageable section and support it carefully. Protect the neighboring wall and use a smaller brush where access is limited.
When to adjust the plan
Paint keeps leaking into valleys: Reduce the paint load first. If the result remains poor after a controlled test, use a larger or less detailed motif. More coats will not sharpen an already blurred outline.
The pattern looks too busy: Reconsider spacing and contrast on paper samples before continuing. A wall-sized repeat can feel much denser than a single attractive stencil.
You are pressing hard to reach every low spot: Stop and reassess the desired finish. Hard pressure can distort the stencil and force paint under its edges. A subtly textured result is often more consistent than a heavily filled one.
Our applicator comparison can help if your main difficulty is choosing between local brush control and faster roller coverage.
Common questions
Will spray adhesive eliminate bleeding?
No. It can help hold the stencil in place, but it cannot flatten the wall or compensate for excessive paint. Test both adhesion and clean removal.
Should I seal every stencil edge with background paint?
It is an option to test on a compatible, cured surface, not a universal requirement. Extra paint can create buildup and make repeated placement slower.
How much time should I allow?
Time one completed test, including placement and cleaning, then estimate the number of repeats. Add time for edges, interruptions, and drying. A fixed room-wide estimate would ignore the size and complexity of your pattern.