Introduction
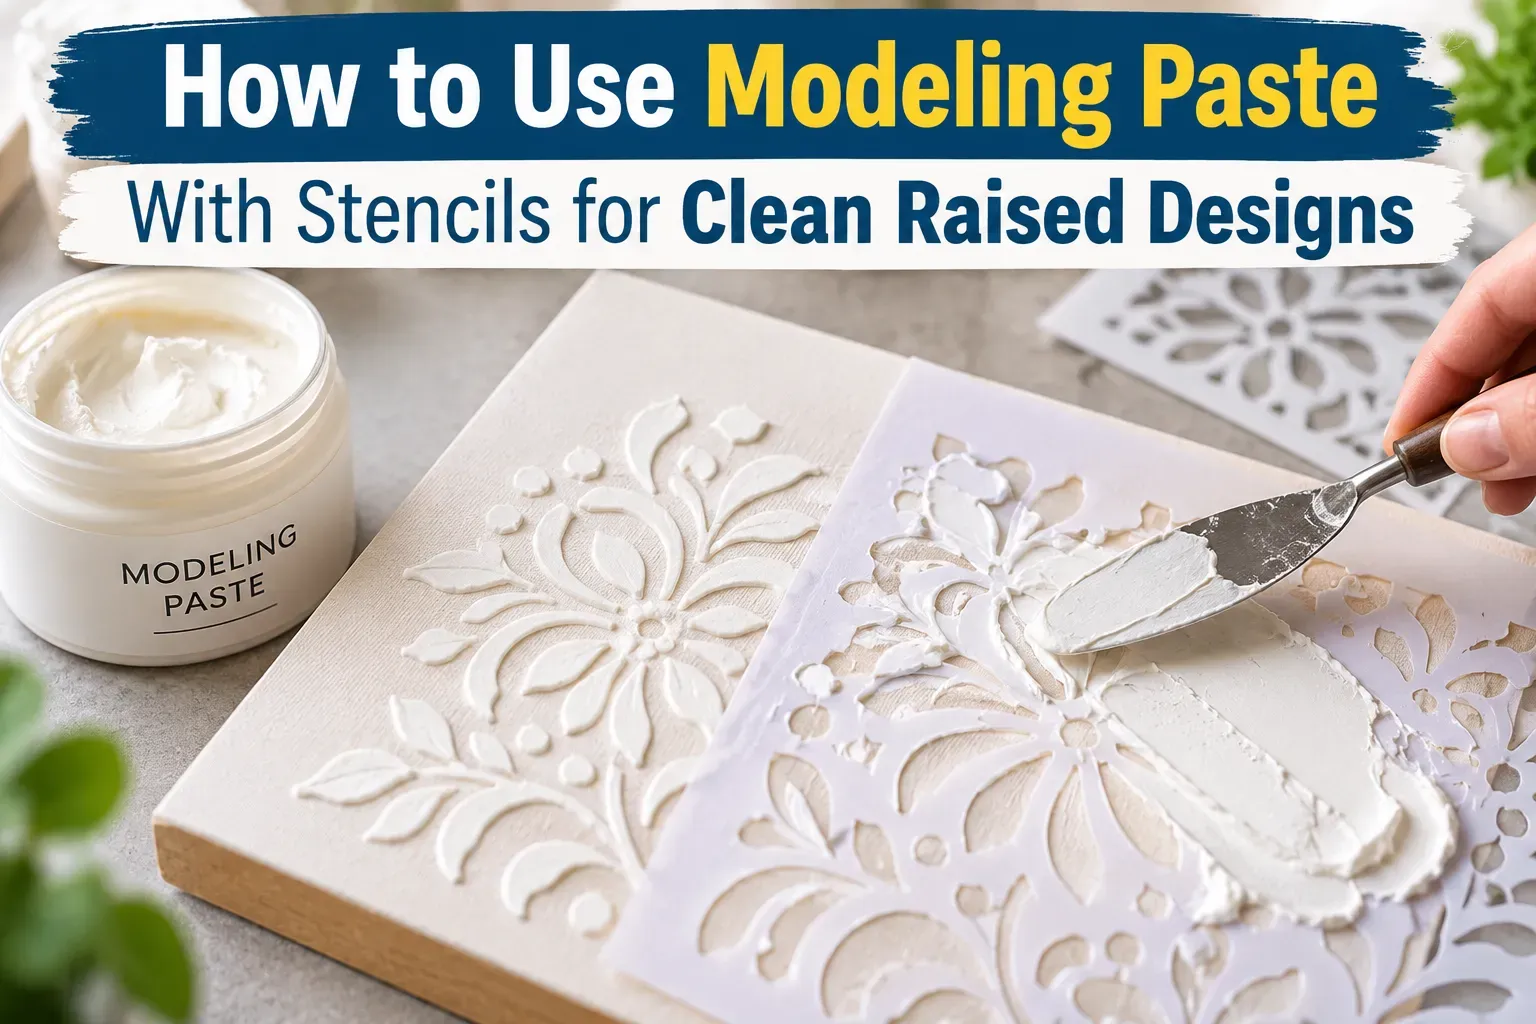
Using modeling paste with stencils adds raised texture to artwork, but clean results depend on more than spreading a thick layer. The paste must suit the support, fill the openings evenly, and release before it begins to set. Too much pressure can push material beneath the stencil, while rushed lifting can distort delicate edges. This guide explains how to choose compatible materials, prepare a practice panel, control the application, and remove the stencil carefully. You will also learn how to diagnose common defects, add color, and allow suitable drying time before handling the finished design.
Let the stencil define the edge and the paste provide the height
Using modeling paste with stencils adds raised texture to artwork, but clean results depend on more than spreading a thick layer. The paste must suit the support, fill the openings evenly, and release before it begins to set. Too much pressure can push material beneath the stencil, while rushed lifting can distort delicate edges. This guide explains how to choose compatible materials, prepare a practice panel, control the application, and remove the stencil carefully. You will also learn how to diagnose common defects, add color, and allow suitable drying time before handling the finished design.
Choose the paste and support together
Modeling, molding, texture, and embossing pastes are related product labels, but their formulations are not interchangeable. Some dry hard and opaque; others are lighter, more flexible, translucent, or deliberately crackled. Read the label for recommended supports, thickness, drying conditions, and compatible paints.
A rigid art panel is a manageable first support because it does not bend while you spread the paste. Heavy art paper may work with a suitable product, but it can curl. A flexible page or stretched canvas needs a medium that tolerates the movement of that support.
The Golden molding-paste reference distinguishes several formulations and explains that thickness affects drying. Its instructions for a particular paste should not be transferred automatically to an unrelated brand or a homemade mixture.
Use a clean, sound surface prepared as the medium manufacturer recommends. A dusty board, loose background paint, or flexible layer underneath can undermine the raised design even if the stencil application itself looks neat.
Select openings that release cleanly
Choose a stencil with broad openings and sound connecting sections. Fine filigree gives you less room for the spreading tool and creates more delicate edges to disturb. Start with a short word or a simple geometric motif before attempting a full panel of tiny details.
Inspect the stencil against a flat surface. A bent bridge can leave a gap that fills with paste. The guide to stencil bridges explains why the pieces between cutouts matter. For raised work, they also help define where paste must not travel.
The stencil thickness influences the depth of a scraped level pass, but it is not a reason to exceed the paste’s permitted layer thickness. More height can mean slower drying and greater stress. Begin with a modest relief that the material can hold consistently.
Prepare a small practice panel
- Place a prepared offcut or sample panel on a stable work surface.
- Use the same paste, base coat, stencil, and tool planned for the finished piece.
- Have a palette knife or smooth flexible scraper, waste container, and cleaning materials ready.
- Secure the stencil without bending it or creating raised tape ridges beneath the working area.
- Leave space beside the motif for a small witness sample of paste at a similar thickness.
The witness sample gives you somewhere to check drying without repeatedly touching the artwork. It cannot prove that every thick point is fully dry, but it is more informative than judging only the thin residue on the palette.
Spread once, level gently, and lift deliberately
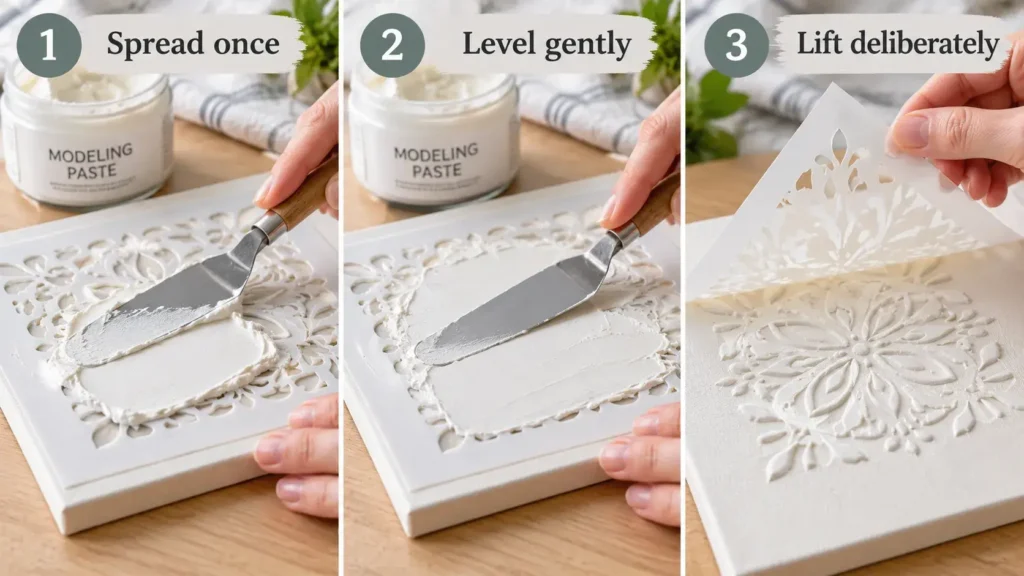
- Place a small amount of paste on the tool or on an uncut area of the stencil. Keep the rest of the container closed.
- Draw the tool across the openings with enough pressure to fill them, without forcing paste beneath the stencil.
- Remove excess from the top with a gentle leveling pass. Avoid repeated scraping once the paste begins to drag or skin over.
- Check that no section has lifted. If an area is obviously smeared, stop rather than spreading the error farther across the panel.
- Release the restraints and lift from one edge in a steady motion, keeping the stencil from sliding sideways or falling back onto the relief.
Do not wait for the paste to dry with the stencil attached. The drying material can bind the cut edges and make removal damage the pattern. If the stencil catches, slow down and support the loose sheet rather than pulling sharply against a fragile bridge.
Artistcellar’s paste-and-stencil demonstration provides an example of palette-knife application. Use its project as context while taking drying and material limits from your own product’s instructions.
Read defects before trying to repair them
| Defect | Likely cause | Adjustment for the next pass |
|---|---|---|
| A thin skirt surrounds the design | Paste squeezed beneath a gap | Improve contact and reduce spreading pressure |
| Peaks rise at the edges | Thick or sticky paste pulled during lifting | Use a thinner controlled layer and lift promptly |
| Part of the motif comes away | Paste began setting or failed to adhere | Review working time and surface preparation |
| Cracks appear after drying | Thickness, support movement, or product behavior | Check the formulation and layer limit before recoating |
On a small fresh sample, it may be better to remove the failed application as the product allows and start again. Do not repeatedly poke narrow wet ridges into shape. For a dry defect, follow the medium’s finishing instructions; not every paste is intended for sanding or carving.
Add color without changing the paste unpredictably
You can use a tintable paste with a compatible acrylic color or paint the relief after drying. Tinting gives color through the material, while painting afterward keeps the spreading stage simpler. An opaque paste can lighten a mixed-in color, so make and dry a sample before judging the final shade.
Avoid diluting the paste heavily with water to make it easier to spread. That changes its handling and may reduce the relief. Use only additions and proportions supported by the manufacturer. The goal is a material that holds the intended shape after the stencil lifts.
If a second stencil overlaps the first relief, let the first application dry sufficiently and check whether the raised area prevents flat contact. Do not press the next stencil into soft paste. Our registration-mark method can help place layers without guessing their position.
Dry flat and clean the stencil promptly
Leave the panel undisturbed under the product’s recommended conditions. A skin on top does not establish that the center of a thick application is dry. Avoid using strong heat to force a fast result unless the medium specifically permits it; deliberate heat-texture effects are a different technique.
Scrape excess paste into a waste container, then clean tools and the stencil as directed before residue hardens. Keep the stencil supported so narrow bridges do not bend during washing. For storage and handling, use our Mylar cleaning and storage guide.
Can I use this on furniture?
Only with a paste and finish system suitable for the substrate and expected handling. A decorative sample on an art panel does not demonstrate durability on a frequently touched drawer front or an outdoor surface.