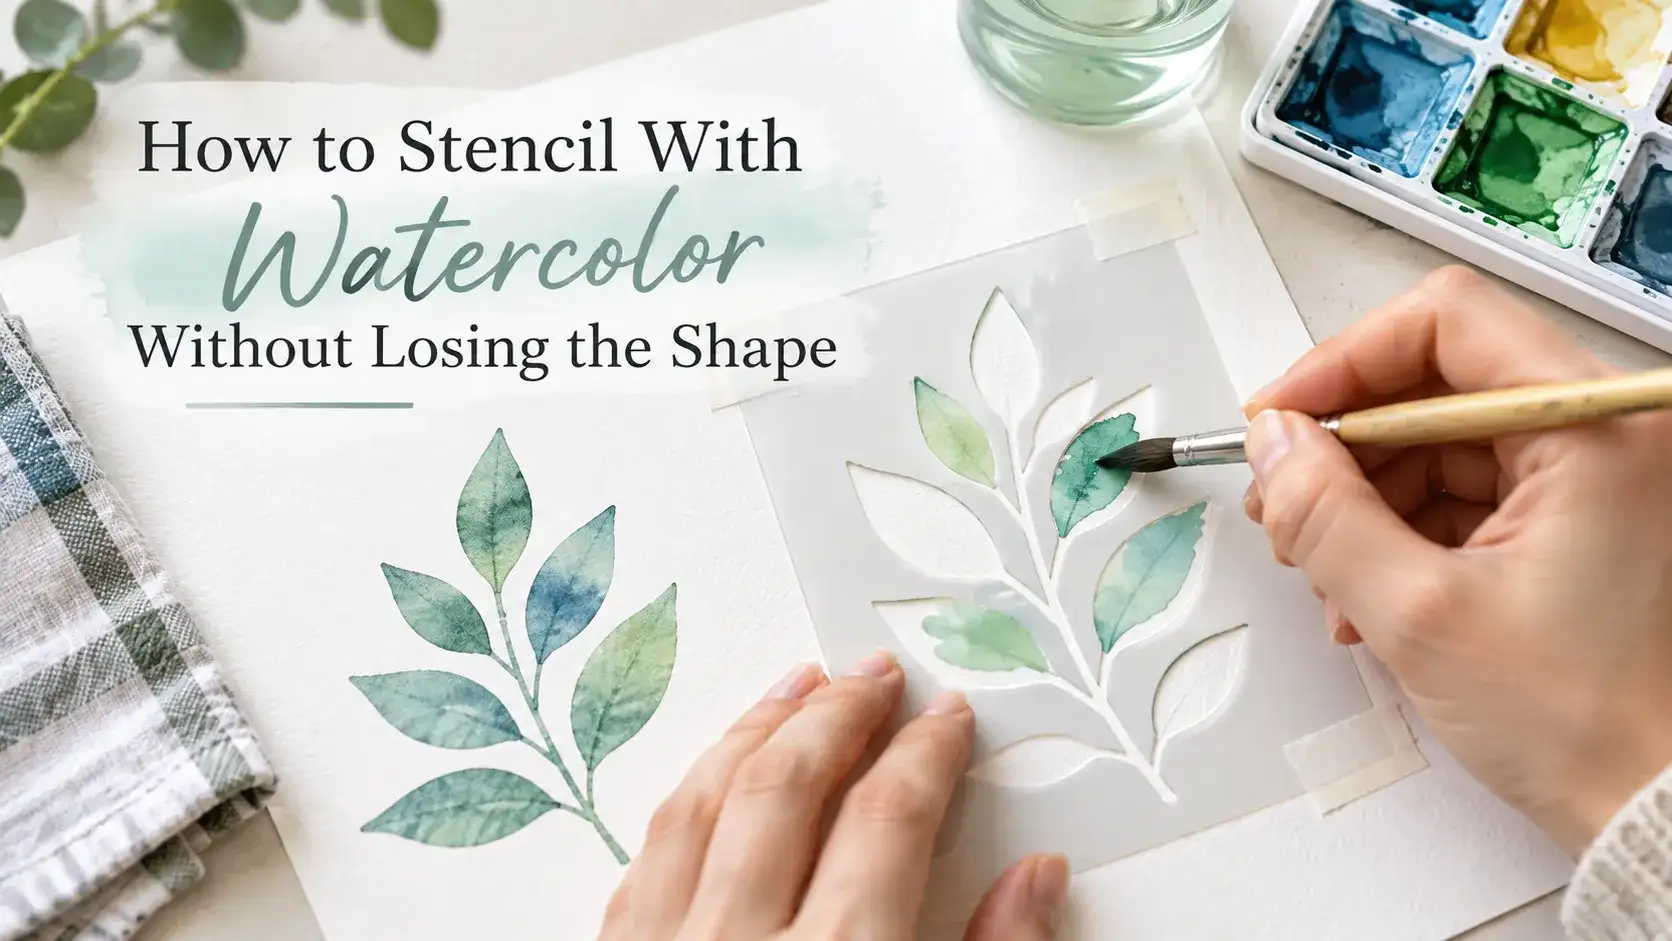
Introduction
To stencil with watercolor while keeping shapes recognizable, control the water before trying to strengthen the color. A dripping brush or damp stencil can carry pigment beyond the cutout, especially on textured paper. Starting with dry watercolor paper, simple openings, and small amounts of paint gives you more control without losing the medium’s transparent appearance. This guide explains how to test brush moisture, apply color, and let layers dry. It also helps you distinguish intentional soft edges from unwanted bleeding and choose tracing or masking when your design needs a more defined outline.
Choose controlled shapes or soft washes before you start
To stencil with watercolor while keeping shapes recognizable, control the water before trying to strengthen the color. A dripping brush or damp stencil can carry pigment beyond the cutout, especially on textured paper. Starting with dry watercolor paper, simple openings, and small amounts of paint gives you more control without losing the medium’s transparent appearance. This guide explains how to test brush moisture, apply color, and let layers dry. It also helps you distinguish intentional soft edges from unwanted bleeding and choose tracing or masking when your design needs a more defined outline.
Match the paper and stencil to the detail
Use paper intended for watercolor rather than ordinary printer paper. Surface texture matters: a rough sheet leaves more space beneath a stencil, while a smoother sheet usually gives the stencil more continuous contact. Paper weight helps with handling and distortion, but a heavier sheet alone does not prevent liquid from traveling beneath plastic.
Start with broad leaves, circles, or simple lettering. Fine lines and closely spaced openings are less forgiving because a small spread can join adjacent shapes. If you are adapting a photo, use the image-to-stencil tool to explore larger connected forms, then test the physical stencil on your chosen paper.
A clean reusable stencil is convenient for experiments. Inspect its underside for old pigment, adhesive, and dried ridges. Water can reactivate leftover color and carry it into the new design. Dry the stencil after washing it; moisture left underneath can create a spreading path before the brush even touches the paper.
Run a three-swatch water test

Use an offcut from the same sheet and mark three small test positions. Keep the stencil opening and pigment similar in each. The purpose is to compare brush moisture, not to produce three finished miniatures.
- For the first swatch, blot the loaded brush thoroughly and apply one light pass on dry paper.
- For the second, use a slightly wetter brush with the same paint mixture.
- For the third, add a second pass to the first type of application after it has dried.
- Lift the stencil between tests without sliding it and label the results.
- Compare edge spread, color strength, and paper disturbance after all three are dry.
If the wetter sample spreads, stronger tape is not necessarily the solution. Reduce liquid first. If every sample feathers into the paper fibers, try a different watercolor paper or a less demanding design. If only one stencil edge leaks, inspect that part for a lifted bridge or uneven contact.
Apply watercolor without building a puddle
Prepare a small paint mixture on the palette before placing the stencil. Rinse the brush, remove excess water, pick up color, and test the load on scrap. You want a controlled mark, not a bead of liquid that runs when the paper tilts.
Place the sheet on a clean, flat support. Restrain the stencil at its outer margins with a paper-compatible low-tack method that you have tested. Tape around the outside prevents movement; it does not seal every opening inside the design.
Work inside one opening at a time. Keep the brush within the cutout and bring small amounts of paint toward the edge. Do not scrub back and forth across the plastic boundary. If a shiny bead collects there, stop and lift excess liquid with a clean, blotted brush before continuing.
Lift a loose stencil carefully without dragging its wet underside across the sheet. Let the painted shape dry before placing a stencil over it for another layer. Watercolor can reactivate, so even a dry first layer may move if the next application is overly wet or heavily worked.
Separate soft edges from accidental leaks
A consistent soft wash can be attractive. An isolated blob beyond a letter usually looks different because it interrupts the intended shape. Decide where you want softness in advance rather than trying to repair every irregularity with another layer.
Balzer Designs’ watercolor stencil demonstrations show that stencil work can range from loose effects to more controlled outlines. Use that distinction to choose an appropriate technique instead of judging all watercolor stencils by the appearance of opaque acrylic lettering.
| Result | Likely cause | Next test |
|---|---|---|
| Color escapes along one opening | A gap or local pool of liquid | Reduce brush moisture and check contact |
| All outlines feather | Paper behavior or excessive water | Compare another paper with the same brush load |
| Two colors merge unexpectedly | The earlier layer was wet or reactivated | Allow drying and use a lighter second application |
| The surface becomes fuzzy | Scrubbing or adhesive damage | Stop working it; test gentler handling on a new scrap |
Use another masking method when the boundary matters most
For a detailed map, small name, or geometric design requiring a particularly clear outline, a loose reusable stencil may be the wrong tool. One option is to trace the outline lightly, remove the stencil, and paint inside the drawing. That removes the risk of a hidden pool traveling beneath the plastic.
A removable adhesive mask can provide closer contact, but test both painting and removal on your exact paper. Some adhesives pull up fibers or leave marks. Allow the paper to dry before removal and follow the masking product’s instructions; do not treat stronger vinyl adhesive as a universal upgrade.
Masking fluid is a separate approach for protecting areas that should remain unpainted. It is not simply a liquid replacement for every stencil opening. Winsor & Newton’s masking-fluid instructions specify dry paper and letting the fluid dry before applying the wash. Check removal timing and paper suitability as well.
Consider whether you want to paint the shape or preserve it while painting around it. Our positive and negative stencil comparison helps you choose the correct arrangement before cutting a mask.
Layer deliberately and finish without overworking
Build a simple composition with one main motif and a limited palette. Let the first layer dry, clean and dry the stencil, then offset the second motif if overlap is intentional. For precise multi-part artwork, add reference marks outside the painted area and follow our layer-registration guide.
Transparent overlap can create a darker mixed area even when the paint has not leaked. Judge that color change separately from edge control. Keep an unpainted sample nearby so you can compare how each pigment looks alone and over another dry color.
Can I erase a watercolor leak?
Sometimes a small amount can be lifted, depending on the pigment and paper. Test gently with a clean, damp brush and blot rather than scrub. Staining pigments may remain, and repeated correction can damage the sheet. A minor irregularity may be less distracting than an abraded patch.
Should I seal the stencil edge with acrylic medium?
Not as a default watercolor method. Medium changes the paper’s absorbency and can leave a visible resist. Use a small water-control test or a suitable masking approach before introducing a permanent coating into the painting.